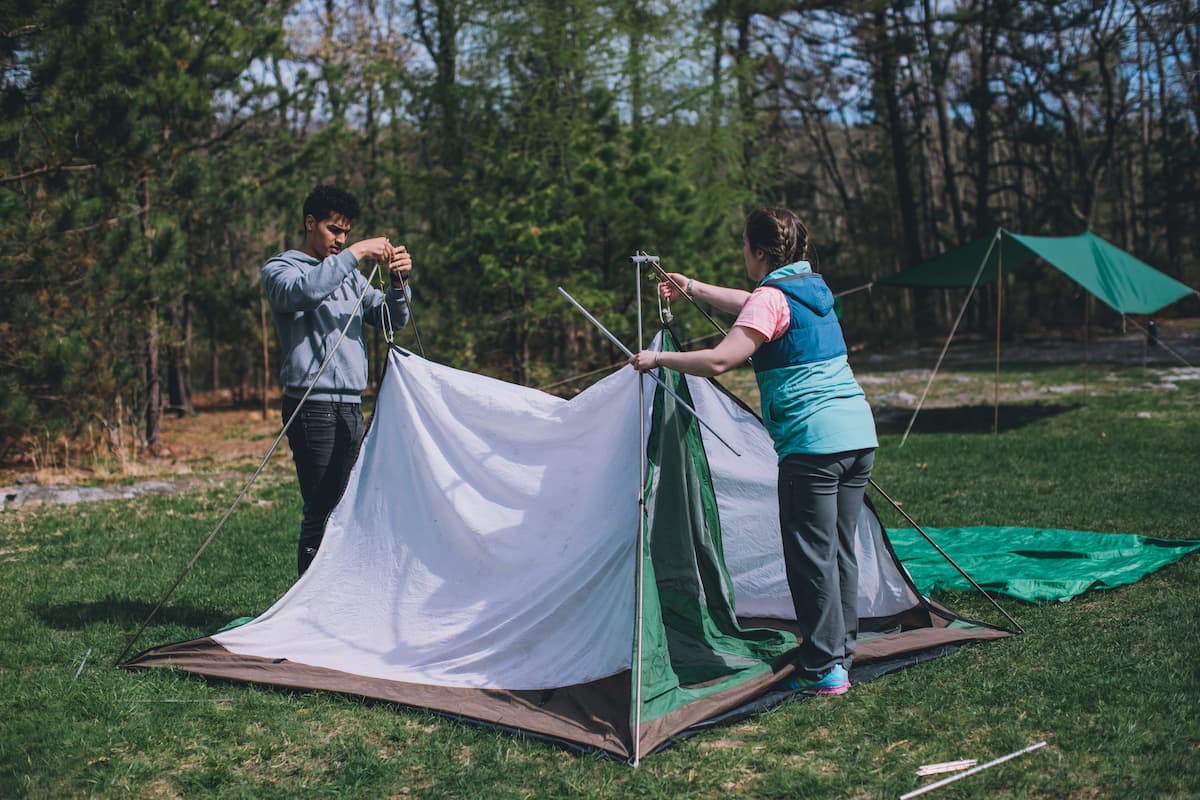
I. Introduction to Building a Tent
A. Importance of Knowing How to Build a Tent for Outdoor Adventures
Knowing how to build a tent is essential for outdoor adventurers, as it provides shelter and protection from the elements during camping trips. Building your own tent ensures that you have a reliable and secure place to rest and sleep, enhancing your overall camping experience.
B. Benefits of Building Your Own Shelter
Building your own tent offers several benefits. It allows you to customize your shelter according to your specific needs and preferences. Additionally, building your own tent can be a cost-effective option and a valuable skill for self-sufficiency in outdoor environments.
II. Choosing the Right Tent for Your Needs
A. Understanding Different Types of Tents
- Dome Tents: Easy Setup and Versatility
Dome tents are popular due to their ease of setup and versatility. They typically have a freestanding design with two or more poles crossing over the top, creating a dome-like shape. Dome tents are known for their stability, quick assembly, and suitability for different terrains.
- Tunnel Tents: Spacious and Family-Friendly Options
Tunnel tents are elongated tents that offer ample space and headroom. They are ideal for families or groups, providing multiple sleeping compartments and a central living area. Tunnel tents often have a semi-freestanding design and require stakes and guylines for stability.
B. Selecting the Appropriate Size and Capacity
- Determining the Number of Occupants and Gear
Consider the number of people who will be using the tent and the amount of gear you need to accommodate. Choose a tent that can comfortably fit all occupants and provide enough room for storage.
- Considering Comfort and Living Space Requirements
Take into account your desired level of comfort and the amount of living space you require. Consider factors such as headroom, storage pockets, and vestibules for gear organization and ease of movement within the tent.
III. Scout and Prepare a Suitable Campsite
A. Finding a Level and Clear Area
- Ensuring a Flat Surface for Optimal Tent Setup
Look for a flat and even surface to pitch your tent. Avoid areas with slopes or uneven ground, as this can lead to discomfort and potential pooling of water during rain.
- Clearing Debris and Obstacles from the Campsite
Remove any rocks, sticks, or other debris that may cause discomfort or damage to your tent. Clear the area of any potential obstacles, such as tree roots or large branches, to ensure a safe and comfortable camping spot.
B. Considering Environmental Factors
- Checking for Proper Drainage and Protection from Wind
Ensure that the campsite has proper drainage to prevent water accumulation under or around the tent. Consider natural windbreaks, such as trees or rocks, to provide protection from strong winds.
- Avoiding Hazards and Choosing a Safe Location
Avoid setting up your tent near potential hazards, such as dead or unstable trees, animal dens, or areas prone to flooding. Choose a safe location that is away from any potential risks or dangers.
IV. Tent Setup: Frame and Pole Assembly
A. Unpacking and Organizing Tent Components
- Laying Out Tent Fabric, Poles, and Stakes
Unpack and lay out all the components of your tent, including the tent fabric, poles, stakes, and guylines. Organize them in a way that facilitates easy access and assembly.
- Familiarizing Yourself with the Tent’s Components
Take the time to familiarize yourself with the different components of your tent, including pole sections, connectors, and attachment points. Read the tent’s instructions or manual to understand the proper assembly process.
B. Erecting the Tent Frame and Attaching Poles
- Following Instructions and Assembling the Frame Structure
Follow the instructions provided with your tent to assemble the frame structure. Start by connecting the pole sections and inserting them into the corresponding pole sleeves or attachment points on the tent fabric. Secure the poles and ensure they are properly tensioned.
- Inserting and Securing Poles for Stability
Insert the poles into the grommets or attachment points on the tent fabric, making sure they are fully inserted. Secure the poles using clips, Velcro straps, or other fastening mechanisms provided by the tent manufacturer. Ensure that the poles are securely attached for stability.
V. Attaching Tent Body and Rainfly
A. Positioning the Tent Body
- Aligning the Tent Body with the Frame and Corners
Align the tent body with the erected frame, ensuring that the corners and attachment points match up. Attach the tent body to the frame using hooks, loops, or clips.
- Ensuring Proper Orientation and Fit
Make sure the tent body is properly oriented and centered on the frame. Adjust the tension of the tent body to ensure a snug fit without overstretching the fabric.
B. Installing the Rainfly
- Placing the Rainfly on Top of the Tent
Position the rainfly on top of the tent, aligning the attachment points with the tent body and frame. Make sure the rainfly fully covers the tent and extends beyond the walls to provide proper protection from rain or moisture.
- Securing and Adjusting the Rainfly for Weather Protection
Attach the rainfly to the tent body using hooks, loops, or clips. Adjust the tension of the rainfly, ensuring it is taut and properly secured to provide optimal weather protection. Make sure all corners and edges are properly staked down and guyed out.
