I. Introduction to DIY Rooftop Tents

A. Exploring the Benefits and Popularity of Rooftop Tents
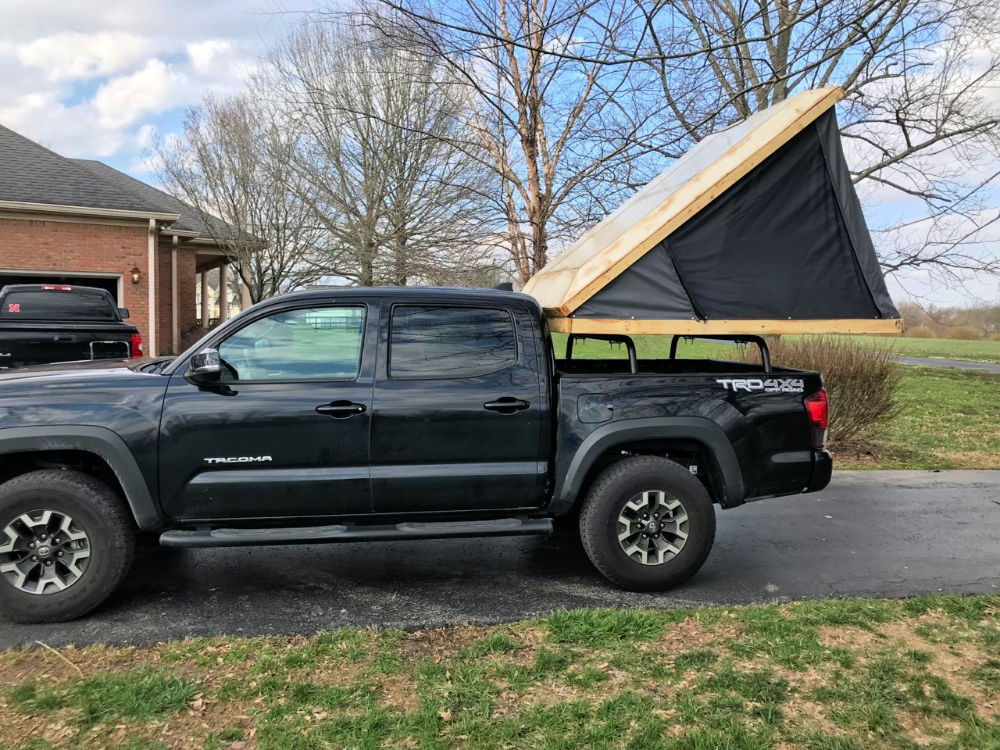
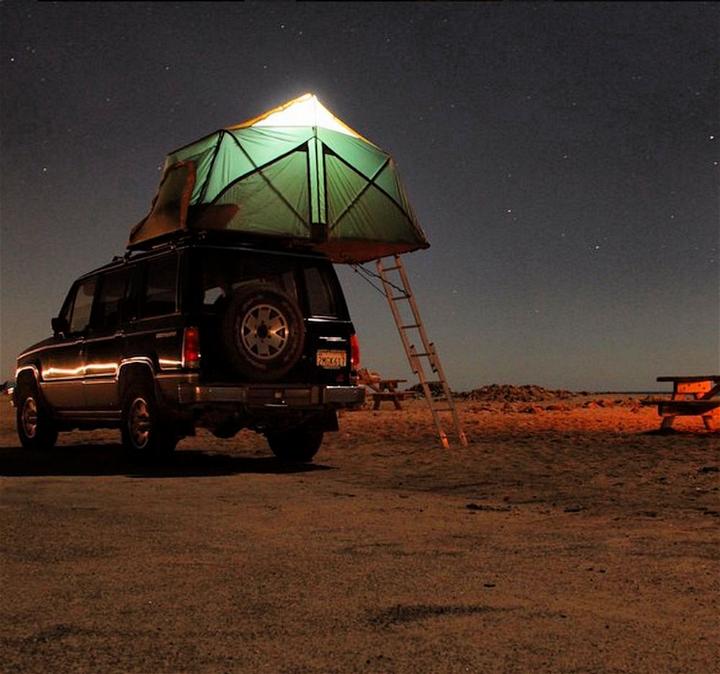
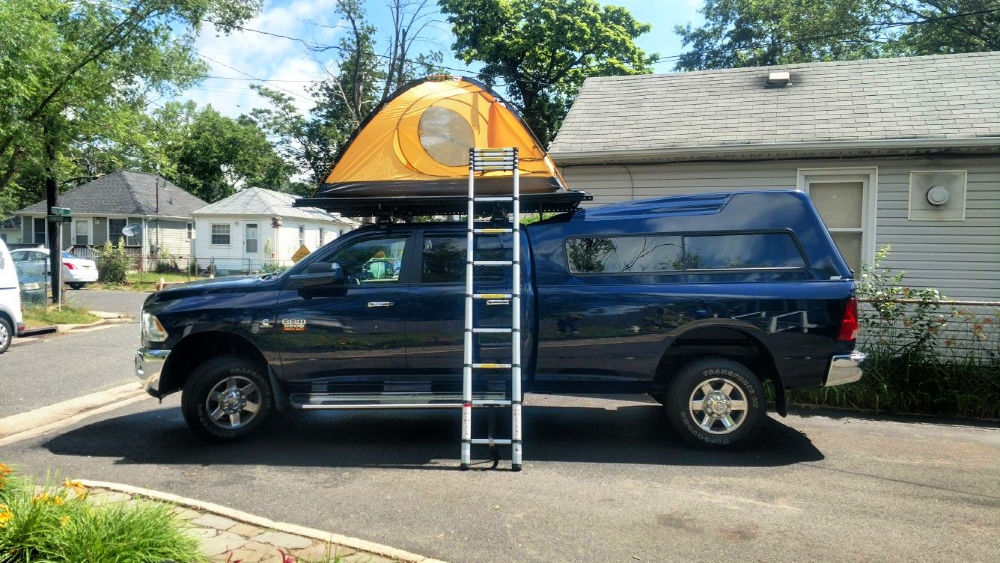
Rooftop tents have gained popularity among outdoor enthusiasts due to their convenience and versatility. They provide a comfortable and elevated sleeping space while camping, allowing campers to stay off the ground and away from potential moisture or pests.
B. Advantages of Building Your Own Rooftop Tent
Building your own rooftop tent offers several advantages. It allows for customization to suit your specific needs and preferences, and it can be a more cost-effective option compared to purchasing a ready-made tent. Building your own tent also provides a sense of accomplishment and satisfaction.
II. Planning and Designing Your Rooftop Tent
A. Assessing Vehicle Compatibility and Roof Load Capacity
- Determining if Your Vehicle Can Support a Rooftop Tent
Check the specifications and load capacity of your vehicle’s roof to ensure it can support the weight of a rooftop tent. Consider factors such as the vehicle’s roof rack system and any additional equipment or modifications that may affect its load-bearing capacity.
- Understanding Roof Load Limits to Ensure Safety
Research the roof load limits specified by the vehicle manufacturer to ensure you stay within safe guidelines. Exceeding these limits can compromise the integrity and stability of your vehicle.
B. Researching Different DIY Rooftop Tent Designs

- Exploring Existing Designs and Blueprints Online
Search online for existing DIY rooftop tent designs and blueprints to gather inspiration and ideas. Pay attention to the materials used, construction techniques, and overall design to help inform your own project.
- Considering Adaptations and Modifications for Customization
Consider adapting or modifying existing designs to better suit your needs and preferences. This may involve adjusting the size, layout, or features to create a personalized rooftop tent.
III. Materials and Tools Needed
A. Gathering Necessary Materials for Construction
- Choosing Durable and Weather-Resistant Materials
Select materials that are durable and weather-resistant to ensure the longevity and functionality of your rooftop tent. This includes choosing appropriate fabrics, insulation, framing materials, and hardware.

- Selecting Insulation and Fabrics for Comfort and Protection
Consider insulation materials to regulate temperature and minimize condensation inside the tent. Choose fabrics that are waterproof, UV-resistant, and breathable to ensure comfort and protection in various weather conditions.
B. Acquiring Essential Tools for the DIY Project
- Ensuring You Have the Required Tools for Construction
Make sure you have the necessary tools to complete the construction of your rooftop tent. This may include power tools (e.g., drills, saws), hand tools (e.g., screwdrivers, wrenches), measuring tools, and safety equipment.
- Investing in Safety Gear for Personal Protection
Wear appropriate safety gear, such as goggles, gloves, and a dust mask, when working with tools or during construction. This protects you from potential hazards and ensures your safety throughout the project.
IV. Construction and Assembly Process

A. Building the Tent Frame and Base
- Constructing a Sturdy and Stable Frame Structure
Follow the design or blueprint to construct a sturdy and stable frame for your rooftop tent. This typically involves cutting and assembling the framing materials according to the measurements and specifications.
- Attaching the Base to the Vehicle’s Roof Rack System
Securely attach the base of the rooftop tent to your vehicle’s roof rack system. Use appropriate hardware and follow the manufacturer’s instructions for safe and secure attachment.
B. Installing Flooring, Walls, and Roof
- Adding Insulation and Flooring for Comfort
Install insulation material to regulate temperature and minimize condensation inside the tent. Lay down the flooring material, such as plywood or carpet, to create a comfortable and stable surface.
- Attaching Walls and Roof to Create a Weatherproof Enclosure
Attach the walls and roof materials to the frame to create a weatherproof enclosure. Ensure all seams and joints are properly sealed to prevent water leakage and ensure the tent remains protected in various weather conditions.
V. Interior Design and Comfort Features
A. Planning Sleeping Accommodations and Storage Solutions
- Designing a Comfortable Sleeping Area within the Tent
Plan the layout and design of the sleeping area to maximize comfort and space utilization. Consider factors such as the size of the mattress or sleeping pad, storage compartments for personal items, and any additional features or amenities for convenience.
- Incorporating Storage Space for Gear and Equipment
Include storage solutions within the rooftop tent to keep gear and equipment organized and easily accessible. This can include overhead storage nets, pockets, or compartments for camping essentials.

B. Enhancing Comfort with Lighting and Ventilation
- Installing LED Lights for Illumination at Night
Add LED lights or battery-operated lanterns to provide illumination inside the tent during nighttime. This enhances visibility and creates a cozy ambiance.
- Incorporating Ventilation Systems for Airflow and Climate Control
Integrate ventilation systems, such as windows or vents, to improve airflow and regulate temperature inside the tent. This helps prevent condensation buildup and ensures a comfortable sleeping environment.
VI. Safety Considerations and Maintenance
A. Ensuring Stability and Secure Attachment
- Testing and Reinforcing the Tent’s Structural Integrity
Regularly inspect the structural integrity of your rooftop tent to ensure it remains stable and secure. Check for any signs of wear, tear, or loosened connections, and reinforce as necessary.
- Double-Checking Attachment Points and Fastenings
Periodically double-check the attachment points and fastenings to ensure they remain secure. This includes inspecting the roof rack system, base attachment, and any additional connections.
B. Regular Inspection and Maintenance
- Conducting Routine Checks for Wear and Tear
Regularly inspect the materials, fabric, and hardware of the rooftop tent for any signs of wear and tear. Address any issues promptly to prevent further damage and ensure the longevity of your tent.
- Cleaning and Treating Materials for Longevity
Clean the fabric, flooring, and other materials regularly according to the manufacturer’s instructions. This helps maintain their appearance and performance. Additionally, treat the materials with appropriate waterproofing or UV protection products as needed.
In conclusion, embarking on a DIY rooftop tent project allows you to create your own adventure haven. Proper planning, research, and design considerations are important for vehicle compatibility and safety. Gathering the right materials and tools ensures a successful construction process. Building the tent frame and base, as well as installing flooring, walls, and roof, creates a weatherproof enclosure for comfortable camping. Paying attention to interior design and comfort features enhances the overall camping experience. Safety considerations and regular maintenance are crucial for stability and longevity. By building your own rooftop tent, you can enjoy the freedom and flexibility of rooftop camping while creating a personalized adventure haven.
