Introduction to DIY Fishing Rods
The art of crafting your fishing rod delivers a unique blend of pleasure and practicality. For those passionate about angling or committed to self-reliance, learning how to build a fishing rod is both a skill and an enjoyable pastime. The process allows you to tailor your fishing experience to your specific needs and preferences, creating a personalized tool that can enhance your success on the water.
Starting your DIY fishing rod project might seem daunting, but it doesn’t have to be overwhelming. With the right materials, a bit of patience, and some basic knowledge, anyone can craft a functional and satisfying fishing rod. Whether for a custom angling adventure or as a vital survival skill, the journey of constructing your rod is as rewarding as its use.
Over the next sections, we’ll explore the variety of materials you can use, such as wood, PVC, and bamboo. We’ll provide a checklist of essential tools, step-by-step guides on making different types of rods, and tips on how to finish your creation with a professional touch. By demystifying the process, we aim to empower you to craft a fishing rod that is both cost-effective and of high quality.
Stay with us as we delve into a thorough walkthrough of DIY fishing rod crafting—your next rewarding project awaits!

Essential Tools and Materials
Creating your own fishing rod requires some basic tools and materials. Without the proper equipment, designing and assembling your rod can become a challenging task. It’s critical to have everything at hand before you start the project to ensure a smooth and uninterrupted process.
Choosing the Right Materials
When learning how to build a fishing rod, choosing the right materials is key. You can select from wood, PVC, or bamboo based on your needs, availability, and the type of fishing you plan to do. Each material offers a unique set of characteristics:
- Wood is traditional and gives a primitive feel but requires appropriate selection and treatment.
- PVC is modern, easily accessible, and offers durability with some flexibility.
- Bamboo has natural flexibility and strength, making it a durable option for a rod.
Select materials considering factors like comfort in handling, weight, and the fishing method you’d prefer.
Tool Checklist for Rod Crafting
To ensure that you’re prepared to make your fishing rod, gather the following tools beforehand:
- A saw or a sharp knife for cutting wood or bamboo.
- Sandpaper to smooth surfaces and edges.
- Drill with various bits for making precise holes in PVC rods.
- String, fishing line, and a hook for the essential rod components.
- Pliers and binder clips if creating a PVC rod with homemade eyelets.
- Measuring tape to measure and mark the correct lengths.
- Epoxy resin or wood glue for securing parts together.
Having this checklist complete will make the crafting process efficient and enjoyable. In the upcoming sections, we will dive into detailed instructions for using these tools and materials to build different types of fishing rods.
Building a Wooden Fishing Rod
Building your wooden fishing rod can be deeply satisfying. It combines traditional techniques with the joy of making something by hand. Here’s how you can start your project.
Selecting and Preparing the Wood
First, select a straight, sturdy stick about 8-10 feet long. Look for good-quality wood without cracks or rot. Remove any leaves or branches. Then, use sandpaper to smooth the entire stick. Make sure there are no sharp edges or rough spots. Watch out for weak points in the wood while sanding.
After preparing, you might need to trim the wood. Always cut extra length off slowly. It’s easier to take more wood off than to add it back on.
Attaching the String and Line
For the next step, grab a coarse string about 20 feet long. Tie it tightly near the stick’s narrowest part, a few inches from the tip. Wrap the remaining string around the stick for backing. Tie fishing line to the end of this string. The amount of line you use depends on your fishing plans. If casting far, use more line, but keep in mind that it will be harder to handle.
Lastly, attach a fishing hook to the line’s end. Use a strong, simple knot that won’t come undone easily. When you’re ready, simply unwind the string and line, and cast your homemade rod into the water.
By following these simple steps, you can create a functional and distinctive wooden fishing rod. It’s a blend of skill and creativity that can lead to a fulfilling fishing experience.

Creating a PVC Fishing Rod
Creating a PVC fishing rod is a modern, affordable DIY option. It requires some specific steps to ensure durability and effectiveness. Here’s how you can construct your own PVC fishing rod from scratch.
Cutting and Smoothing the Pipe
Start by selecting two PVC pipes as the foundation of your rod. Cut each pipe to a length of six to seven feet, or shorter if intended for a child. Use sandpaper to smooth all cut edges and remove any burrs or rough spots, ensuring the surfaces are clean and even.
Assembly and Attachment of Components
First, slide two slip caps over the ends of each pipe segment, but do not glue them yet. Drill four evenly spaced holes using a 3/32 drill bit through the smaller pipe for later attachments. Attach the eyelets by bending binder clips with pliers, inserting them into the drilled holes. Ensure the eyelets are firm and correctly aligned for stringing the line later.
Next, attach a chosen fishing reel to the larger pipe section. Drill two holes and secure the reel using screws. Choose a lightweight reel to avoid weighing down the rod. Then, connect the two pipe sections using the slip caps and glue them for a secure fit. Finally, string your fishing line through the eyelets, attach a hook, and add a lure or bobber as needed.
By following these steps, you can craft an effective PVC fishing rod tailored for your needs, ready for exciting fishing adventures.
Crafting a Bamboo Cane Fishing Rod
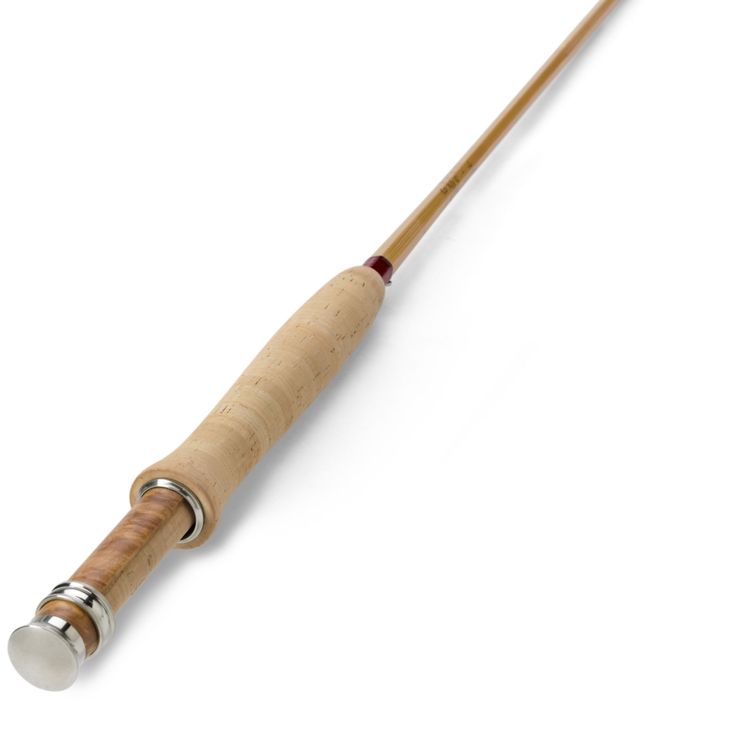
When you aim for a rustic fishing experience, consider crafting a bamboo cane fishing rod. Bamboo provides natural flexibility and can be surprisingly strong, making it a prime choice for a homemade rod.
Selecting and Trimming the Bamboo
Start by choosing a sturdy bamboo cane. It should be about 8-10 feet long and 1-2 inches in diameter. This size allows for both handling ease and error margin if needed. Avoid bamboo that is too thick, as it can be cumbersome to use.
Use a sharp knife to trim off leaves or any rough edges. Aim for a smooth finish using sandpaper. Be careful with the bamboo’s natural joints, as they add strength to your rod.
Drying Process and Attaching the Line
Bamboo needs drying to stiffen and prevent bending when fighting a fish. Hang it horizontally for several weeks out of direct sunlight. A dry cane is a brown color and rigid to the touch.
To attach the line, start by tying it two inches above the handle. Create loops along the bamboo’s length, reaching to the tip. Use the extra line from the base loop to weave through these loops. This method offers better control over the bend when catching fish and reduces strain on the line.
With care and patience, your bamboo rod will bring a unique touch to your fishing adventures, melding tradition with the satisfaction of DIY craftsmanship.

Constructing a Professional Quality Rod at Home
Gathering Supplies for a Professional Rod
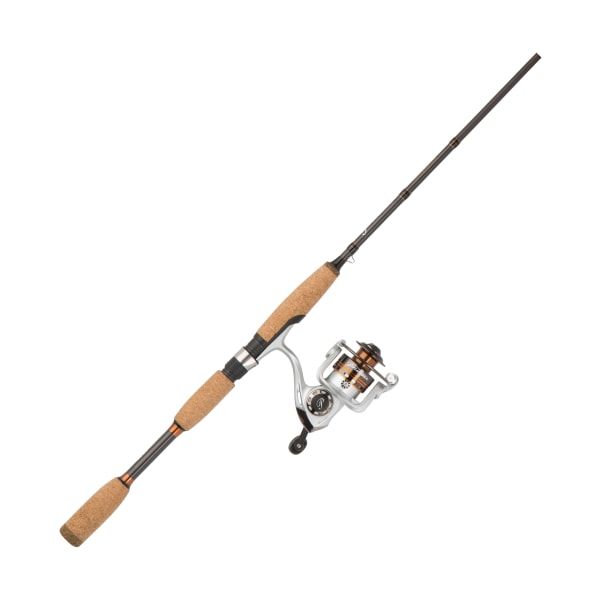
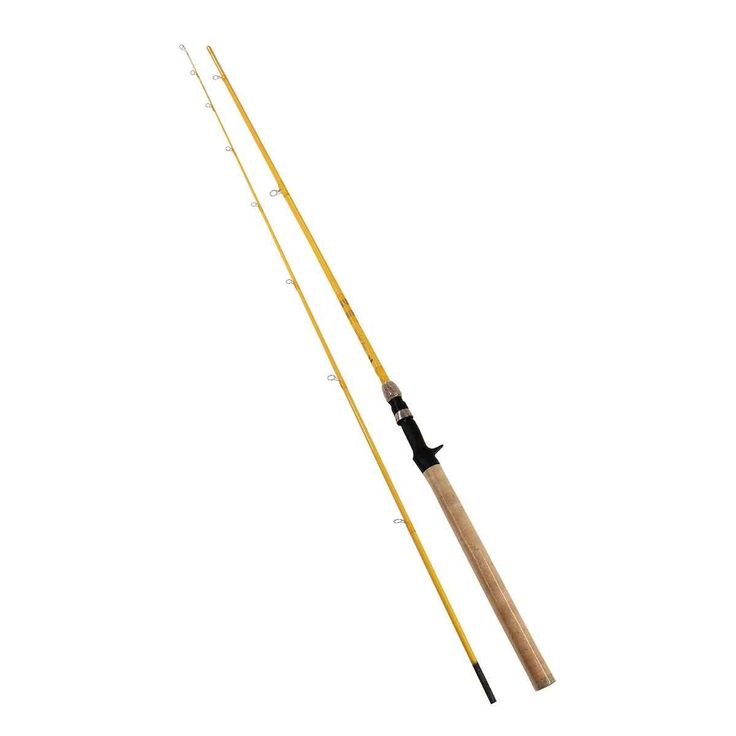
To construct a professional fishing rod, acquiring quality components is crucial. Start by gathering rod blanks, guides, a reel seat, and handles. Look for materials such as graphite or fiberglass for the rod blank, which offer strength and flexibility. The guides should be smooth to minimize line friction. Choose a comfortable grip for the handle and a secure reel seat.
Step-by-Step Assembly Instructions
- Locate the Spine: Identify the spine or the stiffest side of the rod blank. This part faces the pressure during a bend.
- Attach the Handle: Fix the handle to the butt of the rod using epoxy resin.
- Mount the Reel Seat: Secure the reel seat in place, typically near the handle. Ensure it’s aligned with the rod’s spine.
- Install the Guides: Space the guides evenly along the rod blank. Use masking tape to hold them temporarily.
- Wrap the Guides: Secure each guide with thread wraps. Make sure the wraps are tight and even.
- Apply Finish: Coat the thread wraps with epoxy to protect them from water and wear.
- Let it Cure: Allow the epoxy to cure completely before using the rod.
Following these steps ensures you create a durable and efficient fishing rod. Each step is crucial for the performance and longevity of your custom rod.
Fishing Rod Building Kits
If you’re considering how to build a fishing rod, you might want to look at fishing rod building kits. These kits contain all the components you need, perfectly matched and ready to assemble. They take the guesswork out of selecting materials and tools, making the process streamlined and more accessible, especially for beginners.
Advantages of Using Rod Building Kits
Using a rod building kit offers several benefits:
- Simplicity: Everything you need comes in one package. This makes starting out simple.
- Quality: The materials in kits are often high-grade, ensuring your rod’s performance.
- Customization: Kits come in different types, allowing you to pick one that suits your fishing style.
- Instruction: Most kits include detailed guides, making the building process easier to follow.
- Time-saving: With pre-measured and cut components, kits save you time on preparing materials.
- Fun: The kit approach to building a rod adds a fun, educational aspect to the process.
- Cost-effectiveness: Kits can be more economical than buying each part separately.
Overall, fishing rod building kits offer a practical route to creating your own rod. They allow for personalization while also ensuring that you have all necessary parts. They save time and often money, making them an excellent option for both beginners and seasoned crafters alike.
Wrap-Up and Tips for Successful Rod Crafting
As we conclude, remember that building your fishing rod can be a fulfilling venture. The process mirrors not just your skills and patience but also your personal touch in your fishing gear. Whether you opt for a simple wooden rod, a modern PVC rod, a rustic bamboo rod, or even a high-quality professional rod, the joy of crafting is unmatched.
Here are some tips to ensure your rod crafting is successful:
- Plan Ahead: Before you start, think about the kind of fishing rod you need. Consider the fishing environment and your style.
- Gather Materials: Make sure you have all the necessary materials. Refer to the tool checklist from earlier sections.
- Follow Steps Closely: Pay attention to the details. Each step in the process is essential for a functional rod.
- Be Patient: Don’t rush the crafting. Take your time to achieve quality workmanship.
- Test It Out: After your rod is crafted, test it to ensure all parts are secure and functional.
- Practice Makes Perfect: Your first rod may not be perfect, and that’s okay. Practice will refine your skills.
Remember, the goal is to create a rod that suits your needs and lasts. Whether you’re building your rod for survival, sport, or just as a hobby, the satisfaction of reeling in a catch with a rod made by your own hands is truly rewarding.
Happy crafting and happy fishing!