Introduction to Fishing Rod Setup
Setting up a fishing rod can feel overwhelming for beginners. However, with a few basic tips and clear instructions, it’s an achievable task that can greatly enhance your fishing experience. Every angler needs to start somewhere, and learning the correct way to set up your gear is essential. This guide will help you break down the how to set up a fishing rod for beginners into manageable steps.
Before you head to the water, it’s important to familiarize yourself with the different parts of a fishing rod setup. Knowing how each component interacts allows for a smoother setup and a better fishing experience. We’ll cover the selection of proper equipment, attaching the reel and line, threading the line through the rod guides, and preparing the line and leader.
Whether you’re a first-time angler looking to have a go at fishing, or you’re seeking to refine your current setup, this guide will provide you with thorough yet straightforward instructions. By understanding the basics explained here, you’ll be well on your way to enjoying your time on the water with a properly set up fishing rod. Let’s begin the journey towards becoming a skilled angler by building a solid foundation with your fishing pole setup.

Choosing the Right Equipment
Choosing the right fishing equipment is crucial for a successful fishing experience, especially for beginners. This section will guide you through selecting the most appropriate reel, rod, and line for your needs.
Selecting the Right Reel
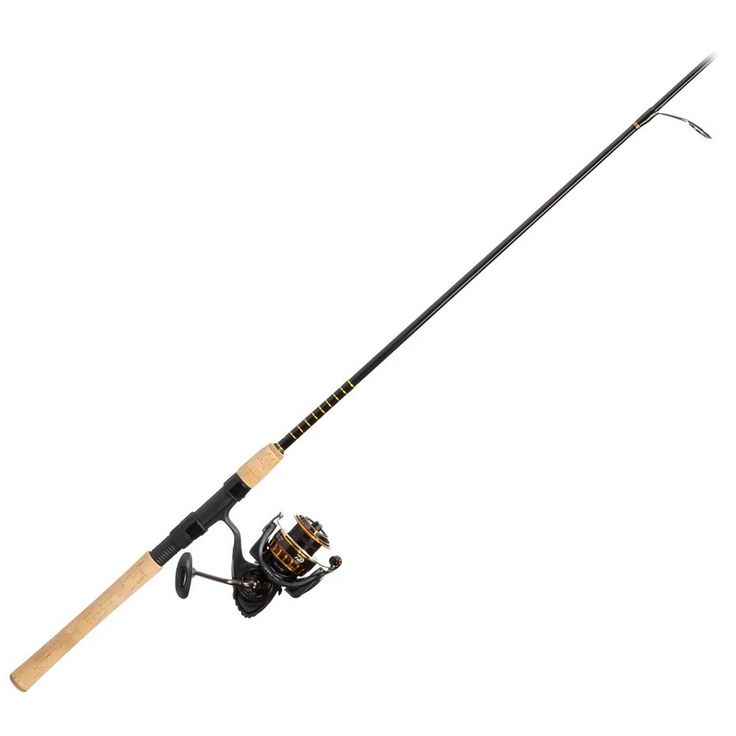
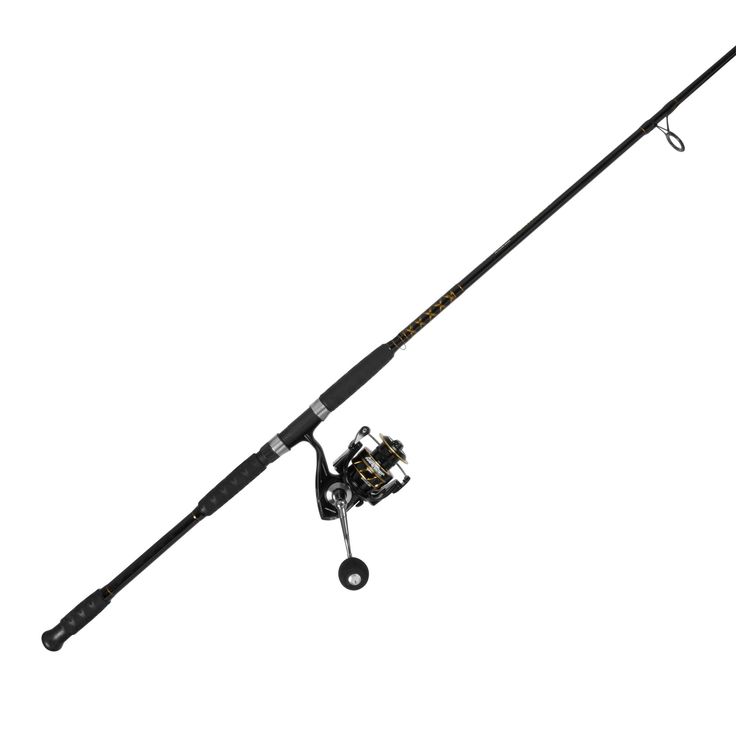
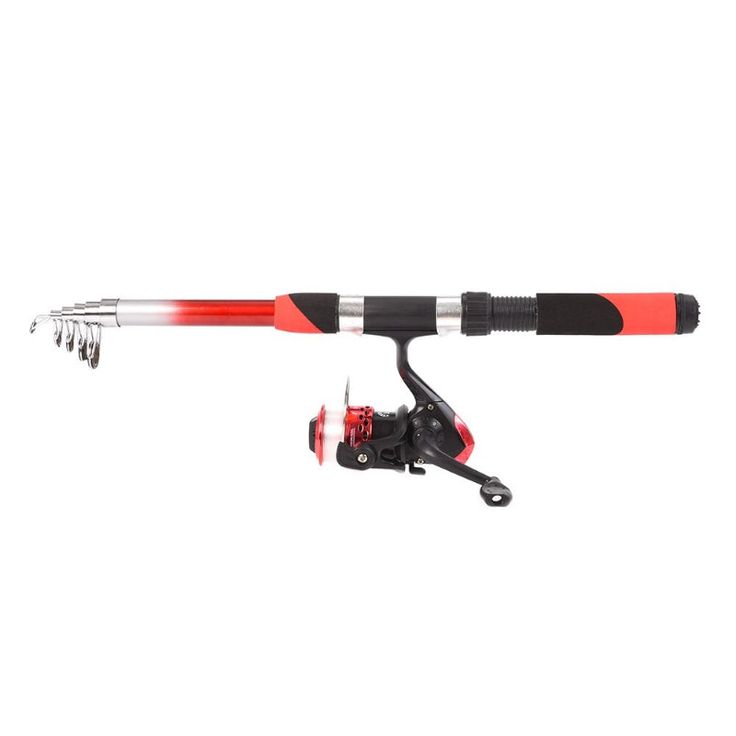
When learning how to set up a fishing rod for beginners, the first step is selecting the right reel. There are various types of fishing reels, but for beginners, a spinning reel is recommended due to its versatility and ease of use. Ensure the reel matches the weight of your rod and line for optimal balance and performance. A well-matched reel will make casting smoother and reeling in your catch easier.
Picking the Perfect Rod
The next step in setting up your fishing rod is picking the perfect rod. Rods come in various lengths, weights, and materials. For beginners, a medium-length (around 6-7 feet) and medium-weight rod are ideal because they provide good balance and flexibility for various fishing conditions. Rods made from graphite are great for beginners due to their durability and lighter weight.
Understanding Line Types
Finally, understanding the different types of fishing lines is essential. There are three main types of lines: monofilament, fluorocarbon, and braided. Monofilament line is user-friendly and economically priced, making it a good choice for beginners. It has a good stretch and is easier to knot. Fluorocarbon lines are virtually invisible underwater and have less stretch, offering more sensitivity. Braided lines are strong and ideal for long-distance casting. Choosing the right line type will depend on your fishing environment and target species.
Attaching the Reel to the Rod
Once you have your rod and reel selected, it’s time to unite them. Properly attaching the reel to the rod is a fundamental step that requires attention to detail.
Securing the Reel with an Arbour Knot
The first connection to make is between the reel and the backing line. Start by using an Arbour knot. This simple knot is strong and perfect for beginners. It involves looping the line around the reel’s arbour and tying a basic overhand knot. First, tie an overhand knot around the main line themselves. Then, tie a second overhand knot at the tag end. Slide it tight against the reel, ensuring it’s secure before trimming the excess.
Aligning the Reel with the Rod Guides
After securing the reel, make sure it’s aligned with the rod guides. This is important to reduce line friction during casting and retrieval. To align, slot the reel into the reel seat found on the rod’s handle. The reel should fit snugly to prevent movement during use. Tighten the reel seat until the reel is firmly in place. Check that the reel’s bail arm lines up with the rod’s guides. A correct alignment means a smooth pathway for the line from reel to rod tip.

Connecting the Line to the Reel
Once you’ve secured your reel to the rod, it’s time to connect the line. There are a few reliable methods to attach the line to the reel, ensuring a strong connection for reeling in your catches.
The Loop to Loop Connection Method
The loop to loop connection is a popular choice among beginners for its simplicity. If your fly line has a pre-molded loop, you’re in luck. Just create a loop in the backing and connect the two loops together. This method is quick, easy, and creates a secure link between the fly line and backing.
The Tucked Blood Knot Technique for Stillwater & Rivers
For those fishing in stillwater and rivers, a tucked blood knot is an excellent option. It’s a bit more advanced but provides a strong bond. To do this, tie a tucked blood knot in the backing line and connect it to the fly line’s loop. This method suits trout anglers and adds durability to your setup.
Using a Braided Loop or Nail Knot
If your line doesn’t come with a loop, attach a braided loop. This convenient method adds a loop to any fly line. Securely fasten the braided loop to your fly line with superglue to prevent slippage. Alternatively, a nail knot is a solid choice for joining line and backing without loops. While it requires a nail knot tool, it offers a sleek and strong connection.
Threading the Line Through the Rod Guides
Threading your fishing line through the rod guides can be intimidating at first, but with patience and care, you can do it easily. This step is crucial as it sets the stage for smooth casts and retrievals. Here’s how to thread the line without mishap.
Organizing Your Rod Sections
Begin by assembling your rod starting from the smallest tip section working towards the thicker butt section. Carefully connect each piece, ensuring they fit snugly together. Make sure all the guides are perfectly aligned; even a slight misalignment can affect casting performance. Adjust as necessary before you pick up the line.
Safe Method to Thread the Line
Next, it’s time to thread the line through the rod guides. Start at the tip of the rod, working downwards. Create a small loop at the end of the line to help push it through each guide without snags or knots. Firmly hold the rod midway while threading to avoid putting pressure on the delicate tip which could cause breakage. If you have a reel with line already attached, be gentle and maintain tension to avoid tangles and damage to your reel or line. Remember, take your time and thread carefully to protect your equipment and prepare for a successful fishing adventure.

Setting Up the Line and Leader
Once your reel and rod are connected, focusing on the line and leader setup is next. This affects how well your fly presents in the water.
The Importance of a Welded Loop
A welded loop at the end of your fly line simplifies leader attachment. It lets you link leaders quickly with a loop to loop connection. Many modern lines come with this feature.
Attaching Tapered Leaders and Tippet
Tapered leaders aid in smooth casting and proper fly turnover. Add your tippet to the leader’s thin end for length and flexibility. For dry fly fishing, combining a tapered leader with tippet extends your setup’s life.
Fly Attachment: Improved Clinch Knot and Davy Knot
For securing a fly, the Improved Clinch knot is strong and simple. Wrap your line around itself, thread it through the loop near the eye of the hook, then through the big loop. Pull tight. The Davy knot is another great option. It’s tiny and easy. Perfect for small flies and a quick tie.