Preparing Your Fishing Gear
Gathering the Essential Tools
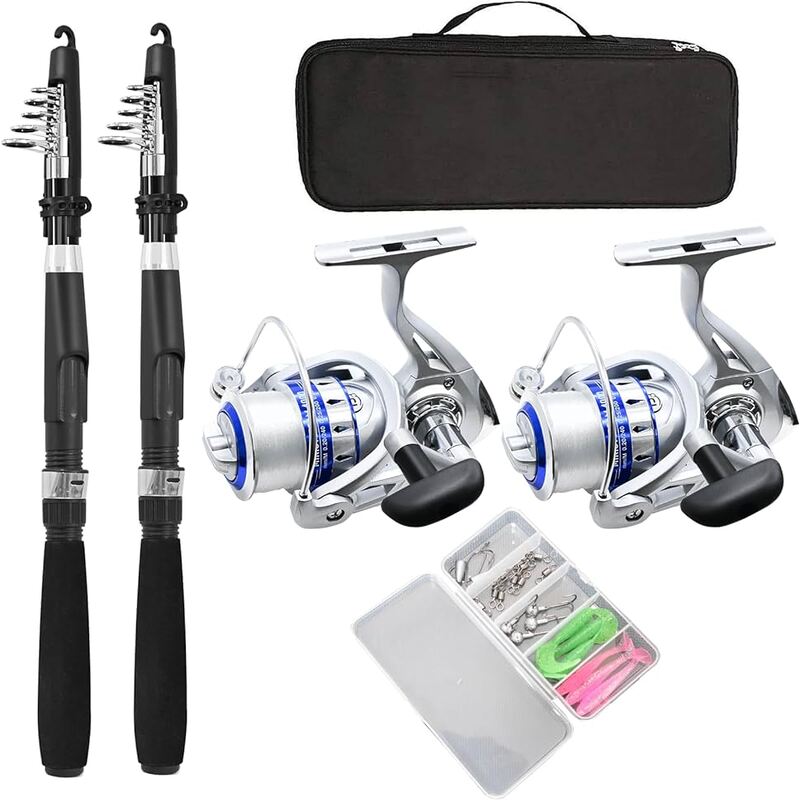
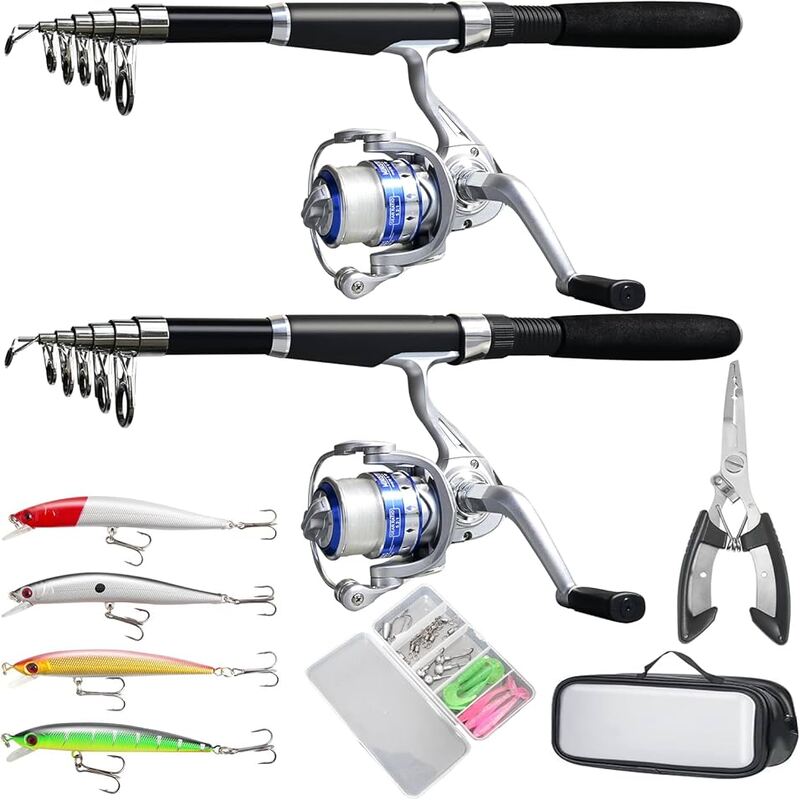
How to set up a fishing rod that already has line? Before you head to the waters with your rod and reel, you need the right tools. Start by grabbing any scissors, as they are handy for cutting lines. Check that your rod and reel are compatible; often, they are designed to work together. Have a look at your fishing line as well; choose a line suited for the fish you’re targeting. Last but not least, bring various baits. Different fish favour different baits, and this can vary by the day.
Examining the Existing Line Condition
Inspecting the line already on your fishing rod is crucial. Look for signs of wear such as fraying or memory curls that might hinder your fishing experience. Also, evaluate if the line is appropriate for the type of fish you aim to catch. If the line is in bad shape or not suitable, consider re-spooling with a line that matches your fishing needs. This step ensures you’re prepared and increases your chances of a successful fishing trip.
Familiarization with the Fishing Rod Components
Understanding Your Reel
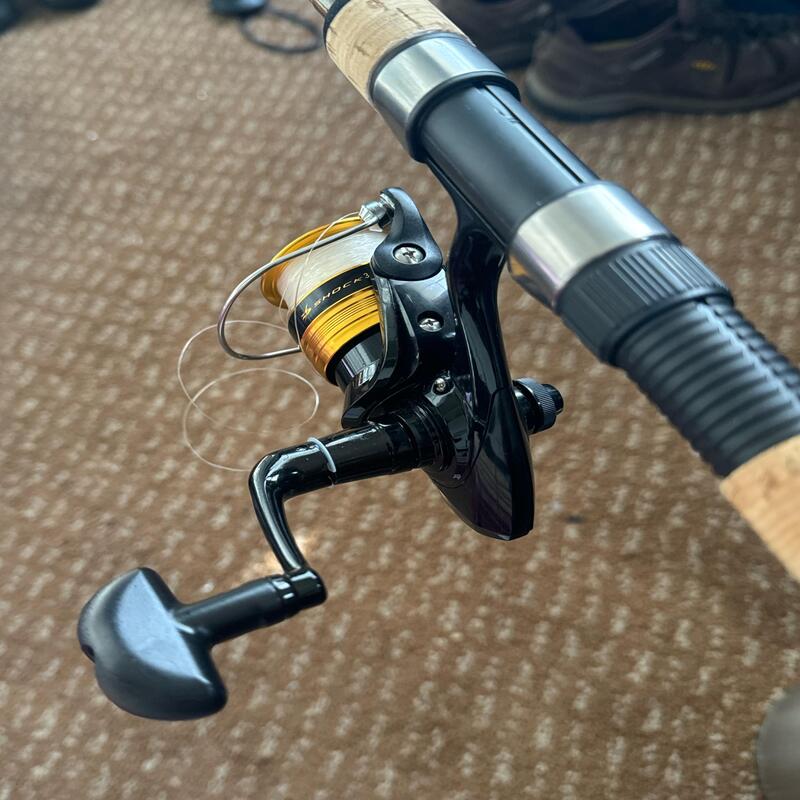
Getting to know your reel is vital for a smooth fishing experience. A spinning reel includes several key parts. The spool holds the line. The handle, when turned, reels the line back in. A ‘bail’ stops or releases the line, and the ‘reel foot’ attaches the reel to the rod. The ‘drag knob’ adjusts how easily the line comes out when the bail is closed. And the ‘line roller’ guides the line from the spool to the rod seamlessly. Familiarity with these components will enhance your angling skills.
Identifying the Rod’s Parts
Next, understand the rod you’re using. The ‘rod tip’ is at the very end and helps sense fish bites; it’s fragile, so handle it with care. The ‘guides’ are circles on the rod that the line passes through, keeping it close to the rod structure. The ‘reel seat’ is where you attach the reel to the rod. Lastly, the handle is what you hold while fishing, typically made from soft material for comfort. Recognizing these parts is essential for setting up and handling your rod correctly.
Attaching the Reel to the Rod
Steps for Securely Connecting the Reel
To connect the reel to the rod, start by loosening the reel seat on the rod. Make sure it’s wide enough to accommodate the reel foot. Slide the reel foot into the open reel seat. Then, tighten the reel seat until the reel sits firmly in place. It should not wobble or twist. If it moves, repeat these steps until you achieve a secure fit. Remember, a stable reel is key to good casting and reeling in fish.
Ensuring Proper Alignment
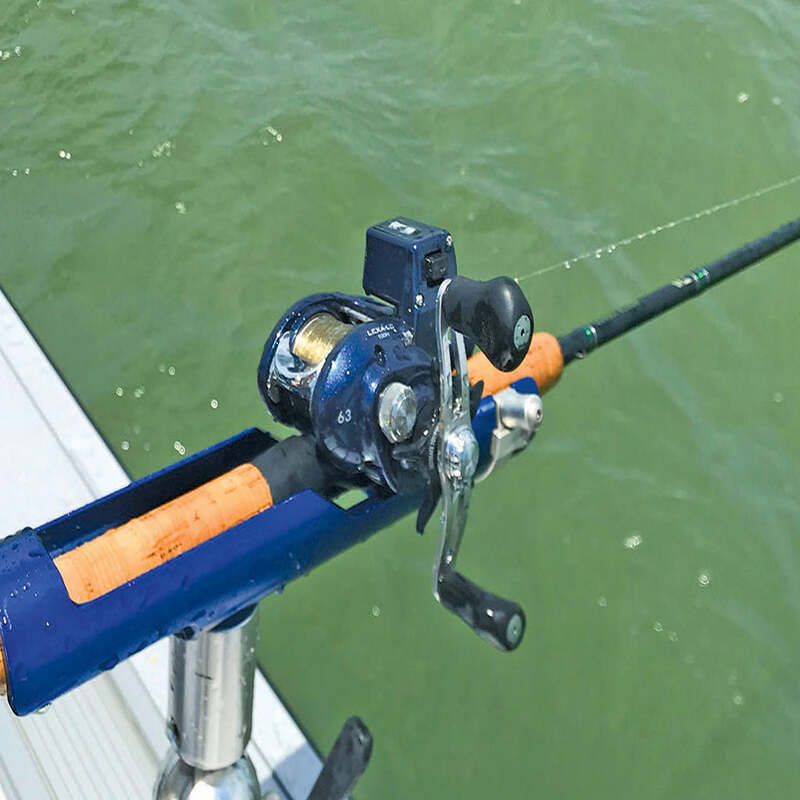
Once the reel is attached, ensure it aligns properly with the rod. The reel handle should face the direction you’ll be reeling from. Check that all guide rings on the rod line up with each other. Proper alignment will allow smoother line flow when casting and retrieving. With everything aligned, you prevent unnecessary strain on your fishing line and equipment. Ensuring that these components work together will make your fishing more efficient and enjoyable.
Checking and Maintaining the Fishing Line
Evaluating Line Strength and Wear
Before you begin fishing, check the line for durability. Look for signs of damage, such as fraying or kinks. These flaws can weaken the line. They might cause it to snap during a catch. For strength, perform a simple pull test. Gently tug on the line to feel for its resistance. Replace the line if it feels weak or shows visible wear. A strong line increases your chance of reeling in fish without breakage.
Remember, a line’s lifespan depends on how much you use it and the conditions you fish in. It’s better to replace your line regularly than to lose a big catch due to a weak line. Safety check your gear before each fishing trip. Always bring spare line.
Properly Threading the Line through Guides
Threading the line is next. Start at the rod tip and work your way down to the reel. Hold the line near the reel and thread through each guide. Be gentle, don’t force the line. Skipping a guide can cause trouble, so double-check your work. A properly threaded line ensures a smooth cast and retrieve. Take care not to tangle the line. Keep hold of the line’s end until it’s secure on the reel.
Threading should be easy if you have a steady hand and patience. If you struggle, ask a more experienced angler for help or look for tutorials. With practice, threading becomes second nature. Once done, you’re ready to tie on your bait or lure and start fishing.
Knot Tying Techniques for Pre-Spooled Rods
Basic Knots for Beginners
Starting with a pre-spooled rod, one must learn a few basic knots. The key is simplicity and efficiency. For beginners, the overhand knot is a starting point. It’s simple; just cross the line, loop it, and pull tight. Next is the clinch knot, known for its strength. Thread the line through the hook eye, twist several times, then pass the end through the loop formed close to the eye. Pull the line to secure the knot.
For tying a lure, the loop knot works well. It provides movement for more realistic lure action. Make a loop, twist the line around itself several times, and bring the end through the loop. The loop should be small and close to the lure or hook for the best effect.
Practice these knots until they are second nature. They are the foundation for successful fishing.
Advanced Knots for Experienced Anglers
Once basic knots are mastered, try these advanced options. The Palomar knot is both strong and simple. Double your line to create a loop, pass it through the hook’s eye, and tie an overhand knot. Then pull the loop over the hook and tighten for a robust connection.
The Albright knot is ideal for connecting lines of different diameters. Make a loop in the thicker line, run your thinner line through the loop, wrap it around the loop ten times, then pass the end back through the opening and pull both ends to tighten.
Another advanced knot, the Improved Clinch Knot, starts like the basic clinch. Instead of finishing after the initial loop, you pass the end through the big loop before tightening. This gives extra security.
These secure, reliable knots require practice but provide confidence when targeting bigger, more challenging fish. Aim for neat, tight knots to avoid slip-ups and losing a catch.
Setting the Drag Knob
Understanding Drag and Its Importance
The drag knob is a crucial feature of your spinning reel. It controls how easily the line comes out when the bail is closed. Properly setting the drag can make the difference between catching and losing a fish. A well-set drag ensures a smooth unwinding of the line when a fish bites. This prevents the line from snapping due to sudden tension. It is a balance of resistance and give, allowing you to both maintain control and let the fish run when needed. Getting to know how to adjust the drag knob means you will be ready for a variety of fishing situations.
Adjusting Drag for Different Fish Types
Adjusting the drag depends on the type of fish you’re after. For smaller ones, a lighter drag setting is usually enough. This lets them take the line without too much fight. For bigger, stronger fish, tighten the drag. You don’t want them to take too much line too quickly. But be cautious not to set it too tight. A drag that’s too firm might cause the line to snap under pressure. Finding the right setting often comes from experience. Start with the drag slightly looser than you think you’ll need. You can always tighten it up if the fish are pulling too strongly. Remember, you’re looking for a balance that keeps the line from breaking while still reeling in your catch.
Casting Basics with Pre-Spooled Line
Step-by-Step Guide to Casting
Casting is simple once you know the steps. Begin by holding your rod properly. Your hand should grip the part just above the reel. Make sure about one to one and a half feet of line hangs from the rod tip. This gives you control. Next, point the rod tip toward the water. Use your other hand to flip the bail open. This frees the line for casting. Now, pull the line parallel to the rod with your index finger. You’re ready to cast. Move the rod back over your shoulder. Then, swiftly swing it forward. As the rod comes forward, release your index finger’s hold on the line. The timing is key. Release it as your arm reaches a straight position towards your target. The bait or lure should sail out over the water. Close the bail with your hand. You are now ready to reel in when needed.
Tips for Accurate and Long-Distance Casting
For accuracy, focus on your target before you cast. Your arm and rod should follow your eyes. This leads to precise casting. Don’t cast with all your might. This can lead to errors. Instead, practice smooth, controlled motions. Accuracy comes with practice. To cast further, make sure your spool is filled properly. It should be neither too full nor too sparse. Use the right line weight for your rod and reel. Heavier lures also help with distance. Keep your movements fluid. Snap your wrist at the end of the cast. This adds extra speed to the lure or bait. Remember, smooth casting is often more effective than sheer power alone. Wind can affect casting. Cast with the wind at your back if possible. This gives your cast added distance. Lastly, make sure you’re not constrained by your surroundings. An open space allows for the best casting range.
Troubleshooting Common Issues
Resolving Tangles and Snags
Tangles and snags can spoil a fishing trip. To avoid them, always lay your line flat when not in use. When casting, don’t rush, and maintain a steady pace. If a tangle occurs, don’t pull hard. Gently untangle the line by hand. Look for overlapping loops and ease them apart. Keep your line tight when reeling in, to prevent loops from forming. If snags happen, relax the line before gently pulling. Try different angles if the snag persists. Sometimes, cutting the line is the last resort. To prevent future snags, check for obstacles before casting.
Maintenance Tips for Prolonged Reel and Line Life
Regular maintenance extends your gear’s life. Clean your reel and line after each use, especially in saltwater. Rinse with fresh water to remove dirt and grime. Dry your gear before storing to prevent rust and corrosion. Keep an eye on your line’s condition. Replace it if it shows wear or has been exposed to heavy stress. Store your gear in a cool, dry place. Avoid direct sunlight which can weaken the line. Finally, inspect your equipment before each outing. This ensures everything is in working order and ready for a day of fishing.