
how to lace hiking bootsHiking boots are the unsung heroes of outdoor exploration, providing the essential foundation that empowers adventurers to conquer rugged terrain, navigate challenging trails, and immerse themselves in the natural world. However, the key to unlocking the full potential of these robust and reliable footwear companions lies in the art of properly tying them.
Whether you’re a seasoned hiker or a newcomer to the world of outdoor pursuits, mastering the techniques of lacing and tying your hiking boots can make all the difference in your comfort, stability, and overall experience on the trail. By understanding the various lacing methods and their benefits, you can tailor your boot fit to your unique needs, ensuring a secure, supportive, and blister-free journey through the great outdoors.
Introduction
Lacing hiking boots correctly is crucial for ensuring comfort, support, and preventing blisters during hikes. This guide will teach effective techniques for lacing your boots, enhancing your hiking experience.
Why Proper Lacing Matters
Enhancing Comfort and Support
Proper lacing secures your foot, providing support and preventing sliding that can cause blisters.
Adapting to Foot Changes
Feet can swell during hikes; adaptable lacing techniques can accommodate this, ensuring continued comfort.
Essential Lacing Techniques
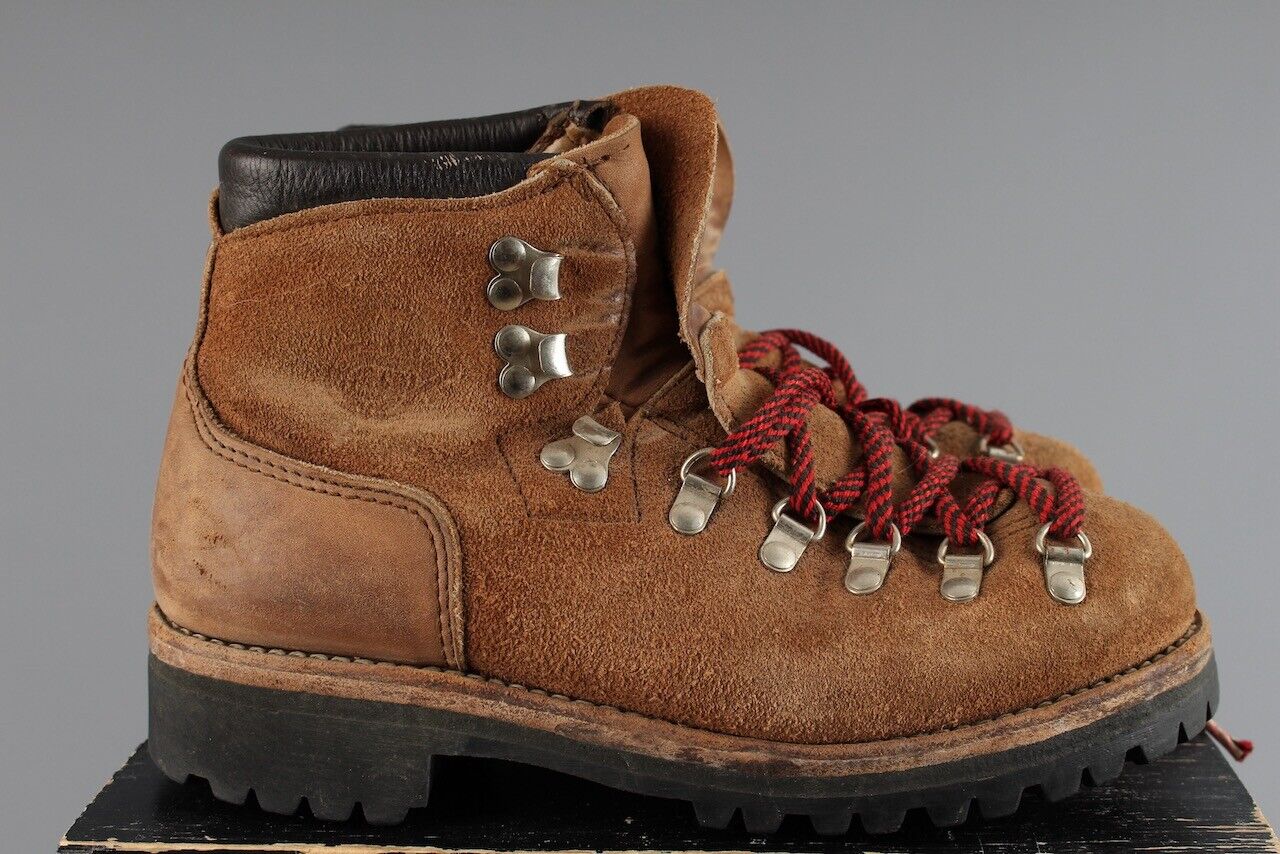
The Standard Criss-Cross Method
This classic technique ensures even tension and is suitable for most hiking scenarios.how to lace hiking boots?
Step-by-Step Guide
- Start at the bottom eyelets, pulling laces upward.
- Cross laces and insert through the next set of eyelets from the bottom up.
- Continue this pattern to the top of the boot.
The Surgeon’s Knot for Extra Security
Ideal for steep terrains, this method prevents the foot from sliding forward.
How to Tie a Surgeon’s Knot
- Pull the laces tight at the eyelet where you need more tension.
- Cross the laces and twist them twice before pulling them through the next eyelet.
- Pull to secure and continue lacing as usual.
Customizing Lacing for Comfort and Fit
Lacing Techniques for Wide Feet
Loosen the laces at the boot’s bottom to allow more room, ensuring comfort for wider feet.
Adjusting for Narrow Feet
Tighten laces at the boot’s bottom while using a surgeon’s knot higher up for a snug fit without pressure points.
Mastering the Art of Lacing Hiking Boots: A Comprehensive Guide for Comfort and Performance
Properly lacing your hiking boots is crucial for both comfort and performance on the trail. It ensures a secure fit, prevents blisters, and optimizes support for your feet and ankles. Whether you’re a seasoned hiker or just starting out, understanding different lacing techniques can significantly enhance your hiking experience. This comprehensive guide will explore various lacing methods for hiking boots, addressing common foot issues and providing tips for achieving the perfect fit.
Understanding Hiking Boot Lacing: The Basics and Beyond
Before delving into specific techniques, let’s establish a foundation for lacing hiking boots. Start with unlacing your boots completely. This allows you to adjust the fit from the very beginning and ensures even tension throughout the laces.
Next, ensure you have the right type of laces. Hiking boots typically require sturdy, round laces that resist loosening and provide a secure hold. Replace worn-out or frayed laces promptly to maintain optimal support.
Now, let’s explore the standard criss-cross lacing technique. This method involves crossing the laces diagonally over each other, creating an “X” pattern. It’s a simple and effective way to achieve a snug fit, but you can further customize the tension based on your individual needs and preferences.
Addressing Common Foot Issues with Lacing Techniques
Different hiking boot lacing techniques can address specific foot issues and enhance comfort during your hikes. Here are a few common problems and their corresponding lacing solutions:
lacing hiking boots for wide feet Heel slippage: This occurs when your heel lifts within the boot, causing friction and potential blisters. To prevent heel slippage, employ the heel lock lacing technique. After completing the initial criss-cross lacing, thread the laces through the top eyelets on the same side, creating a loop. Then, cross the laces and thread them through the opposite loops before tying. This secures the heel and reduces movement within the boot.
High instep: A high instep can cause pressure and discomfort on the top of your foot. Utilize the window lacing technique to alleviate this issue. Skip lacing one or two sets of eyelets in the area where your instep feels the most pressure. This creates a “window” that relieves pressure and provides additional space.
Toe pain: If your toes feel cramped or experience pressure, try the toe-relief lacing technique. Simply skip the first set of eyelets near your toes, reducing pressure on the front of your foot and allowing more space for toe movement.
Optimizing Support and Performance: Advanced Lacing Techniques
For enhanced support and performance on challenging terrain, consider these advanced lacing techniques:
Surgeon’s knot: This knot provides extra security and prevents laces from loosening easily. After completing your chosen lacing technique, tie a standard knot. Then, create a second knot by wrapping the lace around the opposite direction before tightening. This creates a more secure hold that resists loosening during activity.
Locking eyelets: Many hiking boots feature locking eyelets near the ankle. These eyelets allow you to create different tension zones for a more customized fit. Lace the lower section of the boot for a snug fit around your foot, then use the locking eyelets to create a tighter or looser fit around your ankle based on your preference.
Lace anchors: Lace anchors are small hooks or loops located on the sides of some hiking boots. They provide additional points for securing your laces and customizing the fit. Experiment with different lacing patterns using the anchors to find the configuration that best supports your foot and ankle.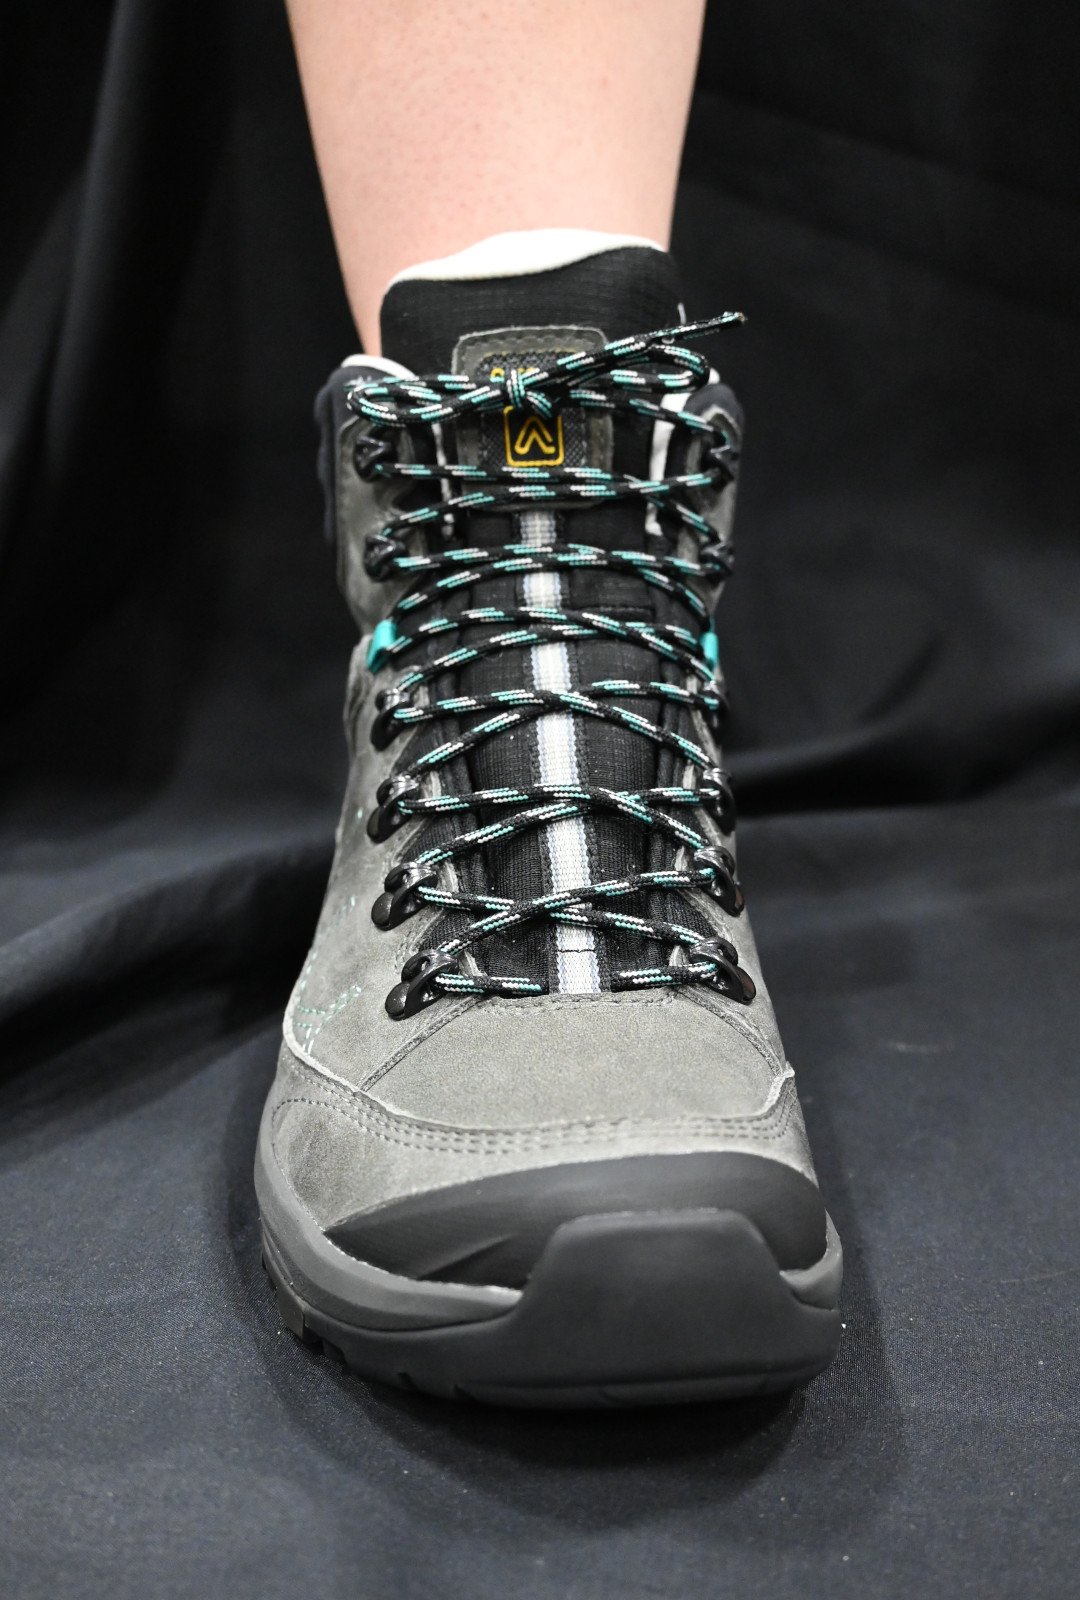
Achieving the Perfect Fit: Tips and Tricks
Beyond specific lacing techniques, here are some additional tips for ensuring your hiking boots fit perfectly:
- Wear appropriate hiking socks: Choose moisture-wicking socks that fit snugly and provide cushioning. Avoid cotton socks as they retain moisture and can lead to blisters.
- Adjust the lacing throughout your hike: As your feet swell and terrain changes, adjust the lacing tension accordingly to maintain comfort and support.
- Experiment and find what works best for you: Every foot is different, so don’t hesitate to try various lacing techniques and find the ones that address your individual needs and preferences.
Mastering Heel Lock Lacing: A Hiker’s Secret for Endurance and Comfort
How to lace hiking boots?Heel lock lacing is a vital but often overlooked aspect of preparing for a long hike. This unique lacing technique offers hikers the ability to snugly secure their feet within their boots, effectively immobilizing the heel and minimizing the risk of blisters and discomfort on the trail. When navigating the demanding terrain of the wilderness, whether scaling a rocky incline or forging through a labyrinth of tree roots, a secure fit can make all the difference. The heel lock method ensures that each step is supported, reducing the likelihood of slippage inside the boot that can compromise footing and lead to potential injury. Utilizing this lacing strategy helps distribute pressure evenly throughout the foot, providing prolonged comfort during extensive treks.
Securing Your Stride
how to lace hiking boots?To properly implement heel lock lacing, hikers should start by threading the laces through the lowest eyelets and move upward in a crisscross fashion. Upon reaching the eyelets positioned just below the ankle—often identified by their placement higher up on the boot or by their hook-like design—the lace is pulled straight up on the same side to create a secure loop before crossing over to the opposite side. The lace end is then threaded through this loop before being drawn tight, effectively ‘locking’ the heel in place. After this pivotal step, the lacing can be finished in the wearer’s preferred style, usually tied off at the top hooks or eyelets. Mastery of the heel lock technique can provide hikers with increased ankle support, reduced friction, and a more tailored boot fit, ultimately enhancing their overall hiking experience.
Conclusion
Lacing your hiking boots correctly can significantly enhance your hiking experience. Whether you need to adjust for fit, prevent sliding, or accommodate swelling, mastering these techniques is essential. Implemented correctly, these lacing methods will ensure your boots support you on every step of your journey.
learning how to properly lace hiking boots is an essential skill for any outdoor enthusiast. The right lacing technique can enhance boot comfort, improve foot stability, and prevent common hiking ailments such as blisters and hotspots. Whether you choose to employ the heel lock method for a snug fit, experiment with different lacing strategies for varied terrain, or adjust the tension to accommodate swelling during long trails, understanding the art of boot lacing is crucial. Remember to take the time to properly lace your boots before each hike, listen to your feet, and make adjustments as needed. With your boots securely and comfortably laced, you’ll be well-equipped to tackle any adventure that lies ahead, confident in the knowledge that your steps are supported by a well-tied foundation. Lace up, step out, and enjoy the majestic embrace of nature, one well-placed step at a time.