Embarking on an outdoor adventure often involves braving the elements, and when the sun is beating down, having a reliable source of shade like the Neso Tent becomes invaluable. Lightweight, portable, and easy to assemble, the Neso Tent is increasingly favored by beachgoers, campers, and outdoor enthusiasts. This comprehensive guide aims to make your Neso Tent setup as smooth as possible, ensuring that you can quickly get back to enjoying the great outdoors with efficient and ideal assembly practices in 2024.
Preparing for Your Outdoor Excursion
Evaluating Environmental Conditions
Begin your preparation by checking the weather forecast. Understand the day’s wind directions and speeds, and consider how it could affect your Neso Tent setup. Strong gusts require secure anchoring and strategic orientation to prevent the hot tent from becoming a makeshift kite. Weather awareness also influences your choice of location and the tent’s position relative to the sun’s path, ensuring maximum shade throughout the day.
Packing Essentials and Understanding Tent Components
Gather your gear and inspect your Neso Tent package; it should contain the canopy fabric, sturdy anchoring bags, collapsible lightweight aluminum poles, and any additional accessories you’ve chosen. Take some time to acquaint yourself with these components at home to avoid confusion during the actual setup. Consider packing a simple checklist with your essentials, including a ground tarp if you’ll be on rough terrain, as well as extra sunscreen and water—integral for a day under the sun.
Assembling Your Standard Neso Tent
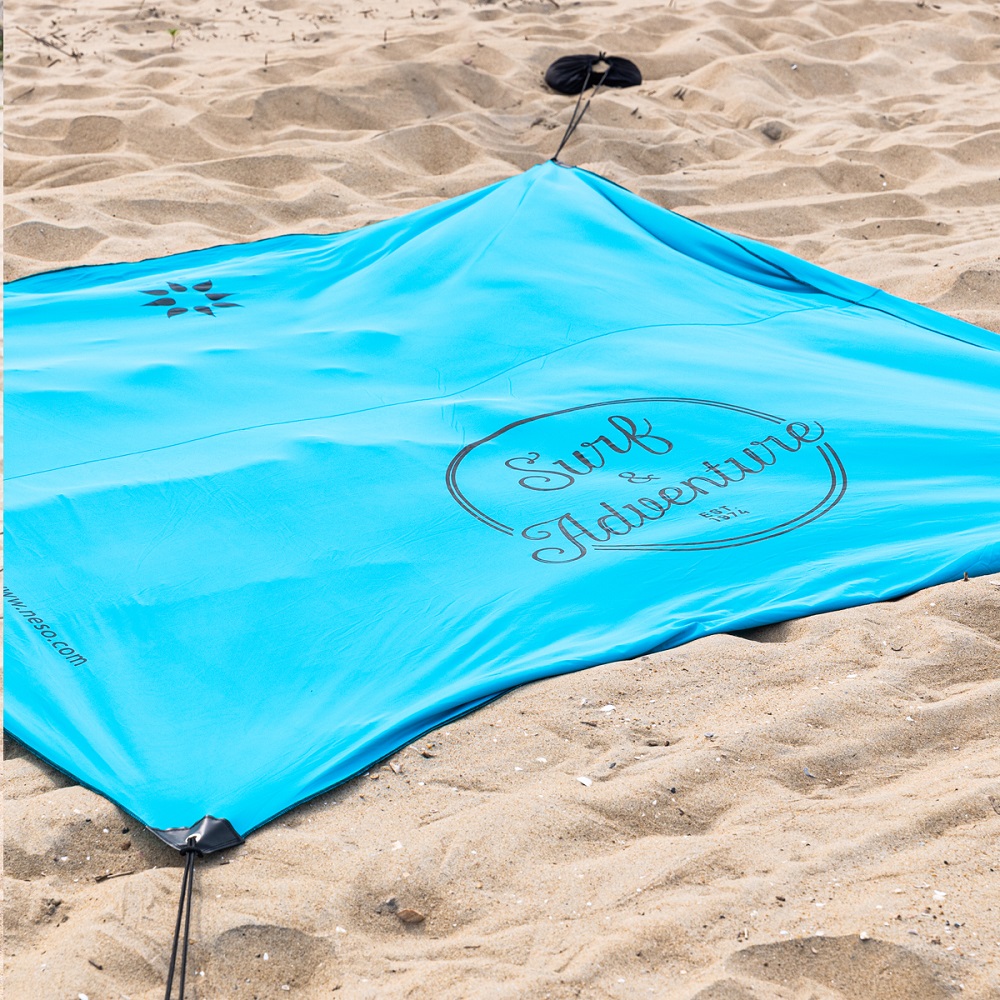
Spreading Out and Securing Your Canopy
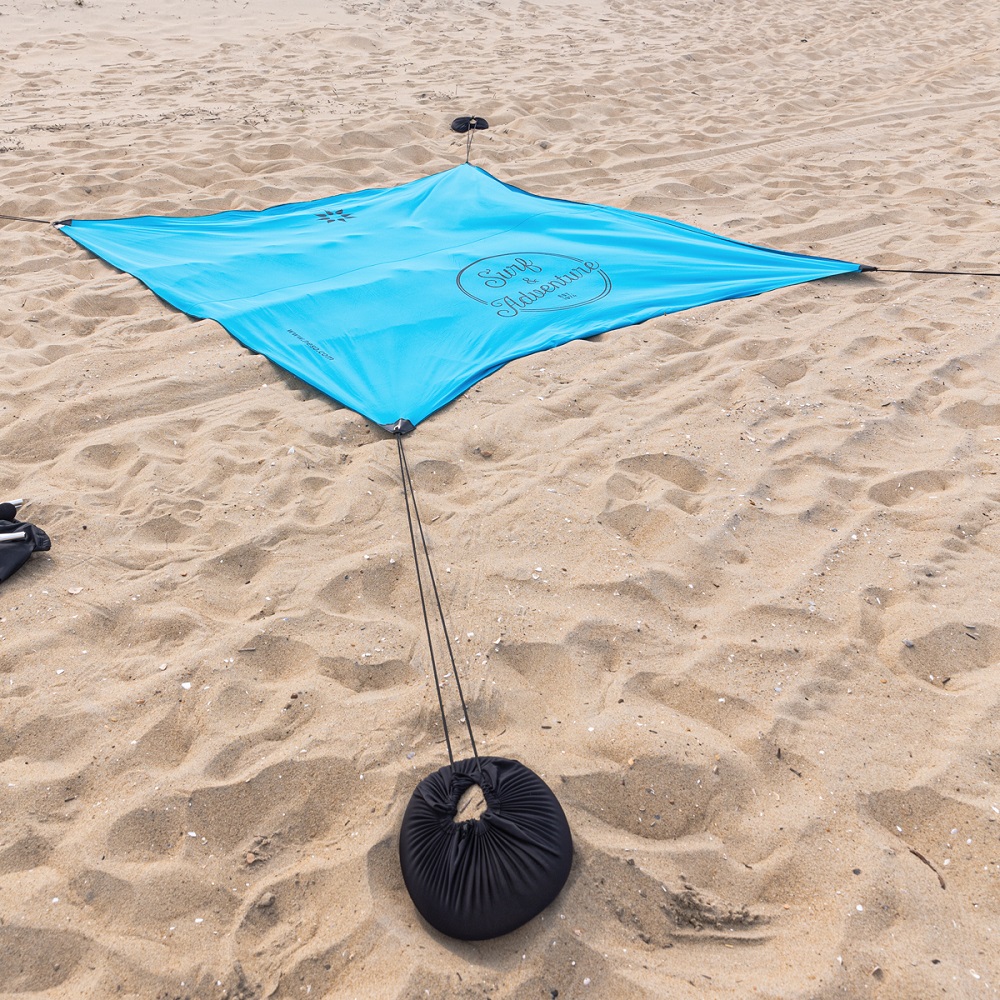
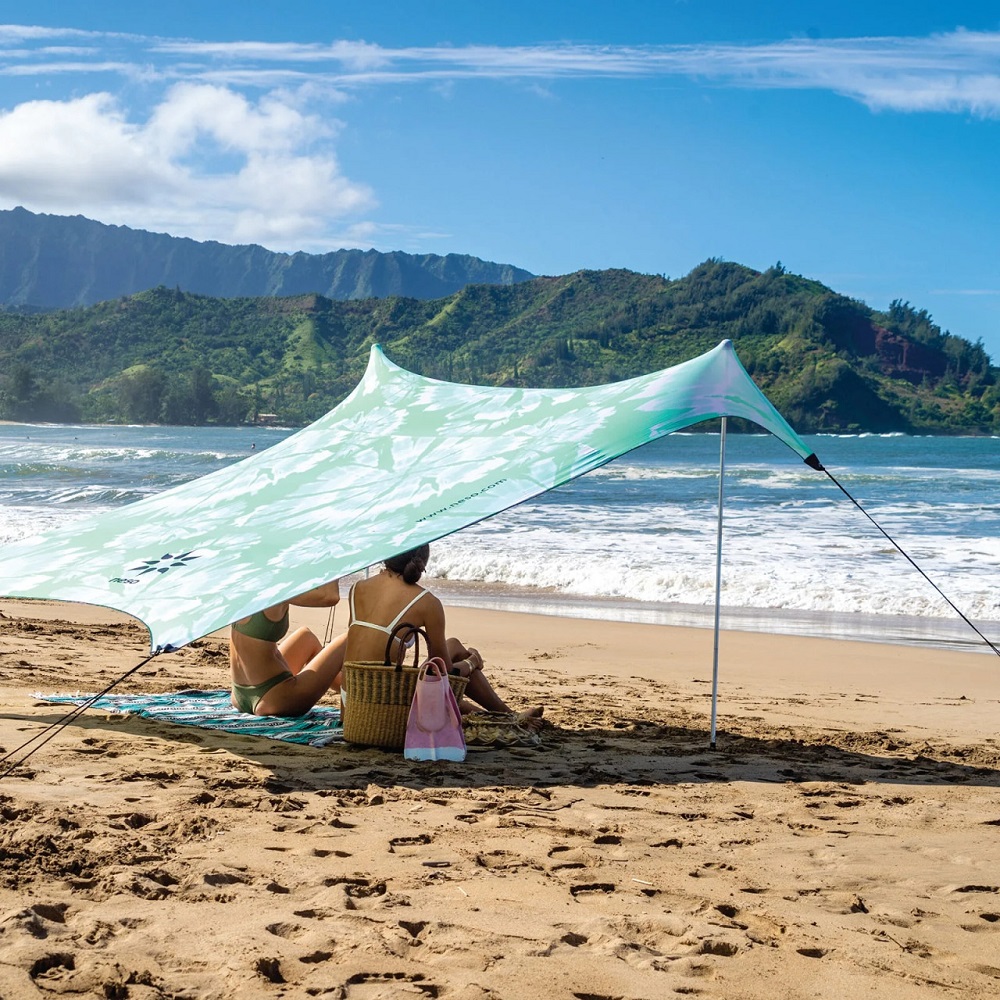
Choose a suitable spot and roll out your Neso Tent flat against the ground, ensuring the fabric is free of wrinkles and debris. Fill the anchor bags about halfway with the available natural resources like sand or stones—they need to be hefty enough to maintain the outdoor tent‘s position. Tie these bags securely to each corner loop of the canopy, pulling each corner taut to create foundational tension needed to support the tent’s form and structure.
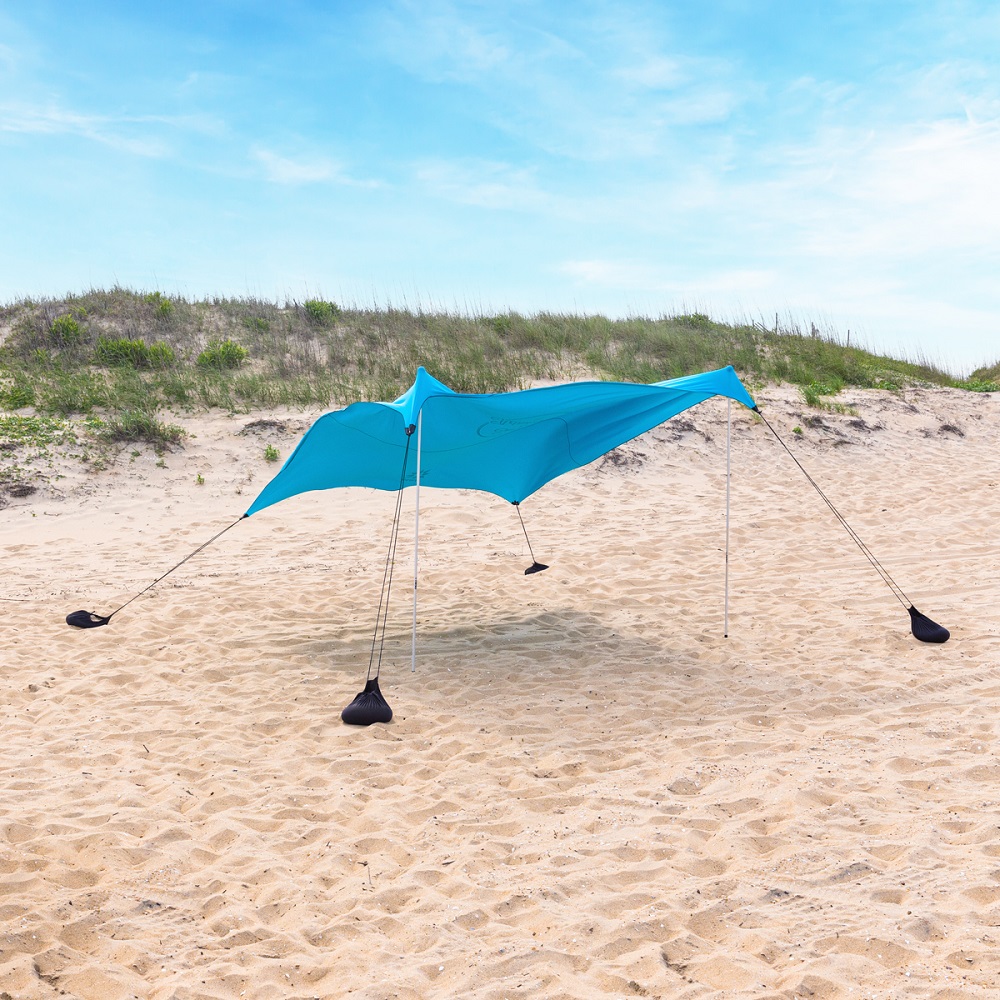
Installing the Aluminum Poles
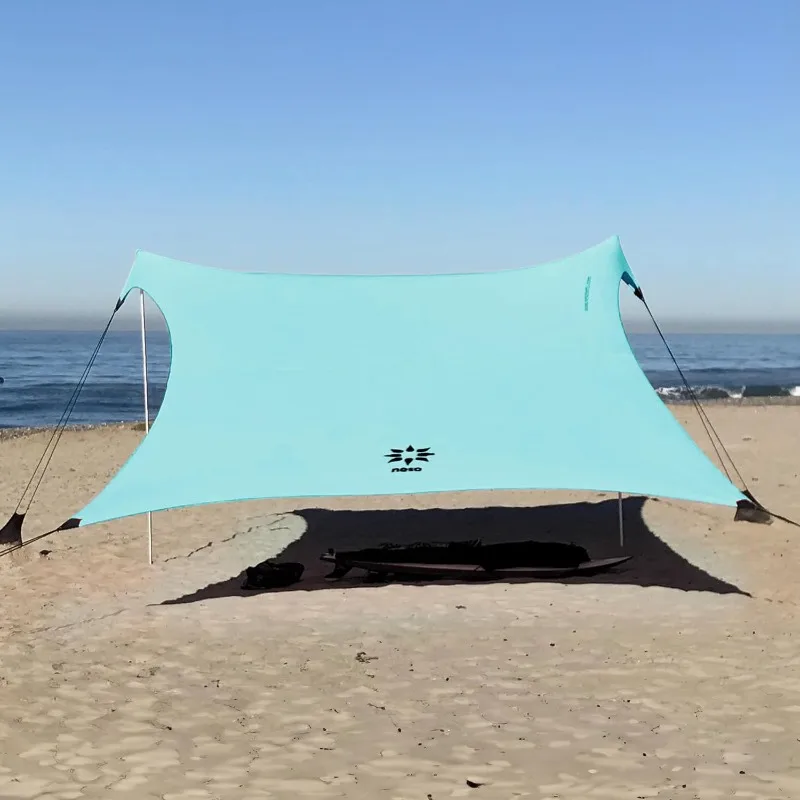
With the anchor bags in place, it’s time to assemble the aluminum poles and insert them beneath the canopy. These poles are the tent’s backbone, so ensure they’re positioned correctly. Plant them securely into the ground at a slant, with the top end pushing against the fabric at your desired height. This not only provides stability but also maximizes the shaded area inside the tent. Make any necessary adjustments to the canopy fabric until it is evenly stretched and taut over the poles.
Erecting the Neso Grande for Group Shade
Maximizing Shade with a Larger Canopy
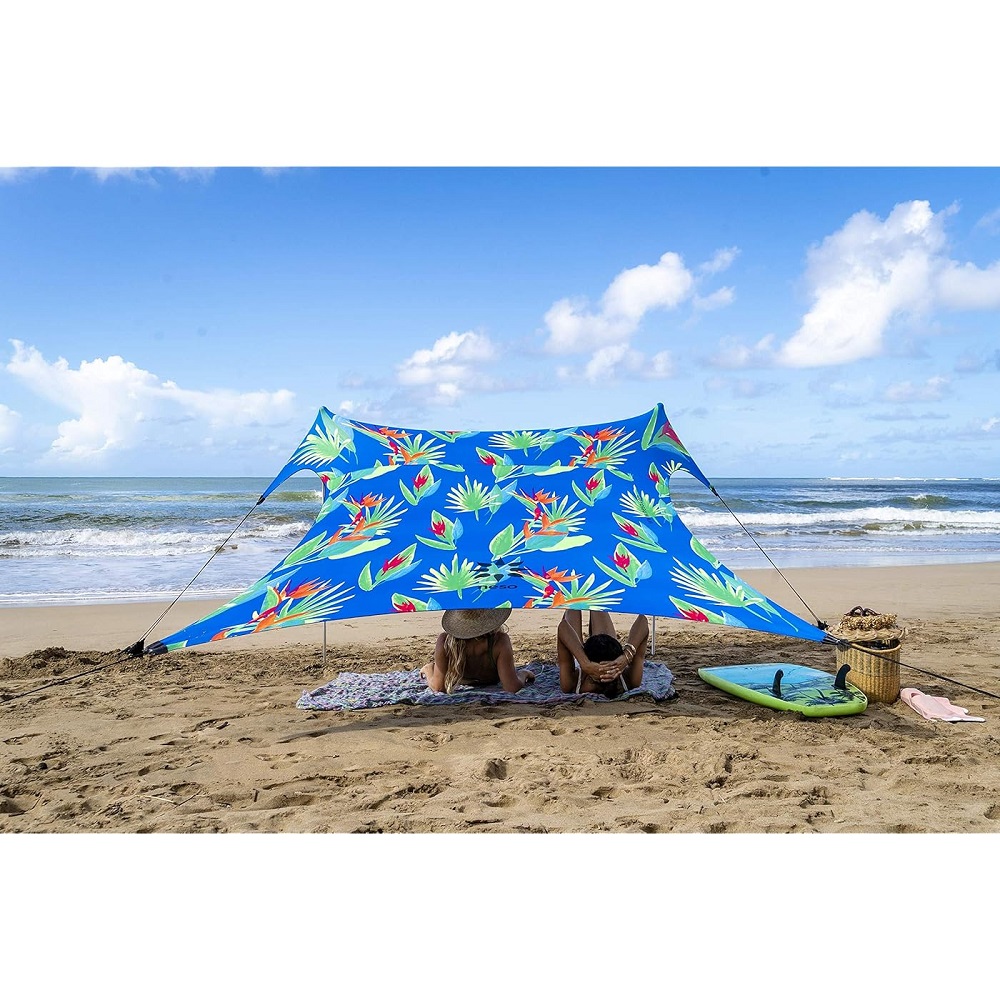
When setting up the larger Neso Grande, you’ll follow the standard size’s steps but pay extra attention to fabric tension due to the increased area. After spreading the tent, meticulously secure the anchoring bags to prevent any sagging in the middle of the canopy. A taut, well-secured tent will provide more consistent shade and will better withstand the elements.
Adjusting Poles for a Spacious Setup
Due to the Neso Grande’s more considerable expanse, the use of poles needs careful consideration to avoid a collapsing center. Ensure the poles are deeply embedded in the ground for increased stability and adjust their height as necessary to keep the center of the tent elevated. Regularly inspect the state of the fabric, re-tensioning your anchor bags throughout the day if needed.
Efficient Neso Tent Setup Strategies
Capitalizing on Natural Surroundings for Stability
When anchoring your Neso Tent, consider the landscape. Utilize any inclines and set up facing into the wind, letting aerodynamic principles work in your favor to stabilize the structure. When filling the anchor bags, moist sand is a heavier and more effective option than dry, as it compacts and holds better.
Adapting Quickly to Changing Environmental Dynamics
The outdoors is unpredictable, and adjustments are often necessary. As the sunlight shifts or wind directions change, you may need to reposition tent poles or rebalance the tension. Frequent checks and prompt adjustments will help maintain optimal performance and comfort under your Neso shade.
Proper Disassembly and Maintenance of Your Neso Tent
Careful Disassembly Preventing Future Issues
At the end of your outdoor session, taking down your Neso Tent requires as much attention as setting it up. Start by gently removing the aluminum poles, being careful not to snap them if they’ve been under tension. Next, untie the anchor bags and empty them of their contents, shaking out the bags to remove all the sand and debris—leaving no trace behind is important for environmental conservation and for maintaining the integrity of your equipment.
Folding and Packing for Longevity
When folding the tent, avoid harsh actions like wringing that may damage the fabric. Follow the fold lines to maintain the original creases and roll the tent carefully to fit into its carrying bag. Place the poles and anchor bags in their respective compartments if provided. Once home, particularly if the tent got wet or dirty, unfold it and let it air dry in a shaded area to prevent mildew or fading caused by direct sunlight.
Safeguarding Your Neso Tent for Future Use
Regular Maintenance and Care Checks
To ensure your Neso Tent stands the test of time, regular cleaning and maintenance are essential. After each use, inspect the tent for any tears or damage. Wash the fabric according to manufacturer instructions—typically with mild soap and water—and regularly check the aluminum poles for any signs of corrosion or bending. Proper maintenance will not only extend the lifespan of your tent but also ensure that it remains a reliable companion for your outdoor adventures.
Prompt Repair for Damaged Components
If you notice any damage during your maintenance checks, address it immediately. Replacement parts are often available from the manufacturer, and small rips in the fabric can be repaired with a patch kit. Ignoring minor issues can lead to more significant problems down the road, so prompt attention will save you time and money.
Storing Your Tent Correctly Between Adventures
Choosing the Right Environment for Storage
Storage conditions can greatly impact the longevity of your Neso Tent. Keep it in a cool, dry place away from direct sunlight when not in use. Avoid damp basements or hot attics where temperature and humidity can fluctuate and potentially harm the materials of your tent. Proper storage will keep the fabric vibrant and the hardware functional for your next outdoor occasion.
Keeping Your Tent Ready to Go
Having your tent ready and in prime condition for the next use means storing it in an easily accessible location, along with related outdoor gear. This way, when the impulse for an outdoor getaway strikes, your equipment is all set for another day of sun protection and enjoyment with minimal preparation needed.
Seasonal Considerations for Neso Tent Users
Adapting Setup Techniques for Various Seasons
The weather and environment can change drastically with the seasons, and it’s essential to adapt your Neso Tent setup accordingly. In the summer, prioritize locations with maximum airflow to keep cool underneath the tent. During cooler months, adjust the tent position to serve as a windbreak. At the same time, ensure it captures warm sunlight. Be aware that snow and frozen ground create unique challenges. It may be necessary to carry additional tools. For instance, a rubber mallet can help secure the poles. Extra tools are especially helpful in colder climates.
Protecting Your Tent from Seasonal Elements
Different seasons bring different elements that can affect the life of your Neso Tent. Spring rains necessitate thorough drying post-use to prevent mildew, and winter snow demands careful removal from the tent’s surface to avoid fabric stress or pole bending. UV rays in the summer can degrade fabric over time if left exposed unnecessarily. Thus, regardless of the season, protect your tent when it’s not in use by storing it properly, as previously outlined.
Enhancing Your Neso Tent Experience
Customization Options for Convenience and Comfort
The Neso Tent offers agility in its basic setup, but enhancing your experience with customization can lead to greater enjoyment. Consider accessories like tent connectors if you require an extended shade area, or sand anchor augers for extra windy conditions. Neso also offers different fabric patterns and colors, allowing you to personalize the tent’s look. Add-ons like sun walls can provide additional protection from low-angle sun or increased privacy.
Incorporating Fun and Functionality
Beyond practical considerations, remember that the tent is a central part of your outdoor experience. Integrate elements of fun by attaching lights for evening ambiance or setting up a Bluetooth speaker safely within the canopy’s shade to enjoy music. For functionality, bring along foldable tables or clip-on cup holders to keep your refreshments sand-free and within easy reach. The key is to find balance in enhancing your Neso Tent setup to match the tone and needs of your outing.
The Neso Tent is a quintessential item for anyone who loves spending time outdoors. It offers a convenient and practical solution for shade, combining ease of setup with effective sun protection. Follow this detailed guide for setup and takedown meticulously. Maintain regular care for your Neso Tent. Address any signs of wear and tear promptly. Doing so will ensure your Neso Tent stays in peak condition. It will provide comfortable and reliable shelter. This applies to all your outdoor adventures. Whether you’re a solo beachgoer, a family on a picnic, or a group of friends at a festival, with a Neso Tent, you’re always just a few simple steps away from your personal oasis under the sun.