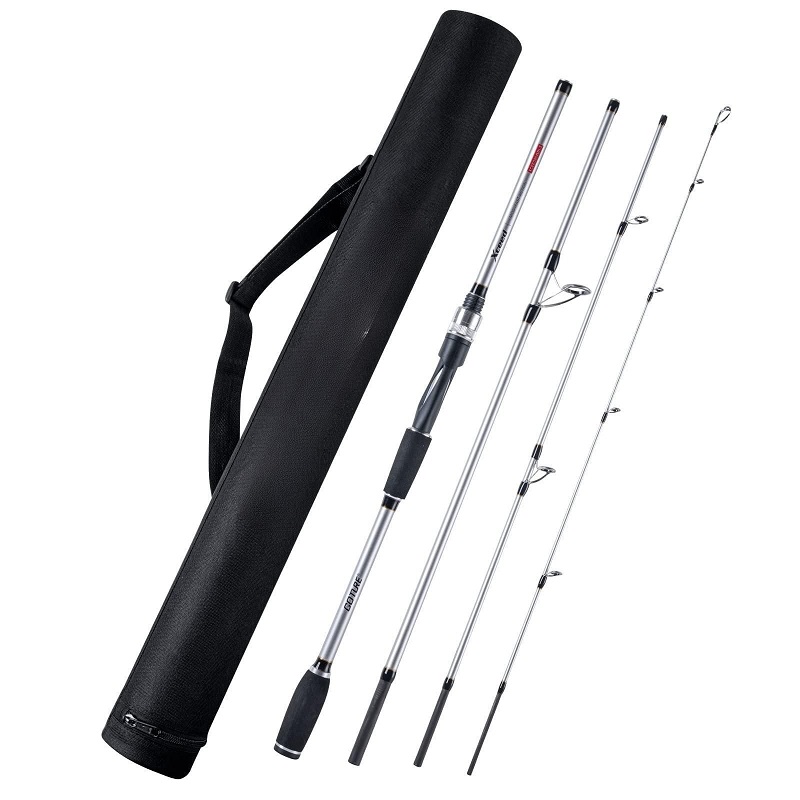
Gathering the Necessary Tools and Materials
Before you start learning how to put a line on a fishing rod, gather the right tools. You will need a fishing rod, fishing line, scissors or a line cutter, and a clean cloth. Ensure you have a flat surface to work on, such as a table or tailgate. A reel is also crucial; it should match your rod and line type. If needed, get a partner to help you hold the rod as you work. With all tools at hand, you’re set for the next steps.
Preparing the Fishing Line
Before threading your fishing rod, preparation of the fishing line is vital. Start by determining the line weight appropriate for your rod and fishing goals. Each rod has a recommended line weight, which ensures balance and efficiency. Once you have the correct line, unspool it to remove any kinks or twists. Lay it straight on a flat surface, preferably under slight tension. Use a clean cloth to wipe down the line, removing debris and dirt. This cleaning enhances the line’s movement through the guides.
Next, examine the line for nicks or frays. This step is crucial. Damaged line can fail under stress, causing you to lose your catch. If you find any damage, cut away the damaged section. Use sharp scissors or a line cutter for a clean cut. A rough edge can snag within the guides and impede your casting. After the line is smooth and straight, you’re ready to begin threading your fishing rod, ensuring a strong setup for successful angling.
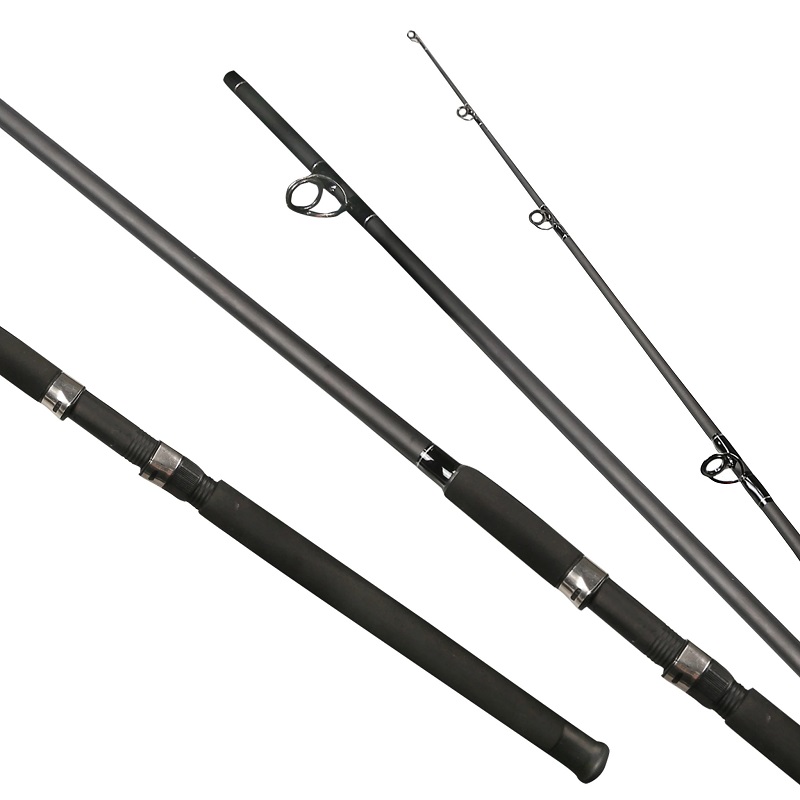
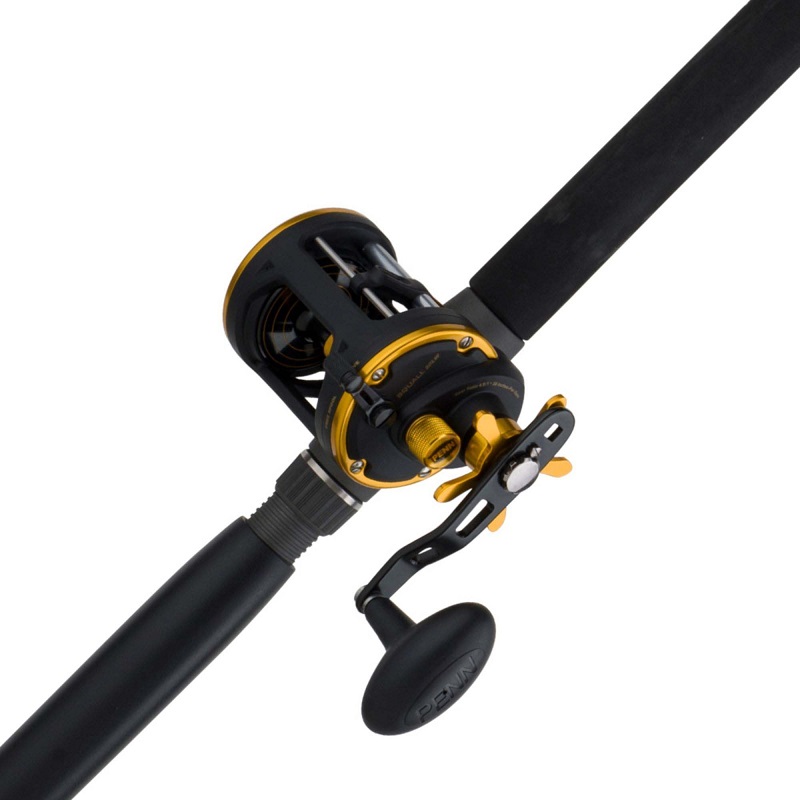
Understanding Rod Anatomy for Proper Line Threading
To thread the line correctly, you need to understand the parts of the rod. The rod typically consists of a handle, where you grip; a reel seat, where the reel attaches; and guides, which are the rings along the rod’s length. The tip-top is at the rod’s end and is the final guide that the line passes through. Each guide decreases in size from the handle to the tip-top. Knowing these parts will help you follow the path for the line.
First, identify the largest guide near the handle called the butt guide. This is where you will start threading. Next, locate each subsequent guide up to the smallest one at the tip, the tip-top guide. Ensure the rod sections are properly aligned if it’s a multi-piece rod. Misalignment can cause the line to snap or wear out sooner.
Hold the rod horizontally with the butt end stabilized. This makes it easier to steer the line through each guide. Use your other hand to thread the line, starting from the butt guide to the tip-top guide. Take your time and ensure the line enters each guide gently. Rushing can lead to mistakes or tangling the line. If you have trouble, you can use a threading tool or ask a partner to assist. Understanding rod anatomy and proceeding carefully are key steps in how to put a line on a fishing rod.
Threading the Line Through the Rod Guides
Once you understand the anatomy of the rod, you can begin threading the line. This process is straightforward but requires attention to detail to avoid snags and ensure smooth casting later on. Here’s how to put a line on a fishing rod by threading it through the rod guides effectively:
- Start at the Butt Guide: Locate the butt guide, the largest ring near the handle of the rod. Insert the tip of the fishing line through this guide.
- Proceed Sequentially: Move to the next guide, threading the line through each one. Remember to follow the sequence without skipping any guides.
- Use Both Hands: Hold the rod with one hand and use the other hand to feed the line. This way, you maintain control and precision.
- Avoid Twisting: As you thread, ensure the line doesn’t twist. A twisted line can lead to tangles and casting issues.
- Reach the Tip-Top: Continue until you reach the smallest guide, the tip-top. Pass the line through carefully to prevent it from slipping out.
Threading the line correctly through the rod guides is critical to the performance of your setup. Ensure that the line remains taut but not too tight, as excessive tension can cause it to snap. Once you have the line through all the guides, you’re ready to attach it to the reel, which is the next crucial step.
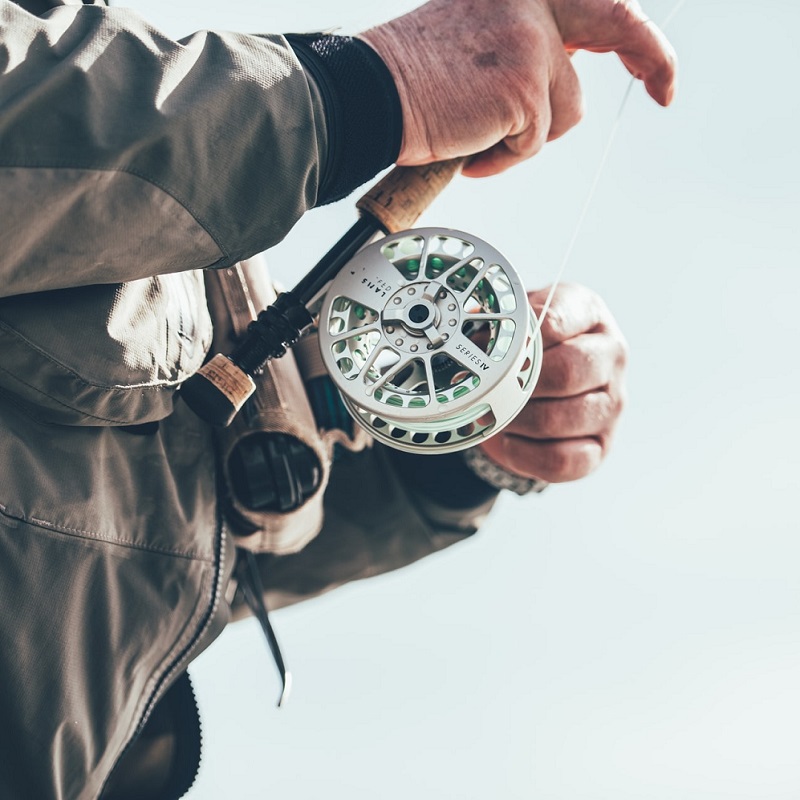
Attaching the Line to the Reel
With the line through the rod guides, we now attach it to the reel. This step is crucial to ensure that your line remains secure. Here’s a straightforward way to do it:
- Open the Bail: First, make sure the bail of the reel is open. This allows for the free movement of the line.
- Tie the Line: Using a secure knot, tie the end of your line to the reel spool. An arbor knot is a good choice for this task.
- Trim Excess Line: After tying the knot, cut off any excess line beyond the knot. Leave a short tail to prevent slippage.
- Close the Bail: Gently close the bail to secure the line in place, ensuring it does not unwind.
- Keep Tension: As you begin to wind the line, maintain slight tension. This helps the line to lay evenly on the reel spool.
Attaching the line properly to the reel prevents problems when casting or retrieving. Use steady, even movements to avoid line twists as you secure it. You are now ready to wind the line onto the reel.
Winding the Line onto the Reel
Once you have attached the line to the reel, it’s time to wind it. This step is vital for a smooth fishing experience. Here’s how to put a line on a fishing rod by winding it onto your reel correctly:
- Hold the Rod Properly: Grip the rod near the reel with one hand for stability.
- Apply Tension: Use your other hand to apply light tension to the line. This prevents loops and snarls.
- Turn the Handle: Slowly turn the reel handle to wind the line. Keep the motion steady.
- Guide the Line: As you turn the handle, guide the line back and forth across the spool. This ensures even distribution.
- Check for Kinks: Regularly pause to check for kinks or twists in the line.
- Fill the Spool: Continue winding until the line is about 1/8 inch from the rim of the spool.
Correctly winding the line prevents tangles and ensures a long, smooth cast. It’s important not to rush this step. Make sure the line lays flat and even on the spool. If you notice any issues, stop and fix them before continuing. With patience and care, you’ll set up your fishing rod for a successful outing.
Securing the Line and Setting Tension
After you’ve threaded the line and wound it onto the reel, the next step is making sure it’s secure. Doing this right affects your casting and retrieval, ensuring smooth performance on the water. Here are simple steps to secure your line and set the right tension:
- Check the Knot: Ensure the knot at the reel spool is tight and trimmed. A secure knot prevents the line from slipping.
- Test Tension: Pull the line gently to test tension. It should offer slight resistance but should not be too tight or too loose.
- Adjust Drag: Fine-tune the reel’s drag knob. This adjustment helps you manage the line tension during a catch.
- Avoid Over-tightening: Don’t over-tighten the line. This can weaken it and lead to breakage.
- Check for Snags: Run the line through your fingers to feel for any snags. Fix any issues before proceeding.
Securing the line and setting the correct tension are crucial steps in how to put a line on a fishing rod. A well-set line minimizes issues and maximizes your chances of a good catch. Take your time to get this right, and you’ll have a more enjoyable and productive fishing trip.
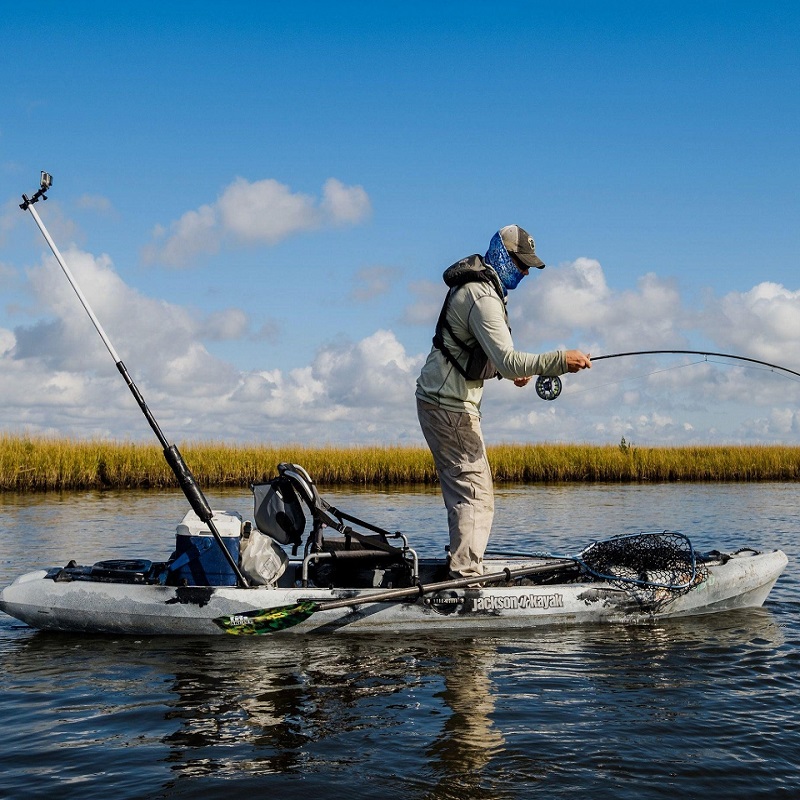
Final Checks Before Hitting the Water
Now that you know how to put a line on a fishing rod, it’s essential to make a few final checks before you hit the water. These last steps can prevent mishaps and ensure your setup is optimized for performance.
- Examine the Line Flow: Take a moment to visually inspect the line. Make certain it runs straight through all the guides and there’s no twisting.
- Perform a Tension Test: Give the line a gentle tug to ensure the tension is consistent. The line should not be too taut or too slack.
- Inspect the Reel Seat: Make sure the reel is firmly seated and tightened. A loose reel can cause issues during casting or retrieval.
- Check the Drag Setting: Verify the drag setting is appropriate for the type of fish you’re targeting. Adjust if necessary.
- Practice Casting: Take a few practice casts. This helps to spot any problems with your setup before you start fishing.
- Look for Wear and Tear: Scan the rod and line for any signs of wear or damage. It’s better to address these now, on land.
By following these simple steps, you’ll avoid common issues that can arise when fishing. Ensure each component of your rod and reel is checked for secureness and functionality. After these final checks, you’re ready for a successful day of fishing. Remember, taking a bit of extra time now can save you time and frustration later.