Essential Equipment for Lining a Fishing Rod
Before you start the process of how to line a fishing rod, you need the right equipment. Having the correct tools and materials is essential for a successful and efficient setup.
Types of Fishing Lines
Selecting the proper fishing line is crucial for your rod setup. There are various types to choose from:
- Monofilament lines, which are versatile and user-friendly, making them great for beginners.
- Braided lines, known for their strength and durability, are suitable for heavy-duty fishing.
- Fluorocarbon lines, which have a low visibility underwater, are perfect for clear waters.
Choose a line that matches your fishing environment and target species.
Types of Fishing Rods
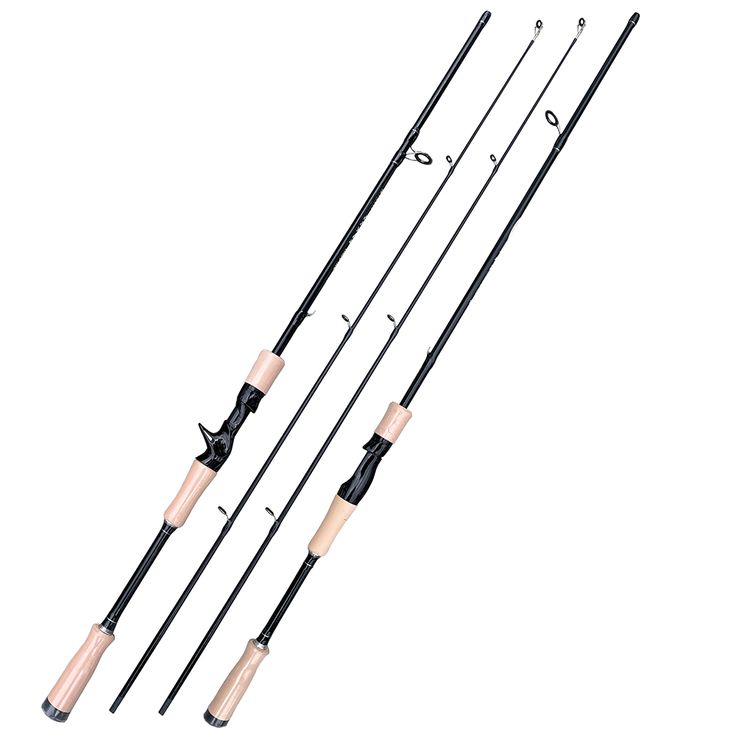
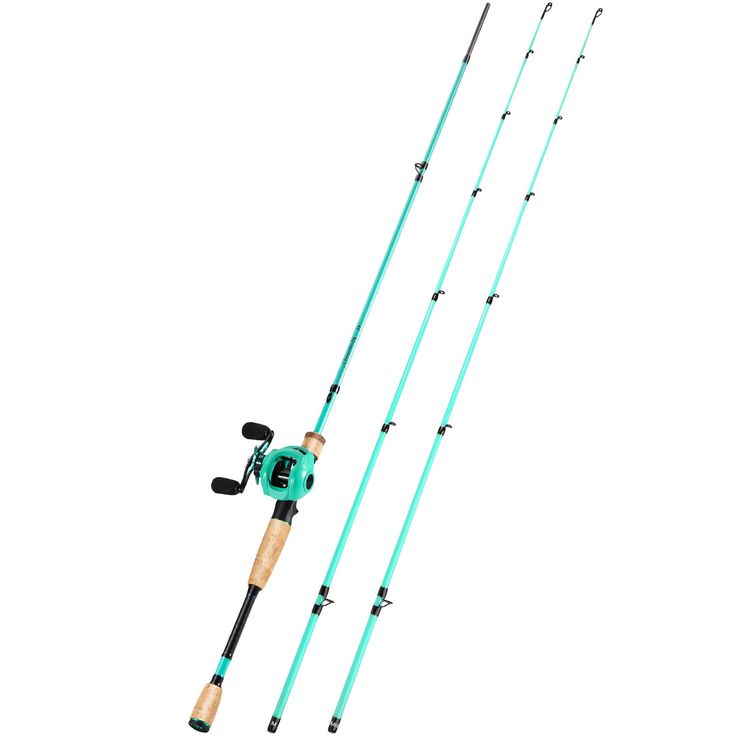
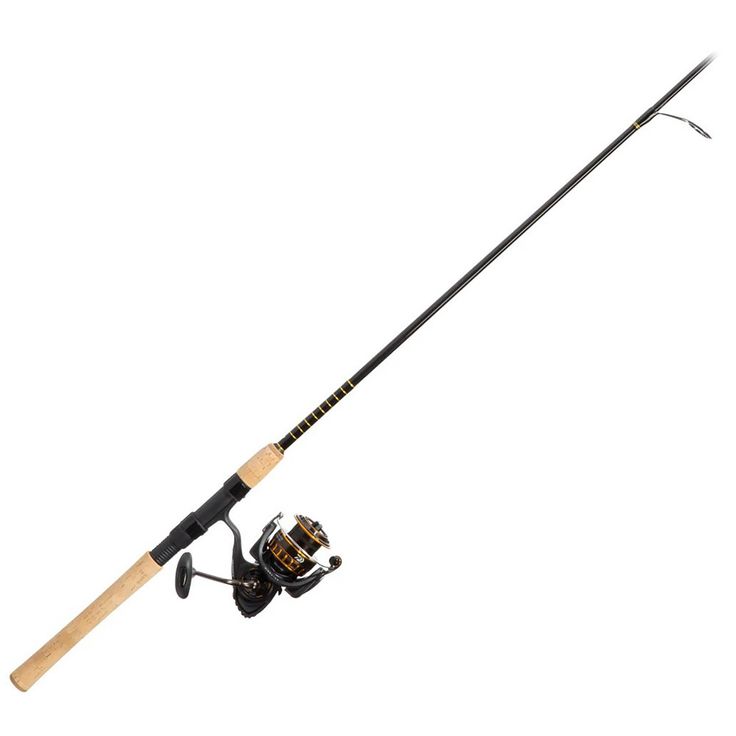
Fishing rods come in different styles and lengths, each designed for specific types of fishing. Common types include:
- Spinning rods, which are ideal for lighter lures and baits.
- Casting rods, that offer more control for heavier lures.
- Fly rods, specifically used for fly fishing techniques.
Pick a rod that complements the fishing line type and the kind of fishing you plan to do.

Preparing Your Fishing Rod
Cleaning and Inspecting the Rod
Before you attach the reel or line, ensure your fishing rod is in good shape. Start with a thorough cleaning. Wipe down the rod with a soft, damp cloth to remove any dirt or debris. Next, inspect the rod closely. Look for any signs of wear or damage, such as cracks or nicks, especially around the guides and at the joints. These could affect performance or cause the line to snap.
If you find any damage, consider repairing or replacing the rod. A well-maintained rod provides the foundation for learning how to line a fishing rod properly.
Attaching the Reel
Once the rod is clean and checked, it’s time to attach the reel. Start by loosening the reel seat on the rod. Slide the reel into the seat, ensuring that it’s aligned correctly. The reel should sit where your hand comfortably grasps the rod. Tighten the reel seat until the reel is secure, but don’t over-tighten, as this might damage the rod.
Ensure that the reel handle is on the correct side for your dominant hand. This makes reeling and controlling the line easier when you are fishing. Correct positioning is crucial for an efficient experience once you begin threading the line.
Threading the Line Through the Rod Guides
Threading the line correctly is vital for a smooth fishing experience. Follow these simple steps to thread your line through the rod guides:
Step-by-Step Threading Technique
- Start with the end of your fishing line and begin at the tip of the rod.
- Insert the line into the smallest guide at the rod’s tip.
- Pull the line through, reaching from guide to guide down towards the reel.
- Ensure that the line goes through the center of each guide.
- Use gentle, consistent pressure to avoid snagging or damaging the line.
- Stop threading the line at the reel and prepare to secure it.
Remember, keeping the line free from twists is crucial during this process.
Common Mistakes to Avoid
- Skipping a guide can cause the line to tangle or wear unevenly.
- Rushing the threading may result in loops and knots in the line.
- Forcing the line through the guides might damage both the line and the guides.
- Neglecting to check for twists in the line before starting could lead to problems when casting.
By avoiding these mistakes, you ensure a properly lined fishing rod ready for action.

Securing the Line to the Reel
After threading the line through the rod guides, the next crucial step is securing the line to the reel. This ensures that your line stays in place and can handle the stresses of casting and reeling in fish.
Knot Tying Techniques
Mastering the art of knot-tying is vital for securing the line. There are several knots favored by anglers for their strength and reliability:
- The Arbor Knot is popular for its simplicity and effectiveness in tying the line to the reel spool.
- The Improved Clinch Knot is strong and works well for monofilament and fluorocarbon lines.
- A Uni Knot can be versatile, useful not only for tying the line to the reel but also for attaching hooks and other tackle.
Choose a knot that you can tie confidently and that suits the type of line you’re using. Practice tying these knots until you can do them quickly and securely.
Testing the Line Tension
After securing the line, it is important to test the tension. This will prevent issues like line twists or looping that can occur with incorrect tension. Gently pull on the line after it is tied and adjust the tension if necessary. The line should have a slight give but not be too loose or too tight. Correct line tension helps in smooth casting and in reeling the fish in.
Winding the Line onto the Reel
After securing the line, the next step is winding it onto the reel. This process requires attention to ensure the line lays evenly and functions well when you fish.
Manual vs. Automatic Winding
There are two ways to wind your line: manual and automatic winding.
- Manual Winding involves turning the reel handle yourself. It gives you control over the tension and distribution of the line on the spool.
- Automatic Winding uses a machine or a special reel feature to wind the line. It can be faster but may not provide the same level of control as manual winding.
Choose the method that you feel more comfortable with and that suits your fishing style.
Tips for Even Distribution
Even distribution of the line on the reel is critical to prevent future issues.
- Start Slow: Begin winding slowly to ensure the line wraps neatly around the spool.
- Watch the Tension: Keep consistent tension on the line. This helps to avoid loose coils that can cause tangling.
- Guide the Line: Use your fingers to guide the line from side to side across the spool. This contributes to an even spread.
- Avoid Overfilling: Fill the spool to about an eighth of an inch from the rim to allow for line expansion during use.
By following these tips for winding the line onto the reel, you’ll set yourself up for a smoother casting experience and reduce the chances of encountering problems on your next fishing outing.

Final Adjustments and Checks
After you wind the line onto the reel, final adjustments ensure everything is set for your fishing venture.
Tightening Connections
Double-check all connections. Make sure that each part of the fishing rod setup is secure.
- Tighten the reel seat so the reel won’t wobble.
- Verify the guides are all firmly in place.
- Re-check knots at the reel for any slipping.
Consistency is key in these last steps to prevent equipment failure.
Trim Excess Line
Excess line left after tying knots can get in the way. It may snag on objects or tangle during use.
Here’s how to handle it:
- Use sharp scissors or a line cutter for a clean cut.
- Leave just enough line at the knot to prevent unraveling – about an eighth of an inch.
- Dispose of trimmed line fragments responsibly.
By tidying up the excess line, you maintain a neat setup and reduce waste.
Tips for Maintenance and Storage
Maintaining your fishing rod ensures it lasts longer and performs better. Here are some regular maintenance checks you should do:
Regular Maintenance Checks
- Check for Damage: Inspect your rod and line for any signs of wear or stress after each use.
- Clean Regularly: Wipe the rod, reel, and line with a soft cloth to remove dirt and salt.
- Lubricate Moving Parts: Apply oil to the reel’s moving parts to keep them working smoothly.
- Check Knots and Connections: Make sure your knots are tight and the line’s connections are secure.
- Store with Care: Never store your rod while it’s wet. Allow it to dry completely to prevent rust and corrosion.
These checks will help you catch problems early and keep your gear in top condition.
Proper Storage Solutions
Storing your rod correctly is just as important as regular maintenance:
- Use a Rod Rack: Store your rod horizontally or vertically on a rack to avoid bending.
- Avoid Heat and Sunlight: Keep your rod in a cool, shaded place to prevent damage from heat and UV rays.
- Protect the Line: Keep the line loosely wound and out of direct sunlight to prevent weakening.
- Use a Rod Cover: A cover shields your rod from dust and damage during storage.
- Separate Parts: If possible, disassemble your rod and reel to relieve tension from the line and equipment.
Proper storage solutions preserve your equipment’s life and ensure it’s ready for your next fishing adventure.