Introduction to Fishing Rod Setup
Setting up a fishing rod may seem daunting at first. Yet, it’s a vital skill for any angler, whether they’re a beginner or seasoned expert. How to set up a fishing rod? The process involves several steps, each essential for ensuring a successful fishing experience. By following a guided setup, anglers can look forward to an efficient and enjoyable day on the water.
Choosing the right equipment is where it all begins. This includes the rod, reel, and line that best suit your fishing needs. It’s important to match them appropriately to avoid any imbalance that could hinder your fishing technique. Once you’ve selected the perfect equipment, you’ll need to attach the reel to the rod and thread the line through the rod guides. Properly tying the line to the reel is next, with various knots available for different purposes.
Adding a leader and tippet can greatly affect your chance of catching fish. Understanding how to attach these correctly is crucial for stealth and strength. Setting the drag on your reel correctly will help you when you hook a fish, ensuring the line doesn’t break under stress.
Lastly, linking the right bait and hooks, and mastering your casting technique can make all the difference between going home empty-handed or with a great catch. By the end of this setup guide, you will have a better understanding and can confidently start fishing with your properly set up rod.

Selecting the Right Equipment
Choosing the right equipment is a foundational step for any successful fishing trip.
Choosing Your Fishing Rod
Selecting a fishing rod that fits your needs is crucial. It should feel comfortable in your hand and suit the type of fishing you plan to do. Consider factors such as rod length, power, and action. A longer rod can cast further, while a shorter rod is better for close-quarters fishing. Power refers to the rod’s resistance to bending; pick one that matches the size of the fish you’re targeting. Action describes where the rod flexes; fast action rods bend near the tip, and slow action rods bend near the base.
Picking the Best Reel for Your Rod
The reel you choose must balance well with your rod. Check the reel’s weight and ensure it feels good when mounted on the rod. The reel should respond smoothly to your movements and have an appropriate drag system. For smaller fish, a light reel is adequate, but for larger fish, opt for a stronger reel with a robust drag system.
Understanding the Different Types of Fishing Lines
Your choice of fishing line impacts catch success. Monofilament lines are common and stretchy, good for beginners. Braided lines are strong and have no stretch, suitable for long-distance casting and heavy fish. Fluorocarbon lines are nearly invisible in water and perfect for wary fish. Choose a line that supports the weight of your target species and suits the water conditions.
Attaching the Reel to the Rod
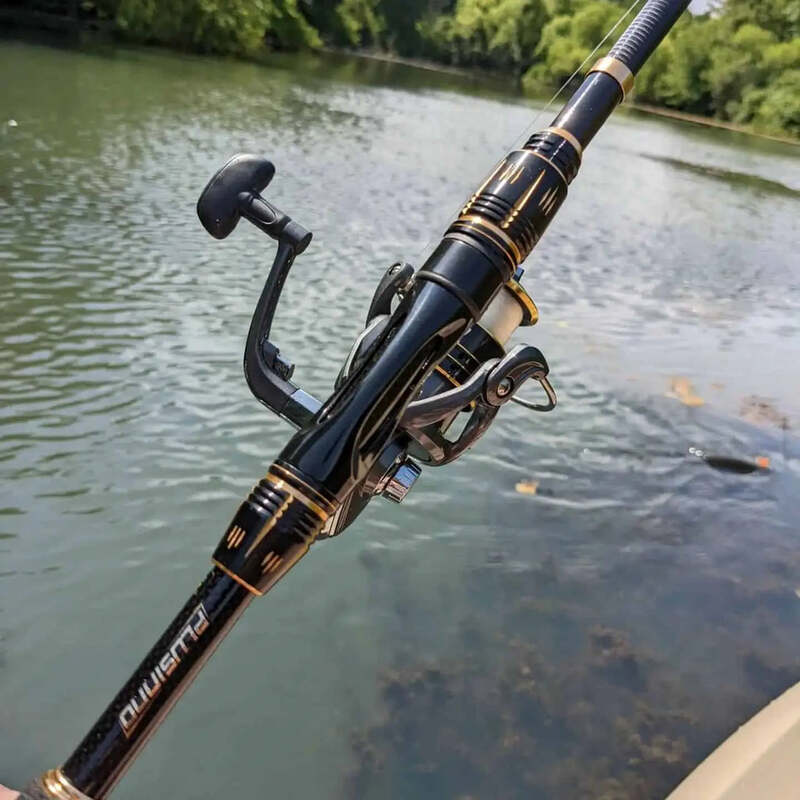
Attaching the reel to your fishing rod is a fundamental step in setting up for your fishing adventure. The reel functions as the core of your casting and retrieval system and must be securely connected to avoid any issues on the water. Here’s a simple guide on how to do it effectively:
- Open the Reel Seat: Locate the reel seat on the rod and unscrew it to create enough space for the reel’s foot.
- Insert the Reel Foot: Take your reel and align its foot with the opening of the reel seat on the rod.
- Secure the Reel: Tighten the reel seat until the reel foot is firmly grasped. Ensure there’s no wobble.
- Check Alignment: Make sure that the reel is aligned properly with the rod guides to facilitate smooth line flow.
- Final Adjustment: Give a gentle tug to assure the reel is fastened securely, and adjust if necessary.
Make sure the reel’s orientation suits your casting hand. For a right-handed caster, the reel handle should be on the left side, and for a left-handed caster, the handle should be on the right side. This will make reeling in your catch much more comfortable. These steps are crucial to establish a solid foundation for the rest of your fishing rod setup.

Threading the Line Through the Rod Guides
After attaching the reel, the next step is threading the line. Start by opening the bail arm on the reel. This will allow the line to come off freely. Hold the end of the line and begin threading it through the guides of the rod. Start from the guide closest to the reel and work upwards to the tip.
There are a few important tips to consider when threading:
- Keep a steady hand: Avoid letting the line slip, which can cause tangles.
- Avoid twisting: Ensure the line goes straight through the guides to prevent coiling.
- Handle the rod carefully: Be gentle when guiding the line to avoid damaging the rod.
- Secure loose ends: Tape or clip the end of the line to the reel to prevent it unwinding.
Once the line is through all the guides, you can close the bail arm. Pull the line to ensure smooth movement through each guide. Correct threading is vital for accuracy and distance in casting.
Tying the Fishing Line to the Reel
After threading the line through the rod guides, the next crucial step is to secure the line to the reel. This process, if done correctly, ensures that your fishing line stays intact and can handle the weight and pull of the fish. Let’s break down the technique to make this step simpler and more effective.
Knot Types and Techniques
There are various knots that you can use to tie your fishing line to the reel, each with its strengths and specific uses. Here are some of the most reliable knots:
- Arbor Knot: Begin by wrapping the line around the reel spool. Tie an overhand knot with the tag end of the line. Then, tie a second overhand knot at the end of the tag. Pull on the main line to slide the first knot down to the spool and tighten the second knot against the first. This knot is simple and excellent for beginners.
- Nail Knot: This requires a small tube like a nail knot tool. Place the tool next to the line and the reel. Wrap the line around the tool and the standing line about six times. Insert the tag end through the tube and remove the tool. Pull the tag end and standing line in opposite directions to tighten. This knot is very secure but might be a bit challenging for beginners.
- Improved Clinch Knot: Thread the line through the reel spool twice to create a loop. Wrap the tag end around the standing line five to seven times. Pass the tag end through the loop near the reel. Wet the knot and pull both the tag and the standing line to tighten. Good for all types of fishing line.
The effectiveness of your fishing setup largely depends on how well you tie these knots. Practice these techniques to ensure a strong and reliable line attachment for a successful fishing experience. Ensure that each knot is tight and secure before proceeding to the next step of your setup.

Adding the Leader and Tippet
After setting up your fishing rod, reel, and line, the next crucial step is adding the leader and tippet. This component is essential as it connects your main fishing line to the bait or lure, providing the necessary invisibility and flexibility needed for successful fishing.
The Importance of a Properly Attached Leader
A properly attached leader is critical for several reasons. First, it helps to ensure that the fish are not spooked by the line, as leaders are typically less visible underwater. This aspect is especially crucial in clear waters where fish might be wary. Additionally, a well-attached leader absorbs the sudden shocks and pulls, preventing the line from breaking when a fish strikes. Leaders come in various lengths and strengths, and selecting the right one can significantly enhance your chances of capturing your target species.
Different Knots for Attaching Leaders and Tippets
Choosing the right knot for attaching your leader and tippet to your fishing line can greatly affect your fishing success. Here are some reliable knots you can use:
- Loop to Loop Connection: This is the easiest method if both your line and leader have pre-formed loops. Simply interlock the loops to connect them.
- Surgeon’s Knot: Useful for connecting two lines of slightly different diameters. Overlap the lines, tie a simple overhand knot, and pull it tight.
- Blood Knot: Ideal for lines of similar sizes. Align the ends of the leader and the main line, twist them around each other, and pull tight.
- Double Surgeon’s Loop: This knot is excellent for adding a tippet to a leader. Fold the line to make a loop, and then tie a simple overhand knot through the loop you created.
Each knot has its own advantages and is suitable for different fishing conditions. Take some time to practice these knots to find which works best with your setup.
Setting the Drag on Your Reel
Setting the drag on your fishing reel is crucial for effective fishing. The drag system allows you to control how much resistance a fish feels when it pulls on the line. Properly setting the drag ensures that the line does not break under tension. Here’s how you can set the drag correctly:
- Begin with a Loose Setting: Start by setting the drag to a loose setting. You can tighten it later as needed.
- Pull the Line: Gently pull the line from the reel. Feel the resistance. The line should come off smoothly without too much force.
- Adjust the Drag Knob: Find the drag knob, usually located at the front of the reel. Turn it clockwise to increase resistance, or counterclockwise to decrease it.
- Test the Resistance: Continue to pull the line after each adjustment. Aim for a setting that offers enough resistance to tire a fish but not break the line.
- Check Often: Re-check and adjust the drag during fishing as needed. Different fish and situations require different settings.
By following these steps, you can properly set the drag on your reel. This setup helps prevent line breaks and aids in landing fish effectively.
Attaching Bait and Hooks
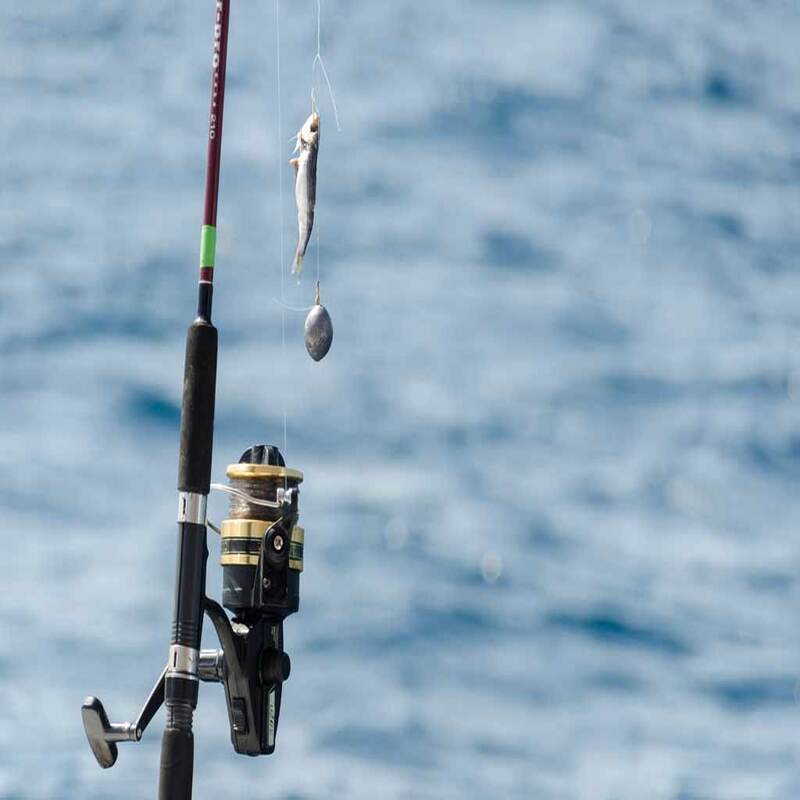
Attaching the right bait and hooks is key to fishing success.
Choosing the Right Bait for Your Target Fish
Select bait based on the fish species you’re targeting. Different fish prefer different bait. Consult local anglers or bait shops for advice on the best choices. Remember, live bait often works well but artificial lures can also be effective. Choose from worms, minnows, insects, or artificial lures like spinners and flies.
Securing Your Hook with Reliable Knots
To attach your hook, use knots that hold strong under tension. The Improved Clinch Knot is popular for its strength and ease. To tie it, pass the line through the eye of the hook. Wrap the end around the main line five to seven times. Run the end back through the small loop near the hook, then through the large loop formed. Wet the knot and pull the ends to tighten. Practice this knot to make sure it’s secure before casting your line.
Casting Techniques and Tips
Casting is a critical skill in fishing that requires practice and proper technique. Even experienced anglers often refine their casting methods to increase their efficiency and success rates. Below, we explore techniques suited for both beginners and advanced anglers.
Practice Makes Perfect: Casting for Beginners
For those new to fishing, mastering the basic casting techniques is essential. Here are a few steps to get you started:
- Understand the Basics: Learn how to hold the rod correctly. Your dominant hand should grip near the base of the reel.
- Position Your Body: Stand with your feet shoulder-width apart for stability. Facing the target area, align your shoulders with the direction you plan to cast.
- Simple Overhead Cast: Start by pointing the rod tip towards your target. Slowly draw the rod backward over your shoulder, then swiftly bring it forward. Release the line at eye level to send the bait towards your target.
- Practice Consistently: Regular practice in a safe, open area will improve your accuracy and confidence.
Remember, the key is smooth, controlled motions to avoid tangling or losing control of the line.
Advanced Casting Methods
For seasoned anglers looking to challenge themselves, advanced casting techniques can offer a new level of skill and enjoyment. These include:
- Side Casting: Useful in windy conditions or under low-hanging obstacles. Swing the rod parallel to the water’s surface instead of overhead, releasing the line sideways.
- Roll Casting: Ideal when backspace is limited. With the line laid out in front, use a quick, smooth wrist action to roll the line forward across the water.
- Double Haul: Enhances the speed and distance of your cast. This method involves a hand-over-hand technique pulling extra line during the cast.
Mastering these methods demands patience and often, guidance from experienced mentors or detailed video tutorials.
Both beginner and advanced techniques require practice and persistence. Start with the basics, and gradually incorporate more complex methods as you improve. Happy fishing!
Final Checklist Before You Start Fishing
Before you head out to cast your line, run through this final checklist to ensure everything is in order.
- Inspect Your Equipment: Check your rod and reel for any damage. Ensure that all nuts and bolts are tight.
- Double-Check the Line: Make sure the line is threaded through every guide and there are no tangles or kinks.
- Secure Knots: Confirm that all knots, from the reel to the hook, are tight and well-tied.
- Test the Drag: Pull the line to test the drag setting. Adjust if needed to match the fish you’re after.
- Leader and Tippet: Ensure the leader and tippet are attached properly and free of damage.
- Bait and Hooks: Check that your bait is appropriate for the target species and that hooks are sharp.
- Casting Practice: Do a few practice casts to make sure your technique is smooth.
- Safety Gear: Have your personal flotation device and any other safety equipment with you.
- License and Regulations: Confirm you have a valid fishing license and know the local regulations.
- Essential Extras: Pack extras like sunscreen, water, snacks, and a first-aid kit.
Take a moment to review these points and you’ll be set for a day of successful fishing.
