Introduction to DIY Tarp Tent Making
Creating a DIY tarp tent can be a rewarding project. Making your own tarp tent allows for custom design and size. It’s perfect for those seeking lightweight camping options. This introduction aims to guide you through the process.
A DIY tarp tent is inexpensive, and you can tailor it to your needs. You don’t need advanced skills, just some patience and attention to detail. This blog will cover essential materials, design considerations, and construction steps.
We’ll also provide tips for weatherproofing, maintenance, and pitching your tent. With this guide, you’ll create a reliable shelter for outdoor adventures. Let’s get started on this exciting DIY journey.

Essential Materials for Your DIY Tarp Tent
Creating a DIY tarp tent requires selecting the right materials. Secure quality fabric and hardware for a durable shelter.
Recommended Fabrics and Coatings
Choose waterproof fabric for your tarp tent. Ripstop nylon with a silicon or polyurethane coating is ideal. Look for a high hydrostatic head rating for the best water resistance. Remember, coated fabrics like 1.6 oz HyperD PU4000 offer durability and less stretch. This ensures a tighter pitch and easier handling. Reflect on fabric weight based on your use. Lighter fabric makes transport easier but could be less resilient.
Necessary Hardware and Tools
Gather all hardware before you begin. You’ll need:
- A sewing machine, or needle and thread for hand stitching.
- Waterproof thread to protect against leaks.
- Grosgrain or webbing to reinforce anchor points.
- A Beastee D-ring or similar, for the main guy line attachment.
- Lightweight aluminum rings for tent stakes and lines connection.
- Tent stakes to secure your tarp tent to the ground.
- A tape measure, scissors, and fabric marker for accurate cuts and measurements.
With these materials and tools, you’re ready to start your DIY tarp tent project. Allocate extra materials for practice or unexpected needs.
Design Considerations for a Custom Tarp Tent
When designing your DIY tarp tent, consider its size, shape, and the types of tarps. These factors influence ease of use, weather resistance, and portability.
Determining the Size and Shape
Before you start, decide on your tent’s dimensions. Think about the length and width you’ll need. This depends on the number of people using it and the gear space required. For solo hikers, a smaller tarp saves weight. For groups, a larger tarp accommodates more people.
Consider your height as well. Make sure you can lie down comfortably without touching the edges. If you’re tall, plan for extra length. Height also affects the pitch of your tent, and therefore the interior space.
The shape matters too. Choose between a rectangular, square, or a more specialized cut. Each has its unique pros and cons. Rectangular tarps provide multiple pitching options. Square tarps are easier to handle but might offer fewer setup configurations.
Choosing Between Different Types of Tarps
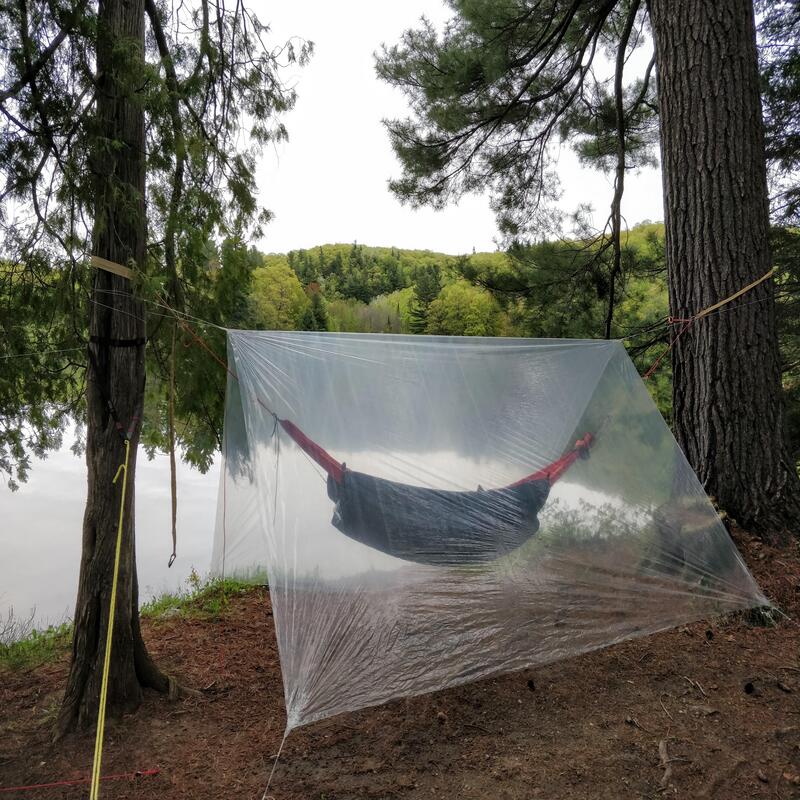
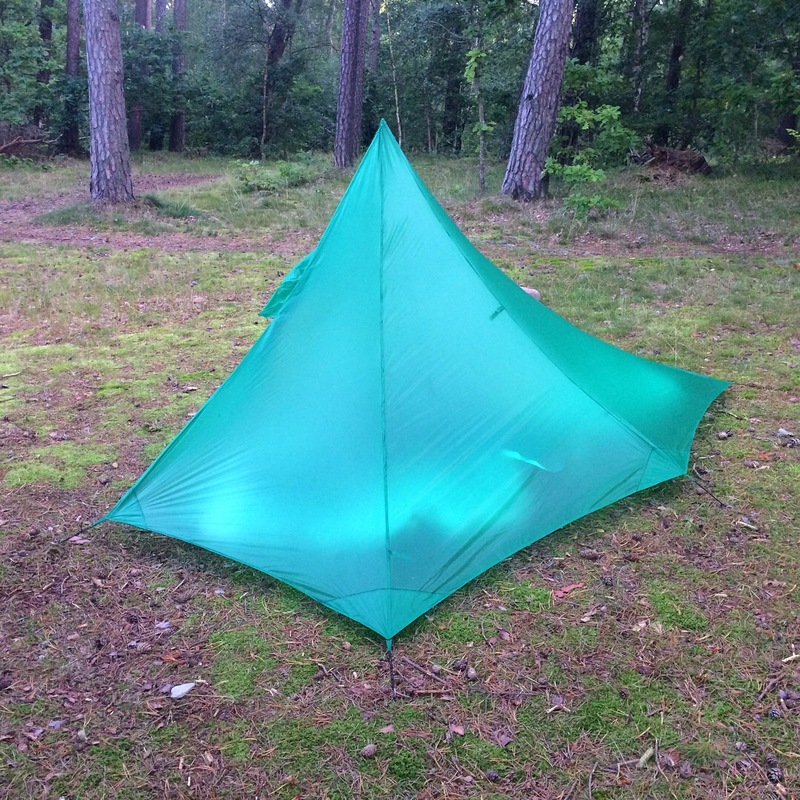
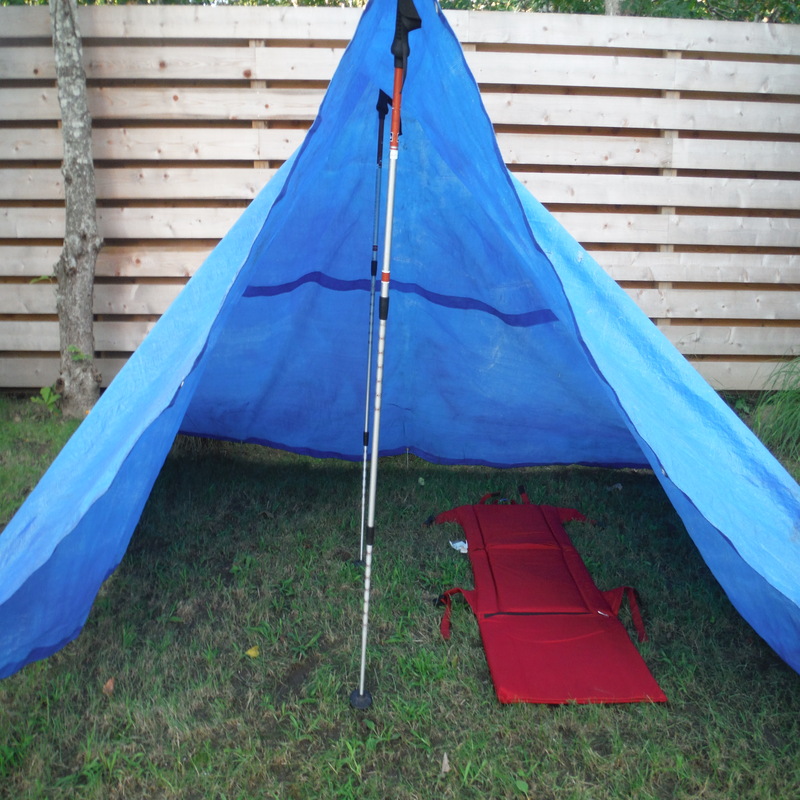
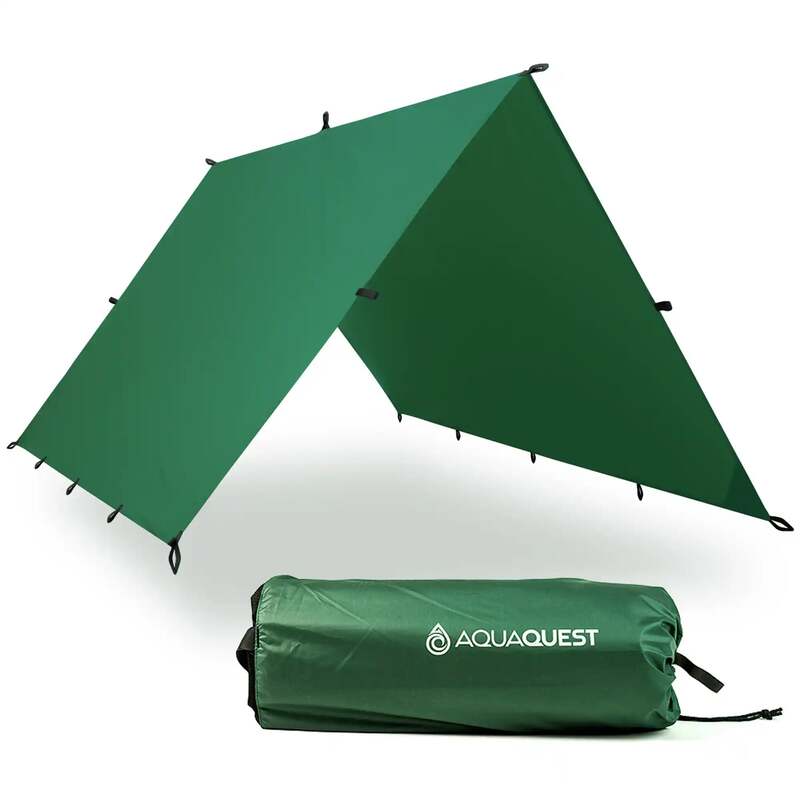
The flat tarp is the most versatile, allowing for various setups. A-shaped tarps focus on quick setup and wind resistance. Half-pyramid shapes are good for minimalists and provide excellent overhead coverage.
Consider the environment where you’ll camp. Dense forests need different tarps than open areas. Always think about the weather. Some tarp shapes handle rain and wind better than others.
Materials influence your choice too. Lightweight silnylons are great for backpacking. They compact down small and are easy to carry. Heavier-duty tarps made of canvas or reinforced fabric withstand more abuse but are bulkier.
Analyze your skills, needs, and the tarp’s intended use. Taking time to consider these points ensures a custom shelter that meets your outdoor adventure needs.

Step-by-Step Guide to Constructing Your Tarp Tent
After selecting your materials and finalizing your design, it’s time to construct your DIY tarp tent. Follow this step-by-step guide to create a functional and sturdy shelter.
Cutting and Sewing the Fabric
Begin by spreading out your chosen fabric on a flat surface. Make sure to cut the fabric according to your planned size and shape specifications. Use a marker and tape measure for precise measurements, and scissors for clean cuts. For those taller than 6 feet, consider extra fabric length.
Once cut, hem the edges for durability. Create a double-fold hem to prevent fraying. Sew two rows of stitching for a stronger hold. If available, use a sewing machine for quicker and even stitches. Hand stitching works too, just take your time for consistency.
Adding Strength to Anchor Points
Reinforce fabric at anchor points to avoid tears and rips. Cut out patches of stronger fabric like old tent floors. Remember to punch holes in the reinforcement fabric to let any trapped water out. Position these patches beneath the anchor points and webbing.
Sew the patches onto the main fabric. Include the webbing, extending it slightly to connect to tent stakes. Use the Beastee D-ring at the main attachment point for the guy line. Multiple bar tacks ensure that the rings are securely attached.
Crafting Tie-Outs and Guy Lines
For tie-out loops, take grosgrain ribbon, and fold into a loop. Secure with bar tacks near each corner and at midpoint edges of your tarp. Attach cord loops through the grosgrain for staking out.
Cut a long piece of cord for the main guy-line. Thread it through the Beastee D-ring and tie it off with an overhand knot. Test the length and adjust as needed for your tarp setup.
This guide sets a strong foundation for your DIY tarp tent. In the next sections, we’ll explore weatherproofing and tips for a successful pitch. Get ready to enjoy the satisfaction of sheltering in a tent you made yourself.
Tips for Weatherproofing and Maintenance
Proper weatherproofing and maintenance are key to extending your DIY tarp tent’s lifespan. Pay attention to seam sealing and reinforcing stress points to ensure your shelter remains sturdy and water-resistant over time.
Seam Sealing Techniques
Seam sealing is vital for waterproofing your tent. Use a silicone-based seam sealer for silicon-coated fabrics. For polyurethane-coated fabrics, a polyurethane sealant works best. Follow these steps:
- Set up your tarp tent to tighten the seams.
- Clean the seam areas with a damp cloth.
- Apply the seam sealer evenly along each seam.
- Allow it to dry completely before packing the tent away.
Regularly check your seams for signs of wear. Reapply the sealer as needed.
Reinforcing Stress Points
Stress points are prone to damage. Reinforce these areas to prevent rips. Here’s how:
- Identify stress points, such as corners and tie-outs.
- Cut patches of strong fabric, like leftover tent material.
- Sew these patches onto the stress points with sturdy stitches.
- Consider adding reinforcement before you do the initial hemming.
Check stress points before and after trips. Repair any damage promptly to avoid further issues.
These tips for weatherproofing and maintenance will keep your DIY tarp tent in top condition. Regular care means you can rely on your shelter for many adventures to come.

Pitching Your DIY Tarp Tent in the Wild
Once your DIY tarp tent is ready, knowing how to pitch it is crucial. The success of your shelter in the wild hinges on proper setup.
Site Selection and Setup Strategies
Choosing the right spot is the first step to a stable pitch. Look for flat ground sheltered from the wind. Avoid areas under solitary tall trees; they attract lightning. Also, make sure you’re not in a flood-prone area.
Clear the ground of sharp sticks and rocks. They could damage your tarp. Use natural features like trees or boulders for extra support if available. Always keep your tent’s entrance facing away from prevailing winds.
Lay your tarp flat and stake down the corners first. Then add poles or use nearby trees to raise your tarp. Use adjustable knots for guy lines to tension the shelter properly. Practice different tarp setups before your trip. This makes setup faster when you’re out in the wilderness.
Handling Wind and Rain Conditions
To handle wind, angle your tent so the smallest side faces the wind. This reduces flapping and noise. Reinforce stake points with rocks or wood if necessary.
For rain, ensure all seams are facing away from the direction of precipitation. Create a taut pitch to prevent water pooling. Use a groundsheet to stay dry and place gear under the tarp’s center, away from the edges.
If you expect severe weather, consider a lower pitch. This means positioning the tarp closer to the ground. It offers less living space but more resistance to the elements.
By mastering these pitching techniques, your DIY tarp tent will serve as a sturdy shelter in various conditions. Your lightweight tent will be a reliable companion on all your outdoor adventures.
Packing and Transporting Your Tarp Tent
After creating your tarp tent, packing and carrying it is important. Efficient packing makes it easy to manage on trails. This section will cover how to compactly store and carry your tent.
Storage Solutions for Hikers and Campers
Proper storage is crucial for maintaining your tent’s condition and for travel ease. Follow these steps to pack your tarp tent correctly:
- Lay the tent flat and free of debris to avoid damage.
- Fold the tent into equal parts lengthwise until it matches your bag’s width.
- Roll the tent tightly from one end to the other. This removes air and saves space.
- Place the rolled tent into a waterproof stuff sack to keep it dry. A compression sack will further reduce its size.
- Store cords, stakes, and poles separately or in outer compartments. This helps maintain organization.
- Pack the sack into your backpack last, for quick access when setting camp.
Choose lightweight, durable bags for long hikes or camping trips. Lightweight materials add little weight to your pack. Compression bags help fit the tent into tight spaces.
Avoid over-tightening straps to prevent fabric stress. Also, dry your tent fully before packing for storage. This stops mildew and extends your tent’s life.
By packing smartly, you ensure a functional and easy-to-transport shelter. Your DIY tarp tent will be all set for your next adventure.
