Camping has evolved a lot over the years. Today, rooftop tents have become increasingly popular among outdoor enthusiasts. They allow you to sleep comfortably above the ground while enjoying nature. However, buying a commercial rooftop tent can be quite expensive. So, why not consider building your own? In this article, we’ll explore the materials, design considerations, and steps you’ll need to take for a successful DIY roof top tent.
Materials Needed for Your DIY Roof top Tent
Before you can start your project, it’s crucial to gather all the necessary materials. Knowing what you need will make the building process smoother. You will typically need a strong frame, fabric, insulation, and a ladder for access.
Frame Materials
Selecting the right material for your frame is essential. Aluminum or steel is commonly used for their strength and durability. Aluminum is lighter, making it easier to mount on a vehicle. On the other hand, steel is heavier yet offers high stability. You may also need bolts, brackets, and nuts for assembly. Ensure that all components are suitable for outdoor use.
When choosing the frame, consider the weight it must support. You’ll have to account for both the tent and the occupants. Additionally, a well-constructed frame will withstand wind and rain. This is particularly important for those who camp in various climates. Take your time to assess your options.
Tent Fabric
The fabric you select is equally important. It must be durable, weather-resistant, and easy to clean. Canvas and synthetic materials like nylon and polyester are popular choices. Canvas is heavy-duty but may soak up water. On the contrary, polyester is lightweight and often waterproof.
Choose a fabric with a suitable thickness. Thicker materials offer better insulation and durability. However, they may also add weight to your tent. You may also want to consider additional features such as UV protection or flame resistance. These properties can enhance your overall camping experience and safety.
Designing Your Rooftop Tent
Once you gather your materials, the next step involves designing your tent. The design must take various factors into account. Think about the size, shape, and functionality you want.
Size and Shape Considerations
Deciding on the size is one of the first things you’ll do. Consider how many people will use it. If you’re camping solo, a smaller tent may suffice. Alternatively, for family trips, a larger size is necessary. The design must accommodate your needs without sacrificing comfort.
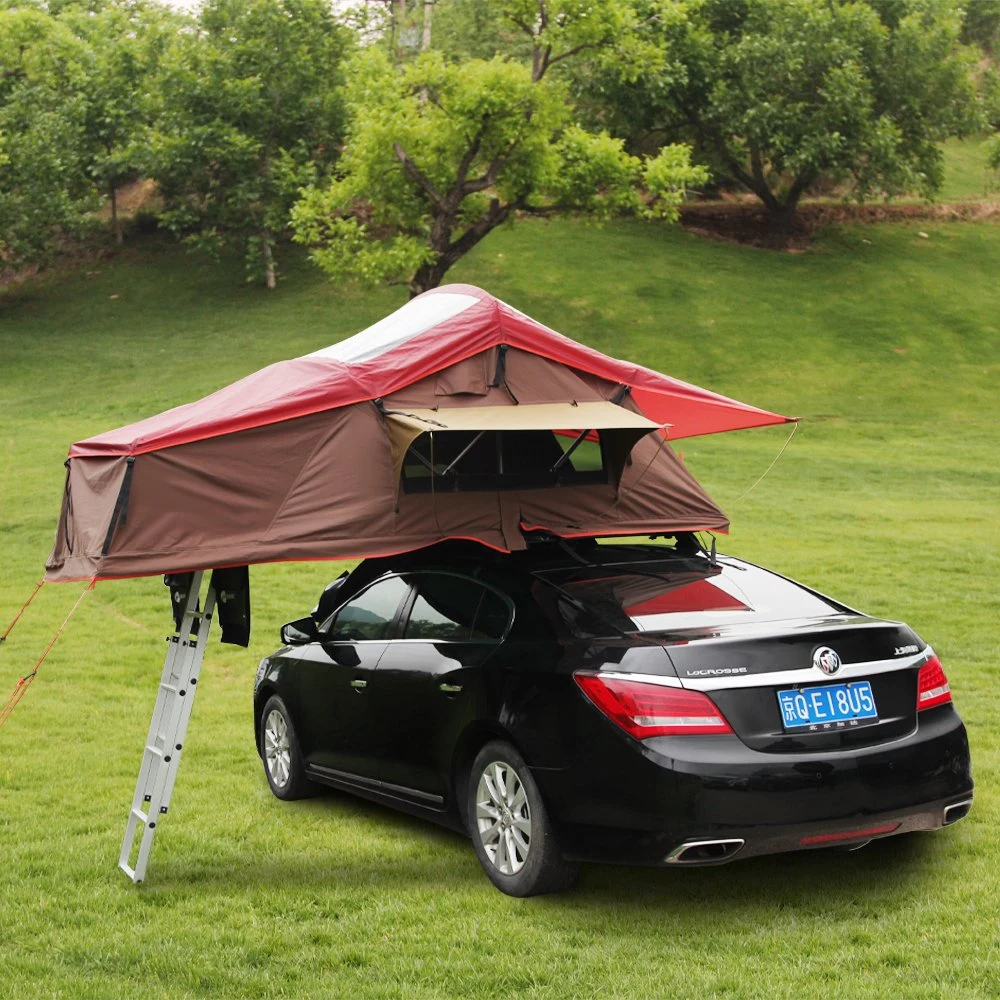
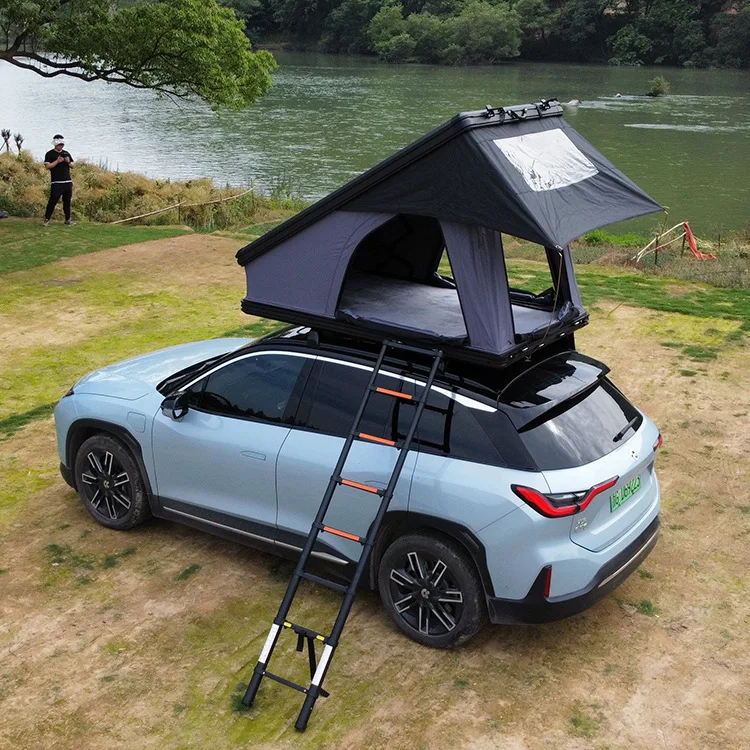
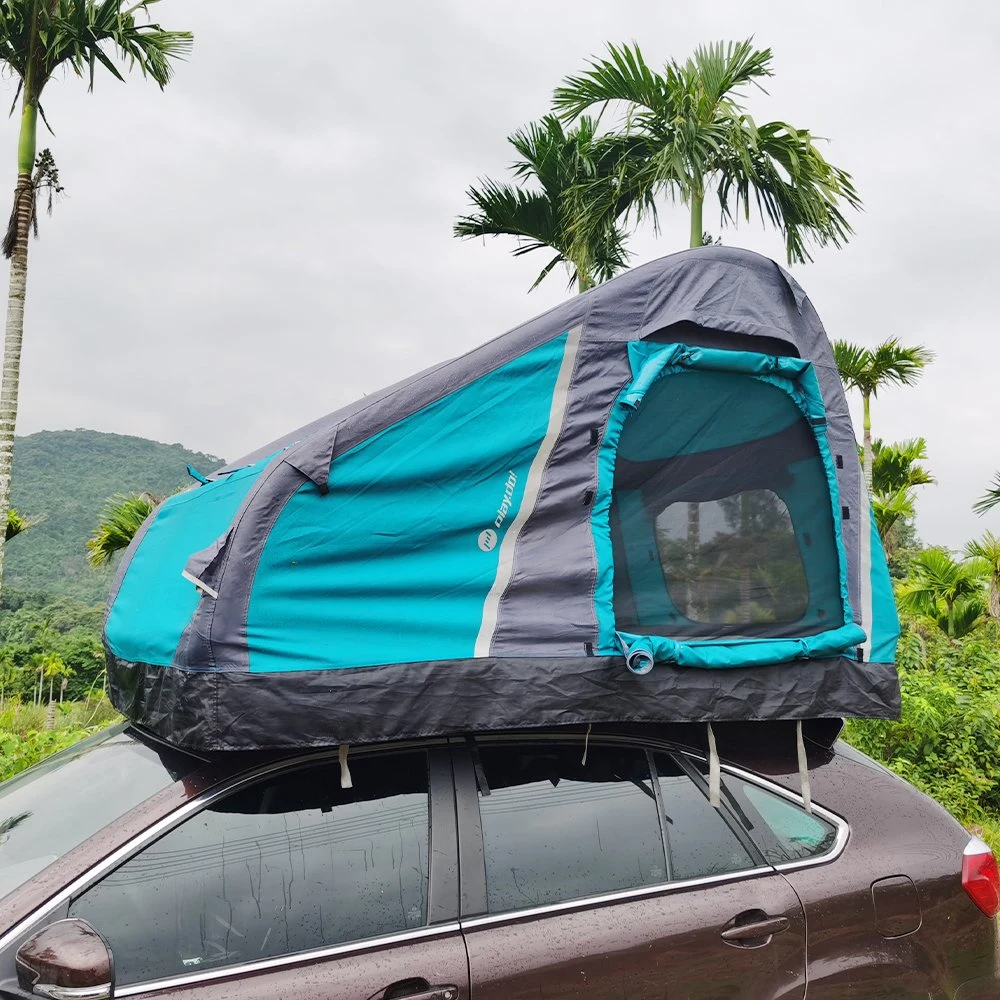
The shape of the tent affects aerodynamics and space. A dome shape may be better for wind resistance, while a traditional rectangular shape offers more interior space. Think about how you will access the tent. A side opening may be convenient if your vehicle’s roof allows it.
Additional Functional Features
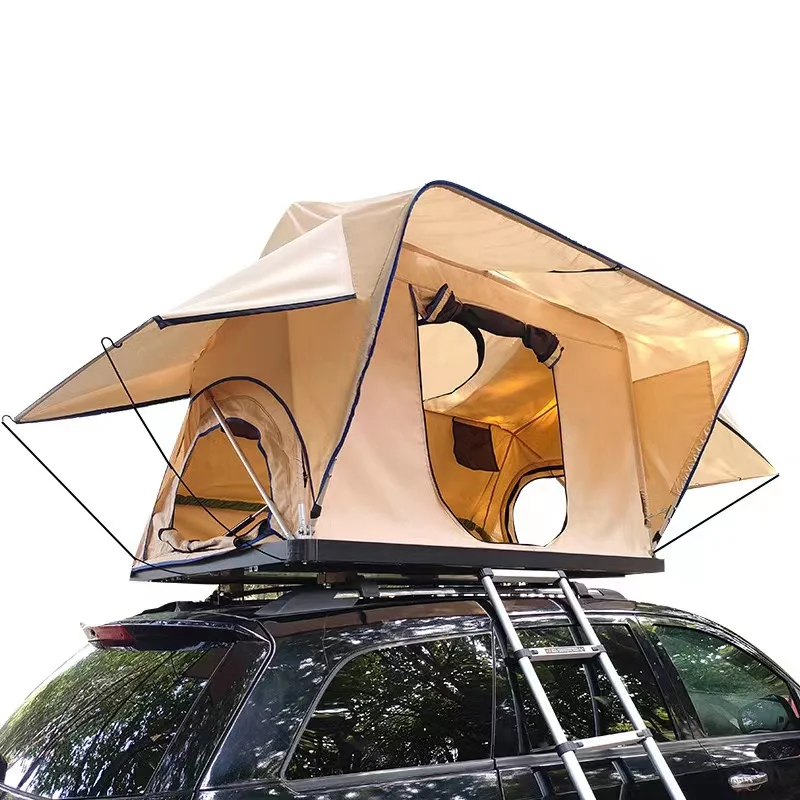
Think about including additional features in your design. Ventilation is a key aspect to consider, especially in hot weather. Windows or mesh panels can help maintain airflow while keeping insects out. For colder climates, consider adding insulation. This will help regulate the temperature inside.
Another functional feature is storage compartments. These can be handy for keeping gear organized. You can add pockets or hooks to store essentials while camping. Lighting is another consideration. LED strips inside the tent can significantly improve visibility at night. Such small additions can greatly enhance your overall camping experience.
Step-by-Step Building Process
Once you finalize your design, it’s time to get to work. Here’s a step-by-step guide to building your rooftop tent. Following these steps will help you create a functional and durable tent.
Building the Frame
Start by cutting your frame materials to the required lengths. Use a saw to ensure clean cuts. Make sure to wear appropriate safety gear while cutting materials. After cutting, assemble the pieces using bolts and brackets. This will help you create a sturdy structure.
Once assembled, test the frame for strength. Apply pressure to different sections to check for stability. If you notice any weak points, reinforce them. This step is crucial, as a stable frame ensures safety while camping. If you’re unsure, consult a professional for advice.
Adding the Fabric
After constructing the frame, the next step is to attach the fabric. Cut the fabric according to your tent dimensions. Make sure to leave additional material for hems and overlaps. Consider using a sewing machine for this step to ensure precision.
Secure the fabric to the frame using heavy-duty clips or Velcro. This method allows for easy removal and cleaning. Ensure everything is tight and secure to prevent flapping in the wind. You want your tent to remain stable regardless of the weather conditions.
Mounting Your Tent on the Vehicle
Successfully building your rooftop tent is only half the battle. The next step is to mount it safely and securely onto your vehicle. This is a crucial step for safe and effective use.
Selecting Mounting Brackets
Choosing the right mounting brackets is essential for stability. Look for heavy-duty options suitable for your vehicle’s roof. The brackets should be capable of holding the tent’s weight plus occupants. Consider consulting your vehicle’s manual for guidance.
Once you’ve selected brackets, ensure they are compatible with your tent’s frame. A good fit will prevent unnecessary vibrations while driving. Sturdiness is key to safely using your tent when you reach your camping destination.
Installation Process
With the brackets selected, it’s time to install them on your vehicle. Use a wrench to secure the brackets tightly. Be sure to check for any loose parts regularly. After that, lift your tent onto the roof rack. Use caution; it’s best to have an extra pair of hands during this step.
Once the tent is on the roof, attach it to the brackets. Double-check that it is securely fastened before hitting the road. Always remember to disassemble it before going through low-clearance areas. Regular checks during your travels can prevent unpleasant surprises.
Utilizing Your DIY Roof top Tent
Now that your rooftop tent is set up, it’s time to enjoy it. Learning how to fully utilize your tent will enhance your camping trips. Different techniques and tips can make your experience much smoother.
Setting Up Camp
When you arrive at your camping destination, begin by setting up camp. Check the area for potential hazards like falling branches. Once you find a suitable spot, open your tent and prepare it for use. Make sure to set up the ladder for easy access before nightfall.
If you plan to stay for multiple nights, create a comfortable living space. Lay down sleeping bags, pillows, and any additional bedding you might need. This will enhance your comfort and make your camping experience more enjoyable.
Maintenance Tips for Longevity
Caring for your rooftop tent is essential for its longevity. Regularly check the frame for rust or wear. Clean the fabric according to the manufacturer’s recommendations. Ensure the zippers and fasteners work properly, as they are crucial for usability.
Store your tent in a dry, cool place when not in use. This will prevent mold and other damages. Following these basic maintenance tips can prolong your tent’s life for years. You’ll be thankful for the effort when you’re enjoying countless camping trips.
Conclusion: Your Perfect Rooftop Tent Awaits
In conclusion, building your rooftop tent can be a rewarding DIY project. The materials, designs, and proper mounting techniques are all essential for success. Your unique tent will not only save money but will also accommodate your specific camping needs.
As you use your tent, feel free to adjust and improve features over time. With experience, you may find more ways to enhance your camping experience. Remember, the more you engage with your tent, the more it will reflect your style and preferences.
Now get started on your exciting DIY roof top tent project! Enjoy the freedom of camping anywhere you choose. With your new rooftop tent, countless adventures await you in the great outdoors!