Fishing enthusiasts know the importance of maintaining their equipment for optimal performance. One crucial aspect of upkeep is replacing the fishing line. For those using a closed-face or spincast reel, re-lining might seem a bit challenging, but it’s relatively straightforward with the right guidance. A correctly lined reel ensures smooth casting, better line management, and reduces the chances of tangles. Therefore, understanding how to properly spool new fishing line onto a closed reel can enhance your fishing experience exponentially. This comprehensive guide covers each step necessary to achieve this, giving you the confidence to perform the task seamlessly.
Preparing Your Equipment
Before you begin, it’s essential to gather all necessary equipment and prepare your workspace. Therefore, understanding what you need and setting up your station is crucial.
Gathering Necessary Tools
To put new fishing line onto a closed reel, you’ll need a few essential tools and materials: a new spool of fishing line, scissors or line cutters, and a clean cloth. Some might also find it helpful to have a fishing reel oil or lubricant on hand. Additionally, ensure you have a steady surface or a comfortable chair to sit on while you work. Having all tools readily available before starting ensures a smooth and uninterrupted process. Therefore, gathering necessary tools is an essential preparatory step.
Inspecting the Reel
Before you spool new line, inspect the reel for any signs of damage or wear. Remove the old line by opening the reel’s cover, typically done by turning or unscrewing it. Check the inner components for any dirt, debris, or rust. Use a clean cloth to wipe down the interior parts and apply a small amount of lubricant if necessary. Ensuring your reel is in good condition will make the re-lining process more efficient and increase the reel’s overall lifespan. Therefore, inspecting the reel before adding new line is crucial for optimal performance.
Removing the Old Line
Removing the old fishing line ensures a clean slate for the new line. Therefore, understanding the removal process is essential for a smooth transition.
Discarding the Old Line
Begin by removing the remaining old fishing line from the reel. Pop open the cover and locate the spool inside. Cut the line close to the spool using scissors or line cutters. Carefully pull the old line out, ensuring you remove all remnants. Discard the old line responsibly, as it can be hazardous to wildlife if not disposed of correctly. This step ensures the new line isn’t tangled with any old remnants, providing a fresh start. Therefore, discarding the old line properly is vital for the re-lining process.
Cleaning the Reel
With the old line removed, take the opportunity to thoroughly clean the reel. Use a cloth to wipe down all components inside the reel. If you find any stubborn dirt or grime, a small amount of reel oil or a gentle cleaning solution can be used. Ensure the cleaning solution does not leave any residue that might affect the reel’s performance. Once cleaned, allow the components to dry completely before moving on to the next step. Therefore, cleaning the reel ensures it’s in the best condition for the new fishing line.
Spooling New Fishing Line
Properly spooling the new fishing line onto a closed reel is a critical step for smooth casting and reeling. Therefore, following the correct method is essential.
Attaching the Line to the Reel
Start by threading the new line through the line guides on your rod, ending at the reel. Open the reel’s cover to expose the spool. Attach the new line to the spool by tying a secure knot, such as an arbor knot. Tighten the knot to ensure the line is securely fastened to the spool. Close the reel’s cover, securing the line’s end inside. This setup prepares the reel for even and smooth spooling. Therefore, correctly attaching the line to the reel is a fundamental step in the process.
Winding the New Line
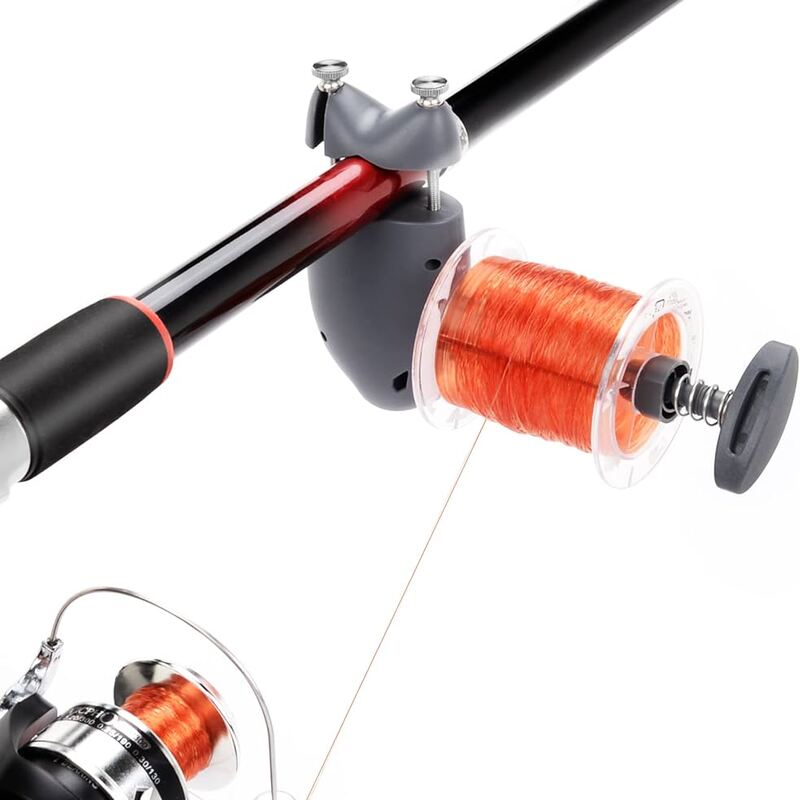
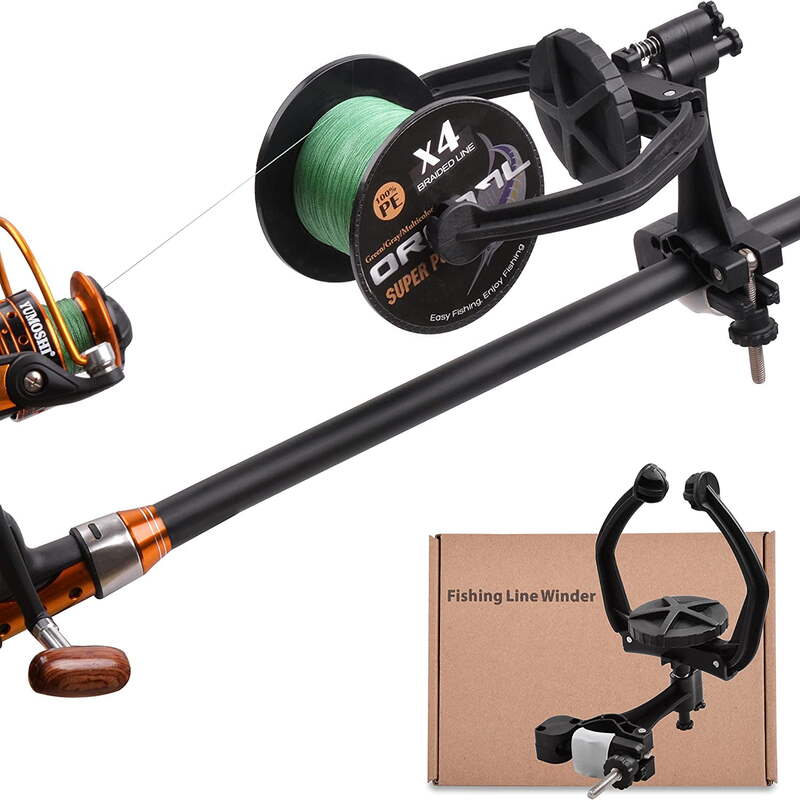
Hold the fishing rod and reel in place while applying gentle tension to the new line. Begin turning the reel handle to spool the new line onto the reel. Maintain consistent tension on the line as you wind, ensuring it wraps evenly around the spool. Check periodically to make sure the line is stacking uniformly without bunching up or overlapping excessively. Continue this process until the spool is adequately filled, leaving about an eighth of an inch from the spool’s edge. Therefore, winding the new line correctly is crucial for optimal reel function.
Final Adjustments and Testing
Once the new line is spooled, making final adjustments and tests ensures everything operates smoothly. Therefore, understanding these adjustments is essential for readiness.
Trimming Excess Line
With the new line spooled, cut any excess line from the end. Leave a few inches of extra line, which can be trimmed after tying your first lure or hook. This step ensures there’s no unnecessary line that can cause tangles or knots. Properly disposing of any line trimmings is also important to prevent environmental harm. Therefore, trimming the excess line creates a clean and manageable end for further setup.
Performing a Test Cast
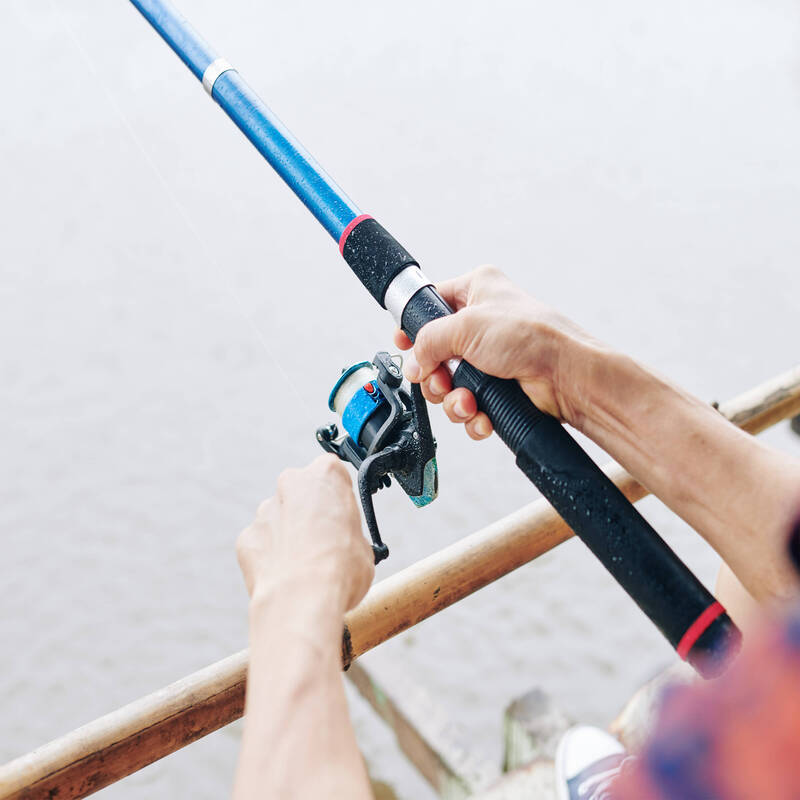
Before heading out to fish, perform a test cast to ensure the new line and reel are functioning correctly. Find an open space, then cast the line as you would during actual fishing. Observe how the line flows off the reel and ensure there are no tangles or resistance. Rewind the line to check for smooth retrieval and uniform wrapping around the spool. Adjust the tension if necessary to achieve a perfect balance. Therefore, performing a test cast ensures your setup is ready for a successful fishing trip.
Maintenance Tips for Longevity
Proper maintenance ensures the longevity and performance of your fishing line and reel. Therefore, following these tips enhances your equipment’s lifespan.
Regular Cleaning
Regular cleaning of your reel and line is essential for maintaining performance. After each fishing trip, rinse your reel with fresh water to remove any salt, dirt, or debris. Use a clean cloth to wipe down the exterior and dry it thoroughly. Periodically, open the reel to clean its interior components and apply a small amount of lubricant. Regular maintenance prevents buildup and corrosion, keeping your reel in top condition. Therefore, regular cleaning is vital for the longevity and efficiency of your fishing equipment.
Storing Properly
Proper storage of your fishing gear prevents damage and ensures readiness for future use. Store your rod and reel in a cool, dry place, away from direct sunlight or moisture. Use rod holders or racks to keep the rods upright, preventing them from bending. Loosen the drag on your reel before storage to relieve tension on the internal components. Cover your reel with a protective bag or cloth to keep it dust-free. Therefore, proper storage practices ensure the longevity and effectiveness of your fishing gear.

Common Mistakes to Avoid
Knowing common mistakes can help you avoid them and ensure a smooth re-lining process. Therefore, understanding these errors is essential for successful spool replacement.
Overfilling the Spool
Overfilling the spool is a common mistake that can lead to tangles and casting issues. Always leave about an eighth of an inch of space from the spool’s edge when spooling new line. This space allows the line to flow smoothly off the reel without bunching up or causing tangles. Therefore, avoiding overfilling ensures optimal reel performance and reduces the chances of line issues.
Incorrect Line Tension
Maintaining the correct line tension while spooling is crucial for even wrapping. Applying too little tension results in loose wraps that can tangle easily. Conversely, applying too much tension stretches the line, weakening it and causing uneven spooling. Maintain gentle and consistent tension throughout the spooling process to ensure smooth and uniform wrapping. Therefore, correct line tension is vital for a flawless re-lining process.
Conclusion
Replacing the fishing line on a closed reel is a simple yet crucial task. Properly preparing your equipment, including gathering tools and inspecting the reel, sets the stage for a smooth re-lining process. Removing the old line and cleaning the reel ensures a clean base for the new line. Attaching and winding the new line correctly, followed by final adjustments and testing, guarantees optimal performance. Regular maintenance, like cleaning and proper storage, enhances your reel’s longevity. Avoiding common mistakes, such as overfilling the spool and incorrect line tension, further ensures successful spooling. Therefore, by following this comprehensive guide, you can confidently replace the fishing line on your closed reel, ensuring a smooth and efficient fishing experience every time.