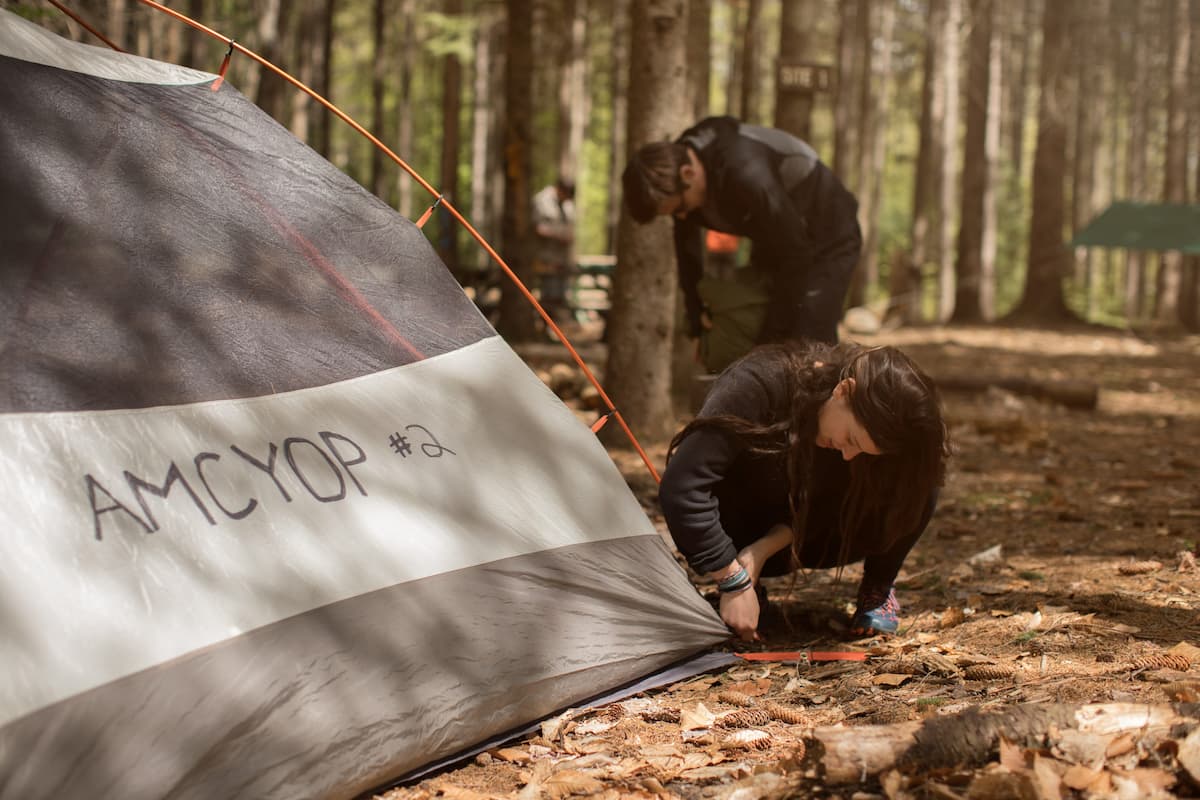
I. Introduction to Pitching a Tent
![How to Pitch A Tent Like A Pro [The Complete Guide]](https://outdoorwithj.com/wp-content/uploads/2020/05/How-to-Pitch-a-Tent-Like-a-Pro-scaled.jpg)
A. Understanding the Importance of Properly Setting up a Tent
- Recognizing the Role of a Secure and Well-Pitched Tent in Outdoor Comfort and Safety Properly setting up a tent is essential for a comfortable and safe outdoor experience. A secure and well-pitched tent provides protection from the elements, insects, and other outdoor hazards. It creates a comfortable and cozy space to rest and relax, ensuring an enjoyable camping trip.
- Embracing the Benefits of Learning the Essential Skills of Tent Pitching Learning the essential skills of tent pitching allows you to be self-sufficient and confident in setting up your outdoor shelter. It gives you the freedom to explore different campsites and enjoy outdoor adventures without relying on pre-erected structures. Additionally, mastering the art of tent pitching enhances your overall camping experience and allows you to adapt to different camping situations.
B. Unveiling the Step-by-Step Guide for Pitching a Tent
- Exploring the Basics and Equipment Needed for Successful Tent Assembly Before pitching a tent, it is important to familiarize yourself with the basic components and equipment needed. This includes the tent body, rainfly, poles, stakes, and guy lines. Understanding how these components work together is crucial for successful tent assembly.
- Gaining Confidence in Setting up Your Outdoor Shelter By following a step-by-step guide, you can gain confidence in setting up your tent. This guide will walk you through the process, ensuring that each step is clear and easy to follow. With practice, you will become more efficient and proficient in pitching your tent.
II. Selecting the Right Campsite
A. Choosing an Ideal Location for Your Tent
- Assessing the Terrain, Ground Conditions, and Natural Features When selecting a campsite for your tent, consider the terrain, ground conditions, and natural features. Look for a flat and level area free from rocks, tree roots, or other obstacles that may affect the comfort and stability of your tent. Also, take note of any natural features like streams or trees that can provide shade or wind protection.
- Considering Factors like Shade, Wind Protection, and Proximity to Amenities Take into account factors such as shade, wind protection, and proximity to amenities when choosing a campsite. Look for a site that offers natural shade during hot weather and consider the direction of prevailing winds to minimize exposure to gusts. Proximity to amenities like restrooms, water sources, and cooking areas can also enhance your camping experience.
B. Clearing and Preparing the Campsite
- Removing Debris, Rocks, and Obstacles from the Tent Area Before pitching your tent, clear the campsite of any debris, rocks, or other obstacles that may affect the tent’s stability and comfort. Remove sharp objects, sticks, or any potential tripping hazards from the tent area to create a safe and level surface.
- Leveling the Ground and Ensuring a Comfortable Sleeping Surface Leveling the ground is essential for a comfortable sleeping surface. Use a tent footprint, groundsheet, or a tarp to provide an additional layer of protection and insulation. This will help prevent moisture seepage and make your sleeping area more comfortable.
III. Assembling the Tent Components

A. Unpacking and Organizing Your Tent
- Familiarizing Yourself with the Tent Components and Accessories Unpack your tent and familiarize yourself with the various components and accessories. This includes the tent body, rainfly, poles, stakes, and guy lines. Take the time to understand how each component works and the role it plays in the tent assembly.
- Arranging the Poles, Tent Body, Rainfly, and Guy Lines for Easy Assembly Organize the tent components in a logical order to ensure easy assembly. Lay out the tent body, rainfly, and guy lines in the appropriate positions and gather the poles and stakes for easy access. This will help streamline the tent assembly process.
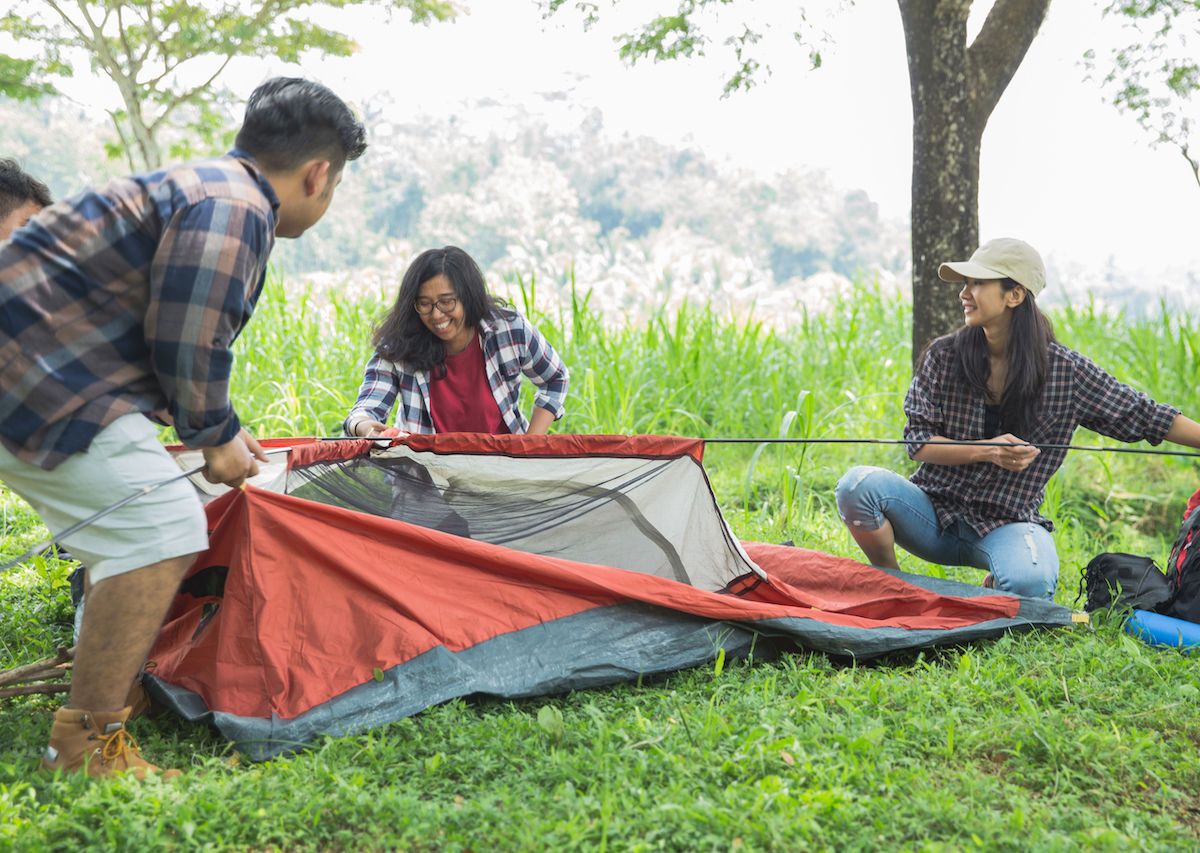
B. Connecting the Poles and Erecting the Tent
- Attaching the Tent Poles According to the Manufacturer’s Instructions Follow the manufacturer’s instructions to attach the tent poles. Start by connecting the pole sections and inserting them into the designated pole sleeves or grommets. Make sure each pole is secure and properly tensioned to support the tent structure.
- Raising the Tent Body and Aligning the Corners and Entry Points Once the poles are in place, raise the tent body by lifting it from the center or using the designated lift points. Adjust the position of the tent body to ensure it is properly aligned with the corners and entry points.
IV. Securing the Tent and Stabilizing the Structure
A. Staking Down the Tent
- Inserting Stakes through the Tent Loops and into the Ground To secure the tent and stabilize its structure, insert stakes through the loops located on the corners and sides of the tent. Push the stakes into the ground at a 45-degree angle, ensuring they are firmly in place. Use a mallet or a rock to drive the stakes deeper if necessary.
- Ensuring Proper Tension and Stability of the Tent Fabric Once the stakes are in place, adjust the tension of the tent fabric by tightening the guylines or tensioning straps. This helps to ensure that the tent is taut and stable. Proper tensioning of the fabric reduces flapping in the wind and improves the overall stability of the tent structure.
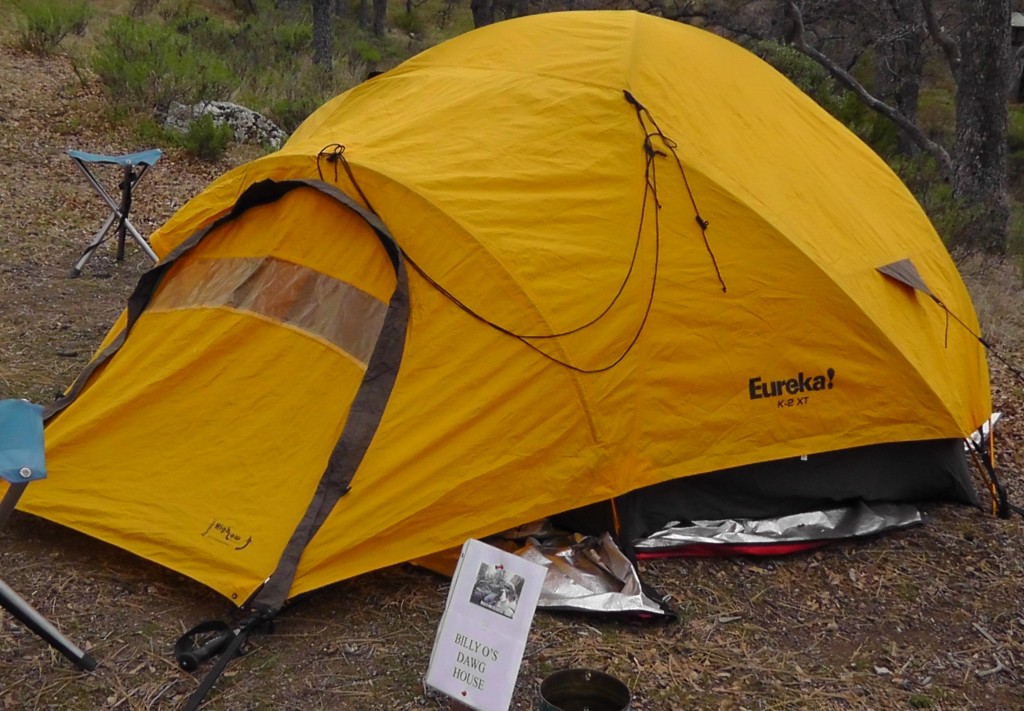
B. Adjusting Guy Lines and Rainfly
- Attaching Guy Lines and Adjusting their Tension for Added Stability Most tents come with attached guylines that can be anchored to nearby trees, rocks, or stakes. Attach the guylines to the designated points on the tent using the provided hardware, and secure them to their respective anchor points. Adjust the tension of the guylines to provide added stability, especially in windy conditions.
- Installing and Positioning the Rainfly for Weather Protection and Condensation Management If your tent comes with a rainfly, install it over the tent body for weather protection and condensation management. Ensure that the rainfly is properly positioned and securely attached to the tent. Its purpose is to provide an additional layer of protection from rain and help reduce condensation buildup inside the tent.
V. Organizing the Interior and Personalizing the Setup

A. Arranging Sleeping Gear and Personal Belongings
- Setting Up Sleeping Bags, Sleeping Pads, and Pillows Arrange your sleeping gear inside the tent, considering personal comfort preferences. Lay out sleeping bags, sleeping pads, and pillows in designated areas to optimize available space and ensure a comfortable sleeping setup.
- Organizing Personal Items and Creating a Comfortable Living Space Organize personal items, such as clothing, toiletries, and electronics, to create a comfortable living space within the tent. Utilize storage compartments or bags to keep things organized and easily accessible. Consider using collapsible storage bins or hanging organizers to maximize space and keep items off the floor.
B. Utilizing Storage Compartments and Gear Loops
- Maximizing Tent Storage Options for Efficient Organization Take advantage of storage compartments or pockets provided within the tent to store smaller items and essentials. Utilize these spaces to keep items off the floor and create a clutter-free environment. Place frequently used items within easy reach for convenience.
- Hanging Gear and Utilizing Gear Loops to Keep Essentials Accessible Utilize gear loops or attachment points located inside the tent to hang gear such as lanterns, headlamps, or clothing items. Keeping essentials within easy reach helps create a functional and organized living space. Utilize gear loops to hang items such as wet towels or gloves to dry.
Learning how to pitch a tent is an essential skill for every outdoor enthusiast. Embrace the art of tent pitching and enhance your outdoor adventures with a well-pitched tent. Whether camping, backpacking, or enjoying other outdoor activities, mastering this skill ensures a memorable and enjoyable outdoor experience.