I. Introduction to DIY Tents
A. Overview of DIY Tents and their Appeal
DIY (Do-It-Yourself) tents are homemade shelters constructed by individuals who prefer the satisfaction of building their own camping gear. DIY tents offer a unique and personalized camping experience and allow for customization based on individual needs and preferences.
B. Benefits of Building Your Own Tent
Building your own tent provides a sense of accomplishment, creative expression, and the opportunity to create a tent that perfectly suits your needs and camping style. DIY tents can also be more cost-effective and environmentally friendly compared to commercial options.
C. Exploring Different Types and Designs of DIY Tents
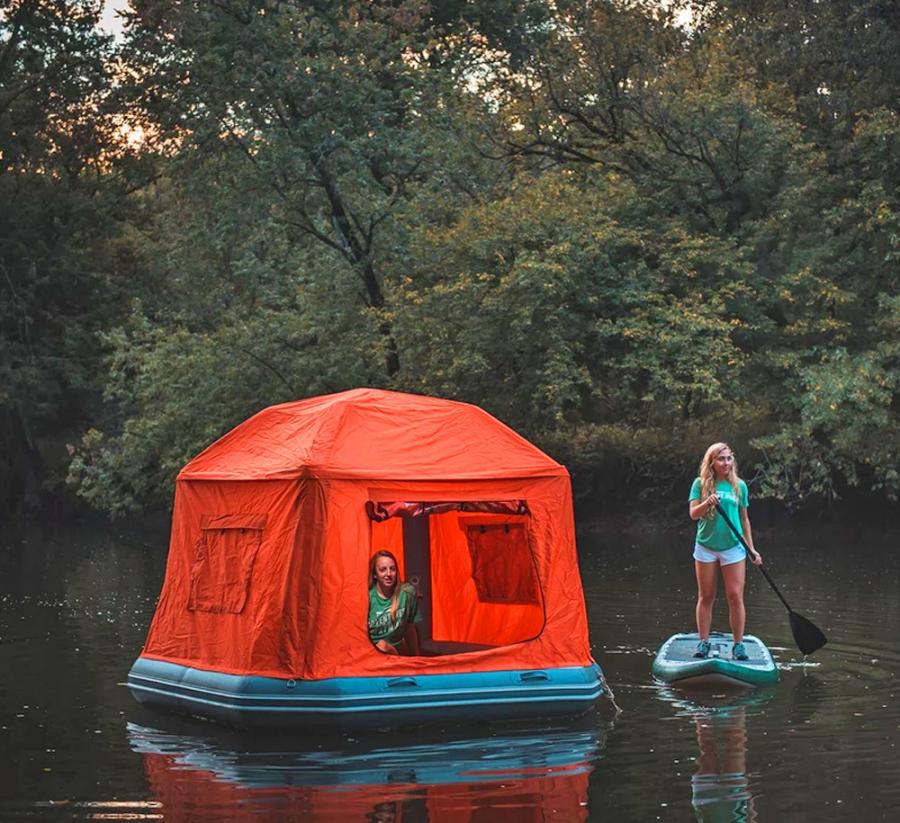
There are various types and designs of DIY tents to choose from, including A-frame tents, dome tents, teepee tents, and more. Each design has its own advantages and considerations, allowing campers to select the one that best suits their needs and skill level.
II. Choosing the Right DIY Tent Design
A. Understanding Your Needs and Camping Style
- Assessing the Purpose and Conditions of Use
Consider the intended use of the tent and the specific camping conditions you will encounter. Are you planning to use the tent for backpacking, car camping, or other outdoor activities? Determine whether you’ll be camping in warm, cold, wet, or dry climates.
- Determining the Required Size and Features
Evaluate the number of occupants that the tent needs to accommodate and the necessary space for gear storage. Additionally, consider any specific features you desire, such as multiple entrances, vestibules, or a specific floor plan layout.
B. Exploring Different DIY Tent Designs
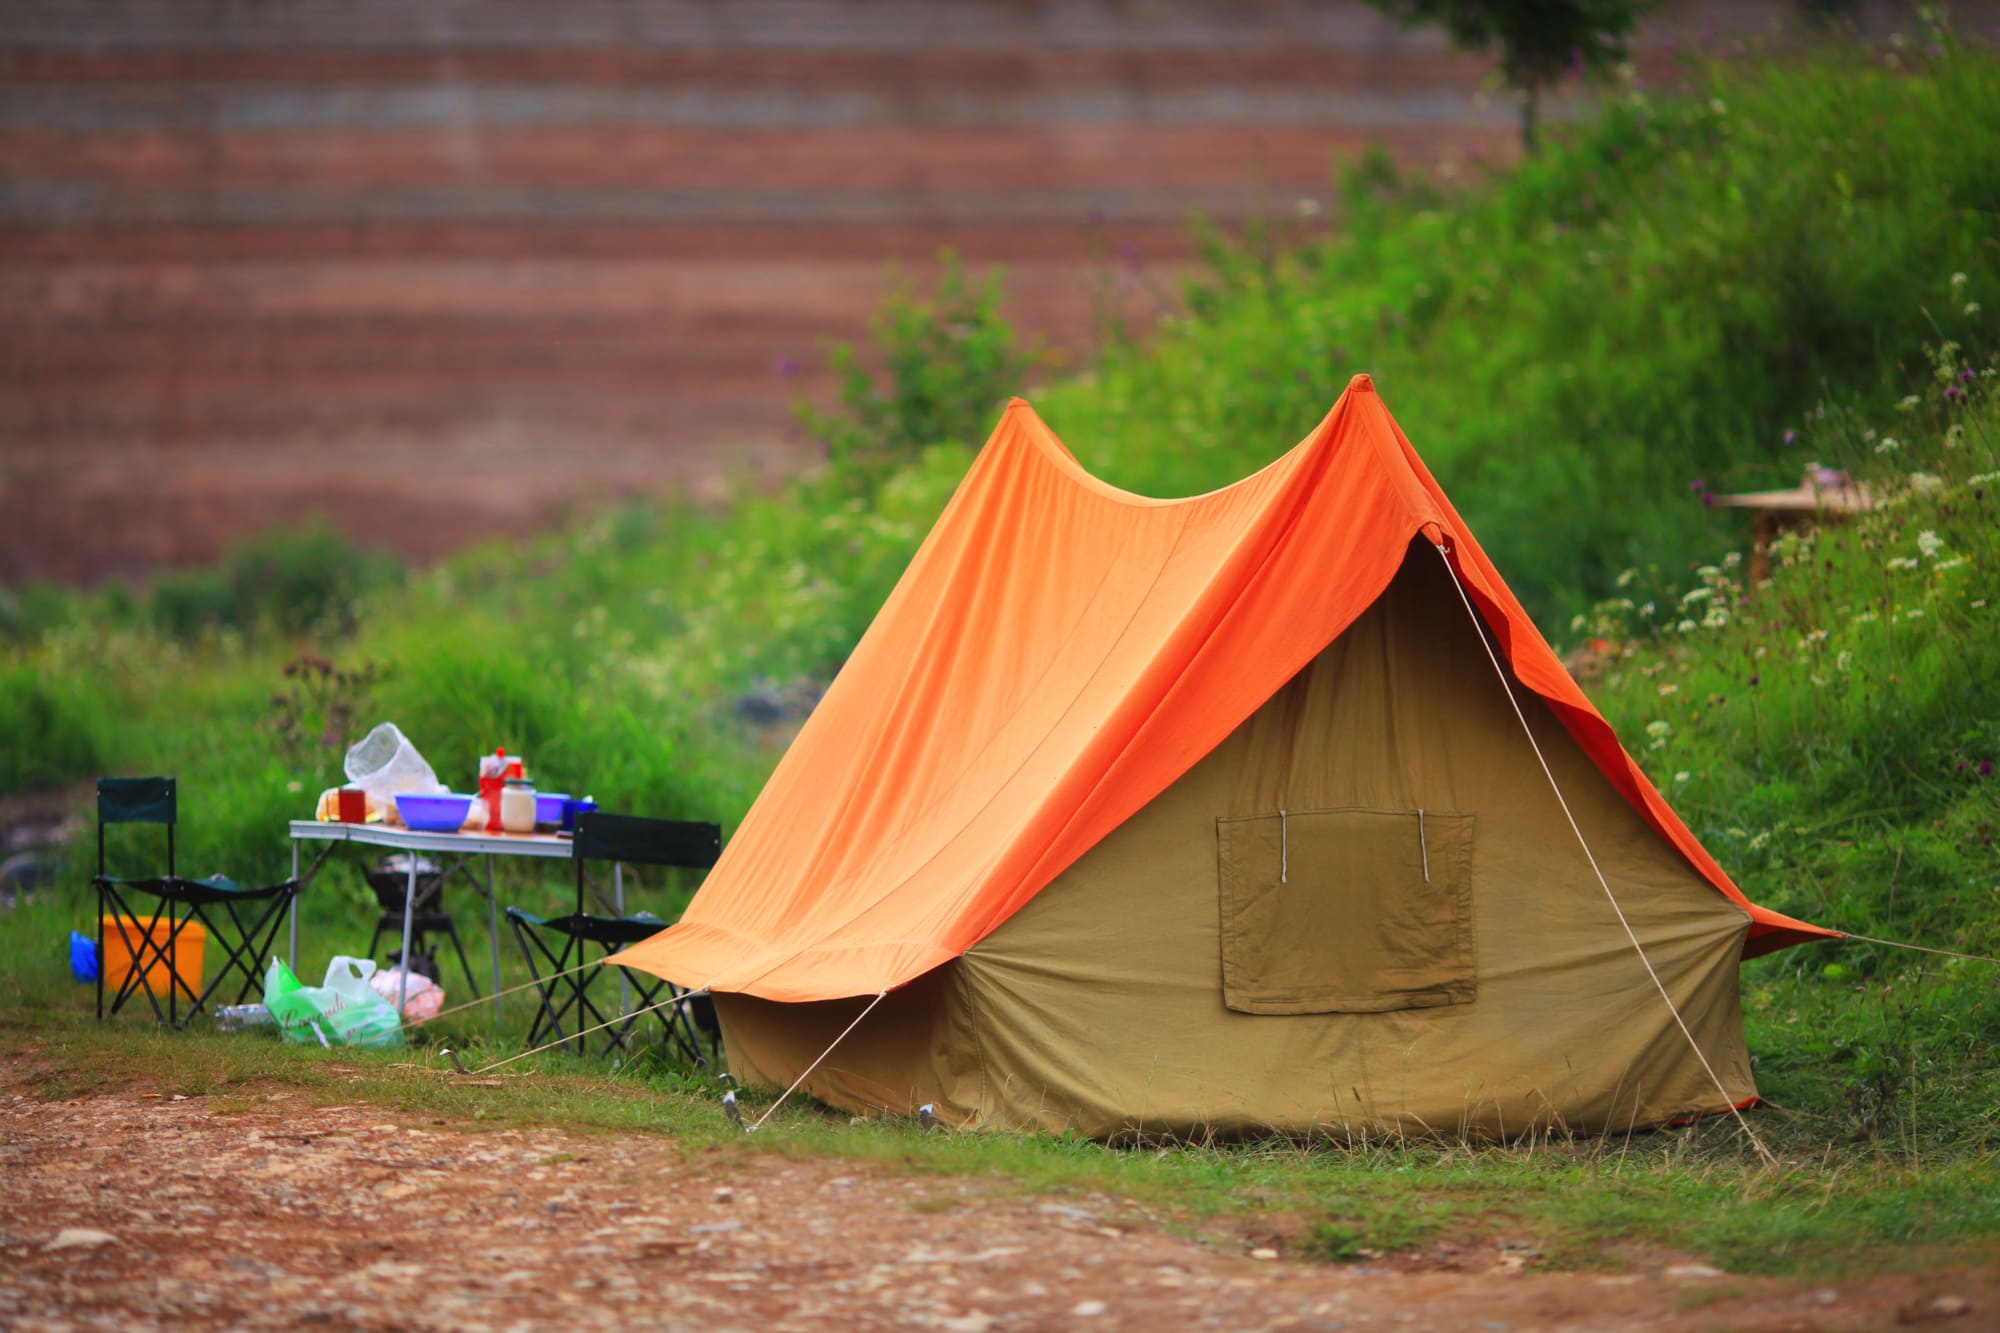
- A-Frame Tents
A-Frame tents are simple and classic designs that offer ease of construction and versatility. They consist of two sloping sides meeting at the top to form an “A” shape. A-Frame tents are lightweight and easy to set up but may have limited headroom and interior space.
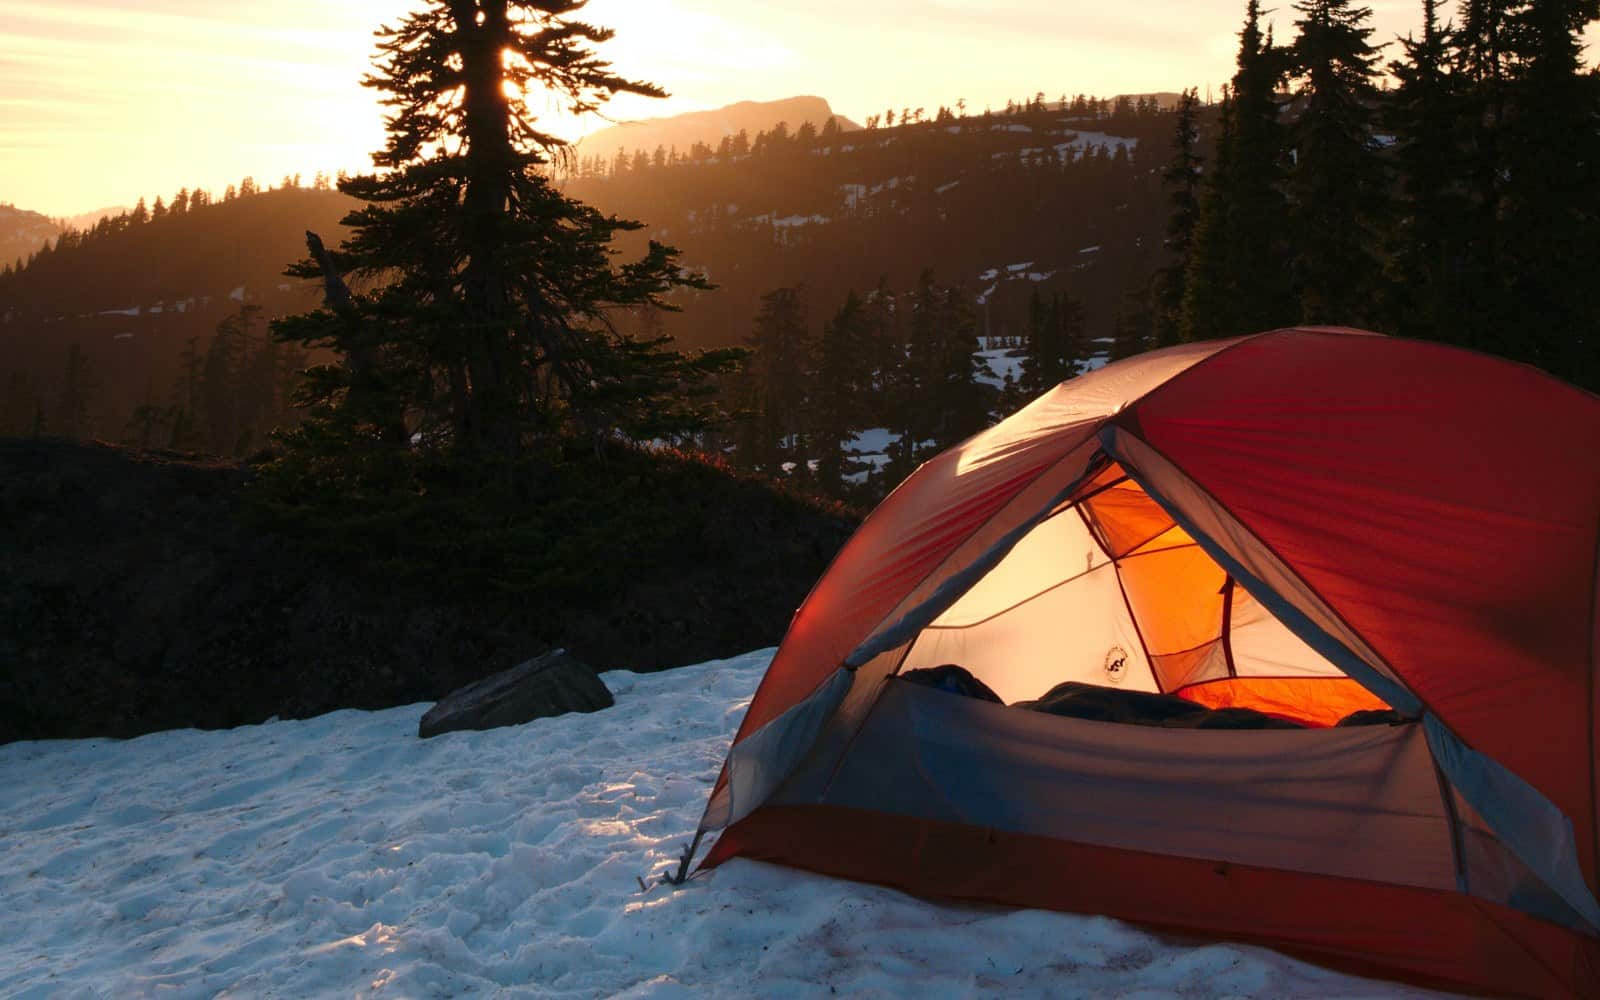
- Dome Tents
Dome tents feature a rounded, dome-shaped design supported by flexible poles. They provide good interior space, headroom, and stability. Dome tents are suitable for various weather conditions and are often preferred for their balance of weight and stability.
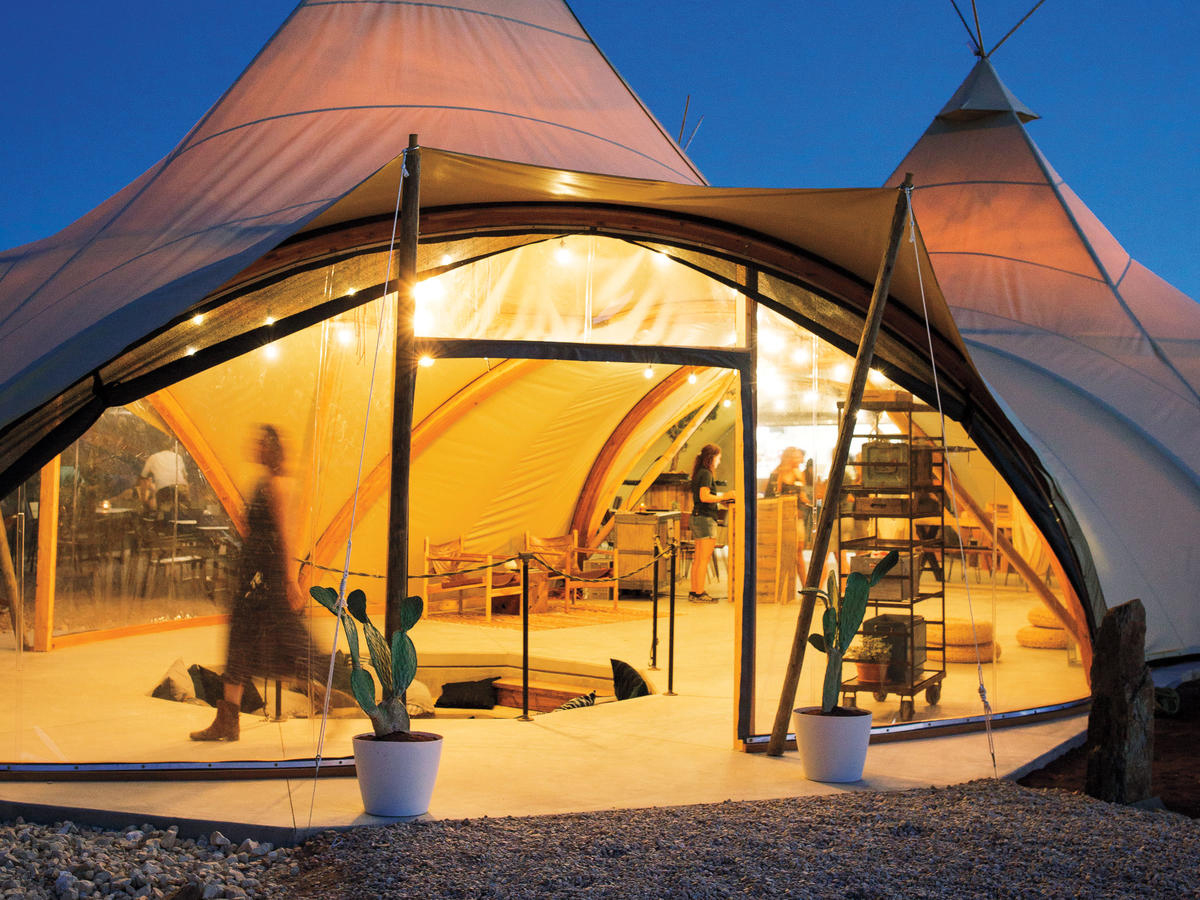
- Teepee Tents
Teepee tents, also known as tipi tents, are conical-shaped shelters that offer a unique camping experience. They are relatively easy to construct and provide ample interior space. Teepee tents have a distinct aesthetic and can be customized to include a stove jack for winter camping.
III. Materials and Tools for DIY Tents
A. Selecting the Right Tent Fabric
- Waterproof and Durable Options
Choose a tent fabric that is waterproof and durable to protect against rain and wear. Common tent fabrics include nylon and polyester, which can be coated or treated to enhance their waterproof properties.
- Breathability and Insulation Considerations
Consider the breathability and insulation properties of the tent fabric, especially if you’ll be camping in hot or cold climates. Breathable fabrics allow for better airflow, while insulated fabrics help retain warmth in colder conditions.
B. Essential Tools for DIY Tent Construction
- Sewing Machine or Needle and Thread
A sewing machine is ideal for constructing a DIY tent, but if one is not available, a needle and strong thread can be used. Ensure the thread is suitable for the chosen tent fabric to ensure durability.
- Grommet Kit, Zippers, and Fasteners
A grommet kit is essential for reinforcing attachment points in the tent fabric. Zippers, snaps, and other fasteners are necessary for closures and attachments. Choose high-quality and durable options for longevity.

IV. DIY Tent Construction Techniques
A. Understanding Tent Seams and Reinforcements
- Seam Sealing and Waterproofing Methods
Seam sealing is essential to prevent water leakage through the stitching. Apply a seam sealant or use seam tape to ensure waterproof integrity. Pay particular attention to critical areas such as corners and seams where water is likely to penetrate.
- Reinforcing Stress Points for Durability
Reinforce stress points, such as corners, attachment points, and guy lines, with additional fabric or reinforcement patches. This will strengthen these areas and prolong the lifespan of the tent.
B. Step-by-Step Construction Process
- Cutting and Measuring the Tent Fabric
Measure and cut the tent fabric based on the chosen design and dimensions. Take accurate measurements to ensure proper fit and functionality.
- Sewing and Assembling the Tent Panels
Sew the tent panels together according to the design and instructions. Pay careful attention to seams, zippers, and closures to ensure a secure and functional tent structure.
V. Customizing Your DIY Tent
A. Adding Windows and Ventilation
- Incorporating Mesh Panels for Airflow
Integrate mesh panels into the tent design to enhance airflow and reduce condensation. This will improve comfort and ventilation inside the tent.
- Designing Functional and Aesthetic Window Features
Consider adding windows to provide natural light and scenic views. Design windows with covers that can be rolled up or closed for privacy and protection from the elements.
B. Personalizing with Pockets and Gear Lofts
- Sewing Storage Solutions for Organizing Gear
Sew pockets or storage compartments into the tent walls to provide convenient storage for small items and personal belongings. This helps keep the interior of the tent organized and clutter-free.
- Creating Hanging Lofts for Convenience
Design and sew hanging gear lofts to the tent ceiling for additional storage space. These lofts can hold lightweight gear or clothing, keeping them easily accessible and off the ground.
VI. Testing and Improving Your DIY Tent
A. Setting Up and Evaluating the Tent
- Testing Stability and Wind Resistance
Set up the DIY tent and evaluate its stability and resistance to wind. Adjust and reinforce the structure as needed to ensure it can withstand various weather conditions.
- Assessing Waterproofing and Seam Integrity
Test the waterproofing of the tent by spraying water on the fabric or setting it up during rainy conditions. Check the seams and seals for any signs of leakage or weakness. Make necessary adjustments or repairs to improve waterproofing.
B. Making Adjustments and Modifications
- Identifying Areas for Improvement
Assess the performance of the DIY tent and identify areas that may require improvement. This can include reinforced stitching, additional guy lines, or enhanced ventilation features.
- Incorporating Feedback for Future Builds
Use the feedback and lessons learned from using the DIY tent to refine and enhance the design for future builds. Continuously improve upon construction techniques and customize the tent to suit your specific camping needs.
Conclusion:
Building your own DIY tent allows you to unleash your creativity and customize your shelter according to your preferences. By choosing the right design, selecting appropriate materials, and using the right construction techniques, you can create a tent that suits your camping needs. Personalize your DIY tent with unique features and continually test and improve it for a rewarding and satisfying camping experience. Embrace the adventure of DIY tent building and enjoy the pride of camping in your own creation.