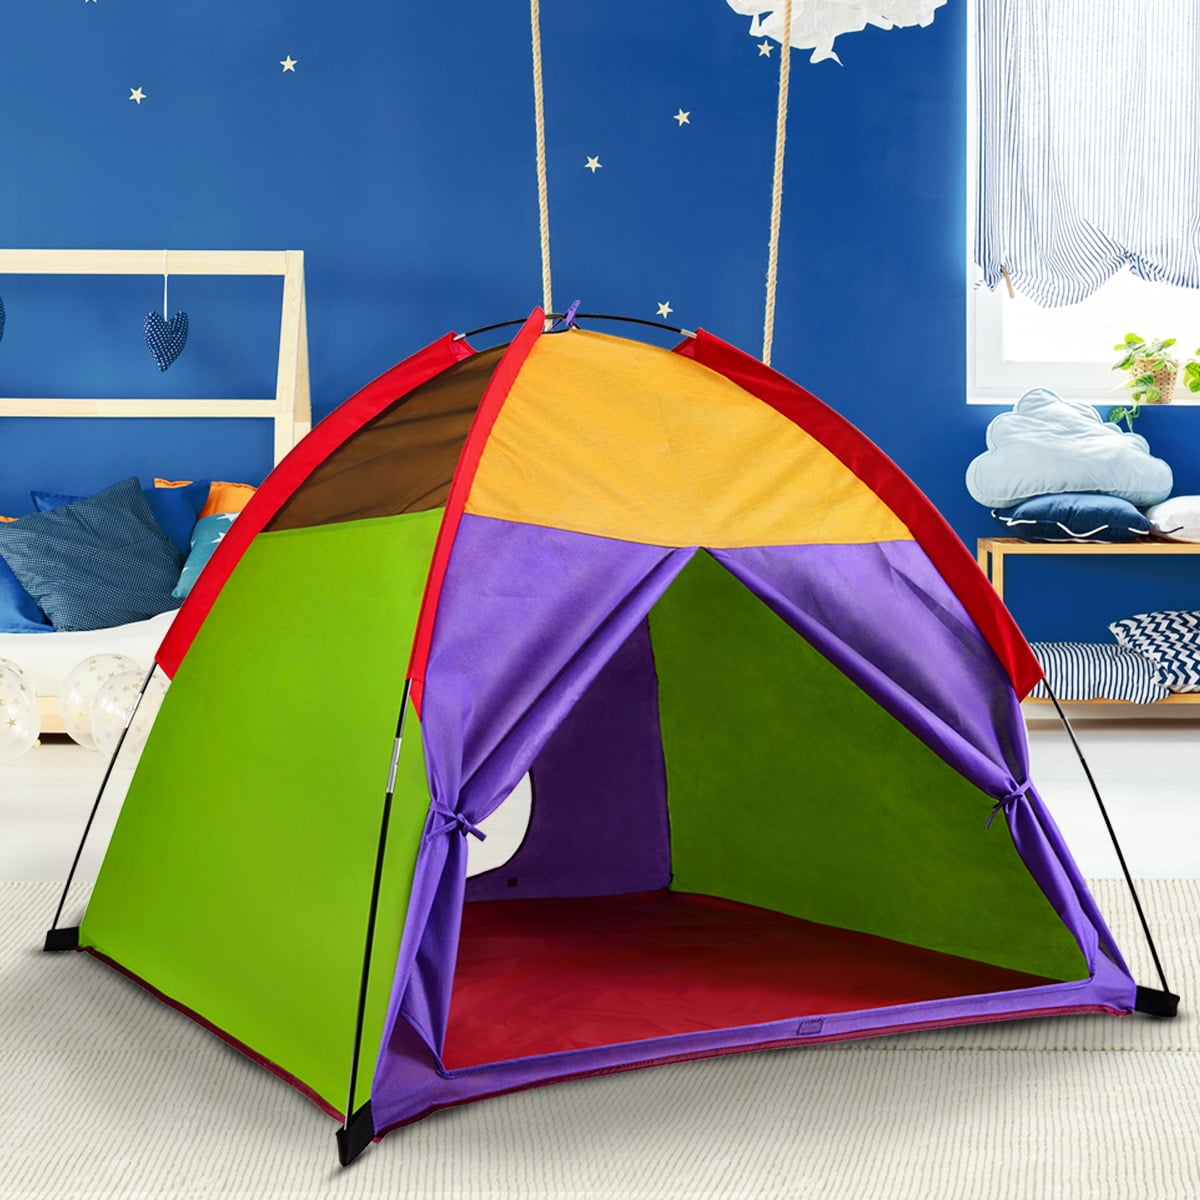
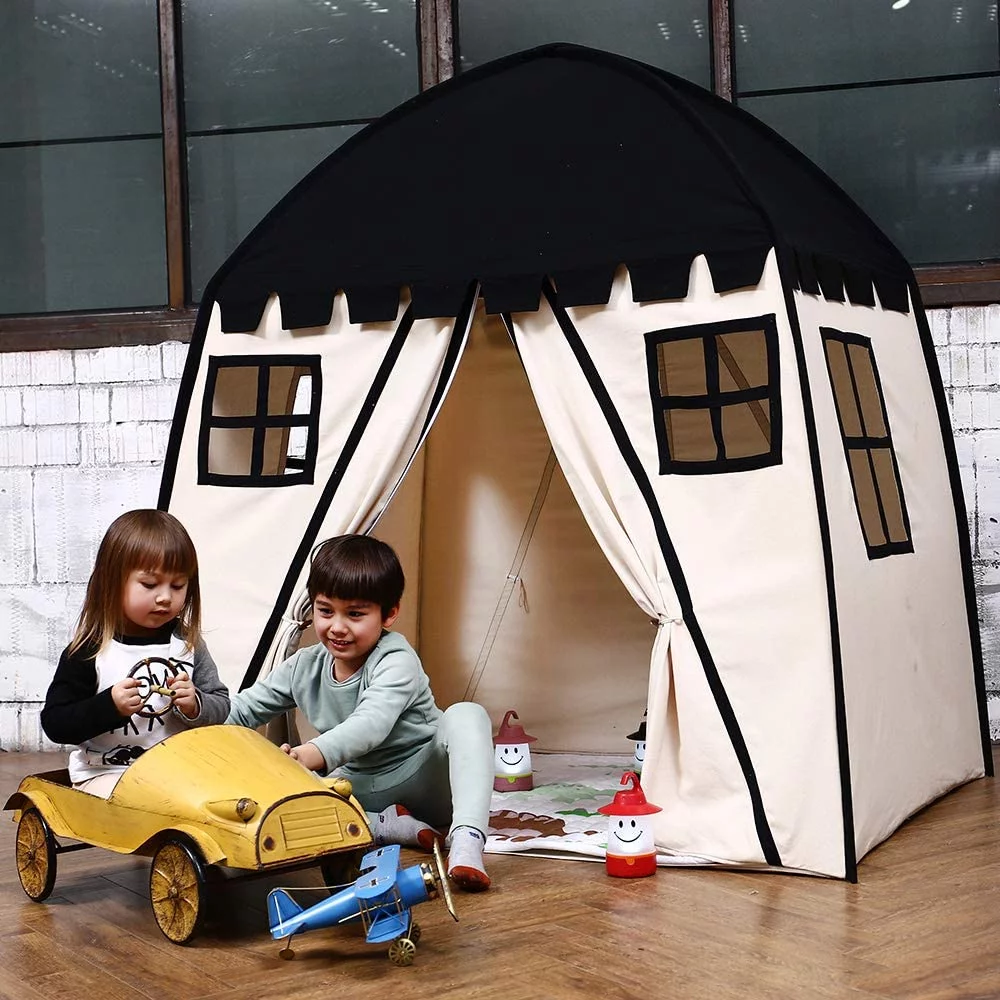
I. Introduction to Drawing a Tent

A. Importance of Sketching in Artistic Expression
Drawing is a powerful form of artistic expression that allows individuals to visually communicate their thoughts, ideas, and observations. Sketching, in particular, provides a foundation for developing artistic skills and improving hand-eye coordination.
B. Benefits of Learning to Draw a Tent
Learning to draw a tent offers several benefits:
- Creativity and Imagination: Drawing a tent allows artists to exercise their creativity and imagination as they interpret and represent the structure, shape, and details of the tent in their own unique way.
- Observation and Attention to Detail: Drawing a tent requires careful observation and attention to detail. Artists must study the tent’s proportions, angles, and textures, enhancing their ability to observe and capture subtle nuances in their artwork.
- Perspective and Proportions: Drawing a tent provides an opportunity to practice perspective and proportions. Artists can experiment with different viewpoints and learn how to accurately depict the size and spatial relationships of the tent‘s various components.
- Patience and Perseverance: Drawing a tent requires patience and perseverance. Artists learn to embrace the process of sketching, working through challenges, and refining their skills over time.
- Documentation and Memory: Drawing a tent allows artists to document their experiences and memories of camping trips or outdoor adventures. Creating visual representations of tents can serve as a reminder of special moments and evoke emotions tied to those experiences.
-
Personal Growth and Self-Expression: Learning to draw a tent contributes to personal growth and self-expression. Artists can develop their own style and techniques, using their drawings to convey their unique perspective and artistic voice.
II. Gathering Drawing Materials

A. Selection of Pencils and Erasers
- Choosing the Right Pencil Grades for Light and Shadows: Select a range of pencil grades, such as 2H, HB, and 2B, to create varying levels of lightness and darkness in the drawing. Softer pencils like 2B are ideal for shading, while harder pencils like 2H are suitable for lighter areas.
- Having an Eraser for Corrections and Smudging: Use a kneaded eraser for precise erasing and to create highlights. A regular vinyl or gum eraser can be used for larger areas. Additionally, a blending stump or tortillon can be helpful for smudging and blending pencil strokes.
B. Preparing Drawing Paper or Sketchbook
- Selecting the Appropriate Paper Size and Thickness: Choose a paper size that suits your preference and drawing style, such as A4 or 9″ x 12″. Consider the thickness of the paper as well, ensuring it can handle pencil strokes without smudging or tearing.
- Ensuring a Smooth Surface for Pencil Drawing: Look for drawing paper with a smooth surface or a fine-toothed texture. A smooth surface allows for precise pencil work, while a slightly textured surface adds depth and character to the drawing.
III. Sketching the Tent Outline
A. Drawing Basic Shapes for the Tent Structure

- Sketching a Rectangle or Polygon for the Tent Base: Start by lightly drawing a rectangular or polygonal shape to represent the base of the tent. Adjust the size and proportions based on the desired scale of the drawing.
- Adding Triangles or Rectangles for Tent Walls: Extend lines upward from the corners of the tent base to create the tent walls. Depending on the tent style, these lines can form triangles or rectangles. Use light, loose strokes for the initial sketch.
B. Adding Details to the Tent Design
- Drawing Tent Doors, Windows, or Vents: Add details such as tent doors, windows, or vents by drawing smaller shapes within the tent walls. Pay attention to their placement, size, and proportion in relation to the overall tent design.
- Incorporating Tent Poles and Guy Lines: Sketch the tent poles and guy lines that support and stabilize the tent. These lines can be straight or slightly curved, depending on the tension and angle of the lines.
IV. Shading and Texturing the Tent
A. Applying Light and Shadows
- Identifying the Light Source and Casting Shadows: Determine the direction of the light source in your drawing. Shade the side of the tent that is away from the light source, and leave the side facing the light source lighter.
- Gradually Building Up Shadows for Depth and Realism: Use a lighter pencil grade to create the initial shading, gradually building up darker tones for the shadows. Blend the shading with a tortillon or gently smudge with a finger for a smoother appearance.
B. Adding Textures to the Tent Fabric
- Creating Patterns or Lines to Mimic Tent Material: Incorporate patterns or lines in the shaded areas to mimic the texture of the tent fabric. Consider the fabric’s characteristics, such as ripstop or canvas, and use light, crosshatched strokes to suggest the texture.
- Using Cross-Hatching or Stippling Techniques: Experiment with cross-hatching or stippling techniques to create additional texture and depth in the shading. These techniques involve layering parallel lines or dots to add texture and variations in tone.
V. Final Touches and Fine Details
A. Refining Tent Shape and Proportions
- Adjusting Tent Lines for Symmetry and Balance: Review the overall shape and proportions of the tent, ensuring that the lines are symmetrical and balanced. Make any necessary adjustments by erasing and redrawing areas as needed.
- Correcting Proportions and Perspective: Check if the perspective of the tent is consistent and accurate. Adjust the lines and angles accordingly to create a more realistic representation of the tent.

B. Enhancing the Background and Environment
- Adding Elements such as Trees or Campfire: Consider adding elements like trees, rocks, or a campfire in the background to enhance the context and atmosphere of the tent. Draw these elements with lighter strokes to create depth and separation from the tent.
-
Creating a Sense of Depth and Atmosphere: Use lighter shading and softer lines for objects in the background to create a sense of depth and distance. Add details and textures to these elements, keeping them less defined compared to the main focus of the tent.
Learning to draw a tent allows for artistic expression and the ability to capture the beauty of camping and outdoor adventures. Gathering the right drawing materials and preparing the drawing surface are essential for a successful sketch. Sketching the tent outline and adding details bring the tent structure to life. Shading and texturing techniques create depth and realism, while final touches refine the tent shape and proportions. Enhancing the background and environment adds context to the tent drawing. By following this step-by-step guide, anyone can learn to draw a tent and express their creativity through art.
